|
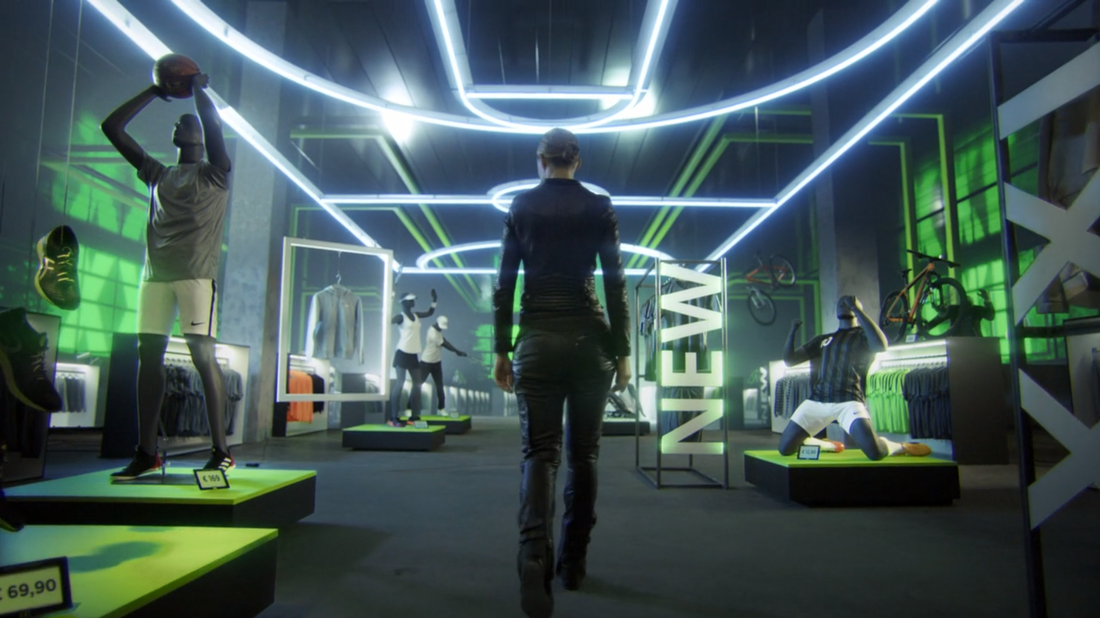
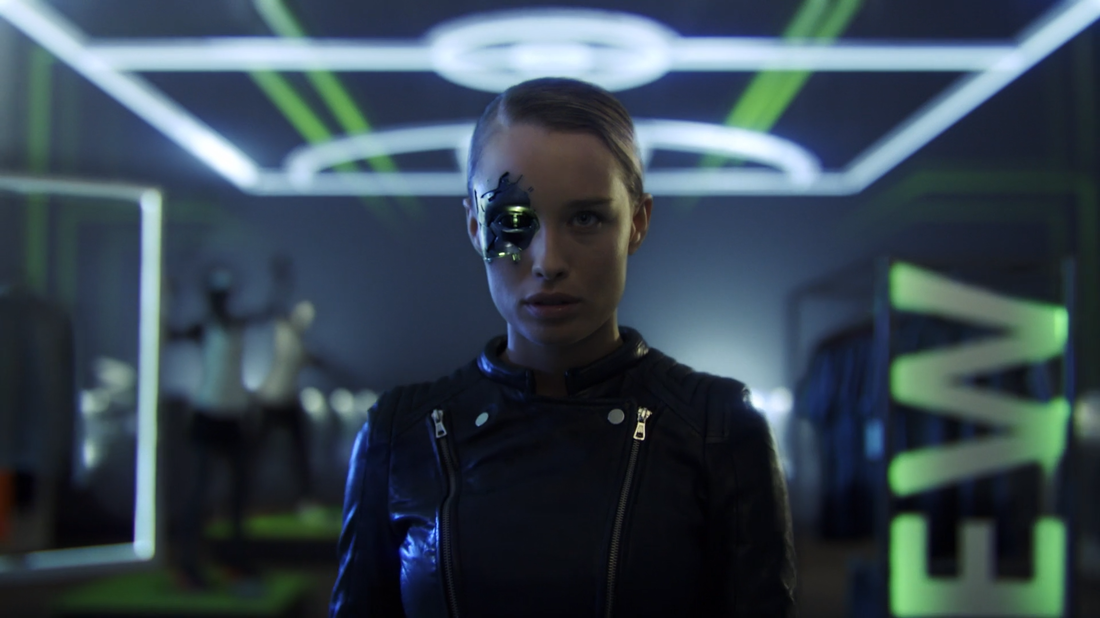
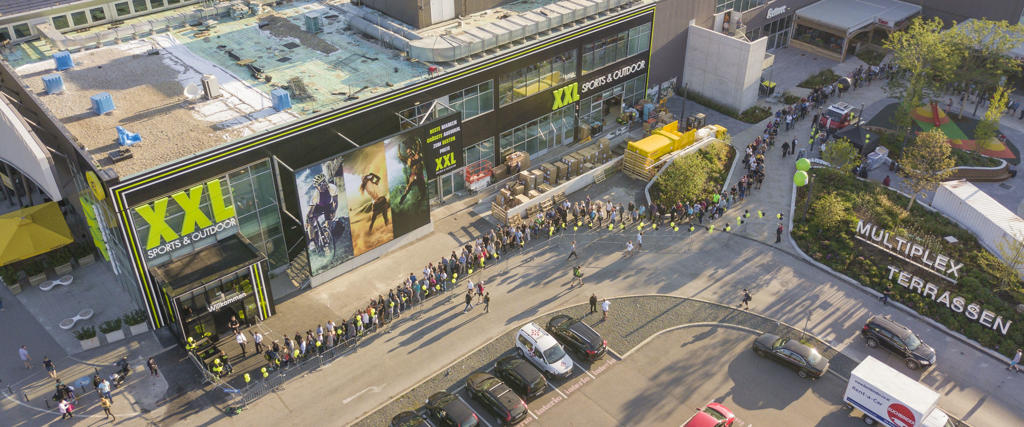
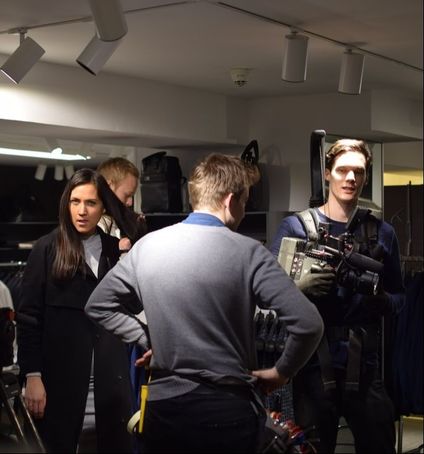
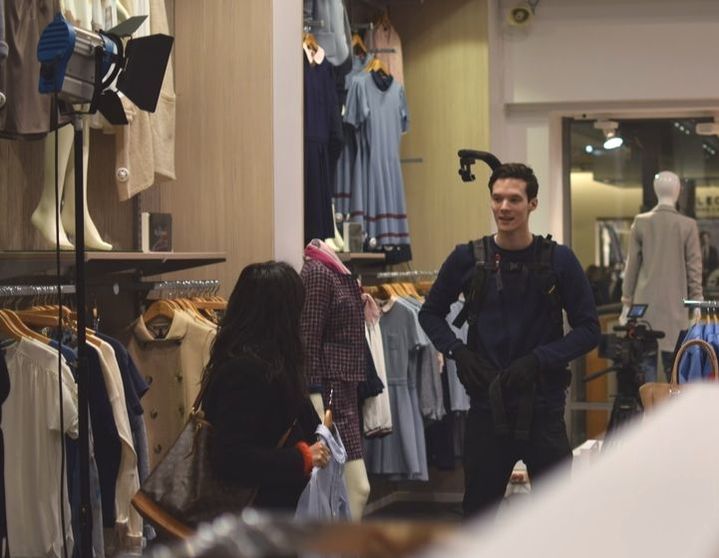
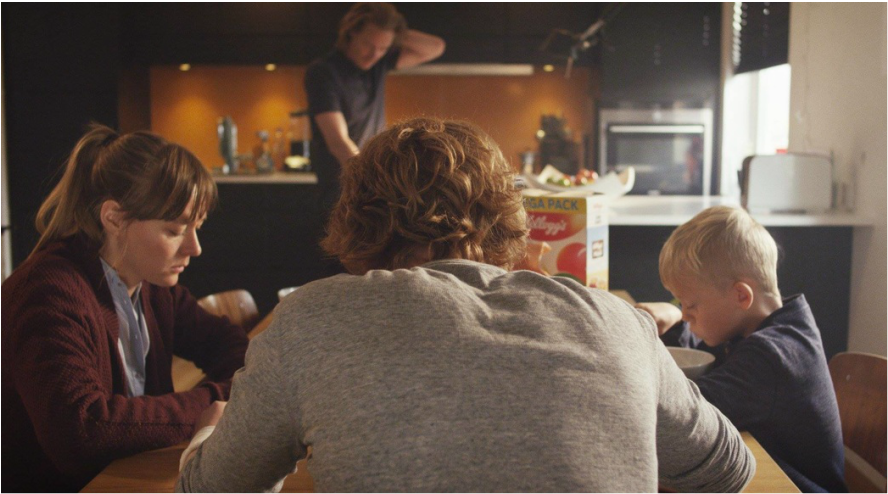
This is a TV-commerical for a norwegian sporting retailer, XXL, opening in Austria now. And it happens to be my 1st time gaffing a commercial! Note that I was not the rigging gaffer.
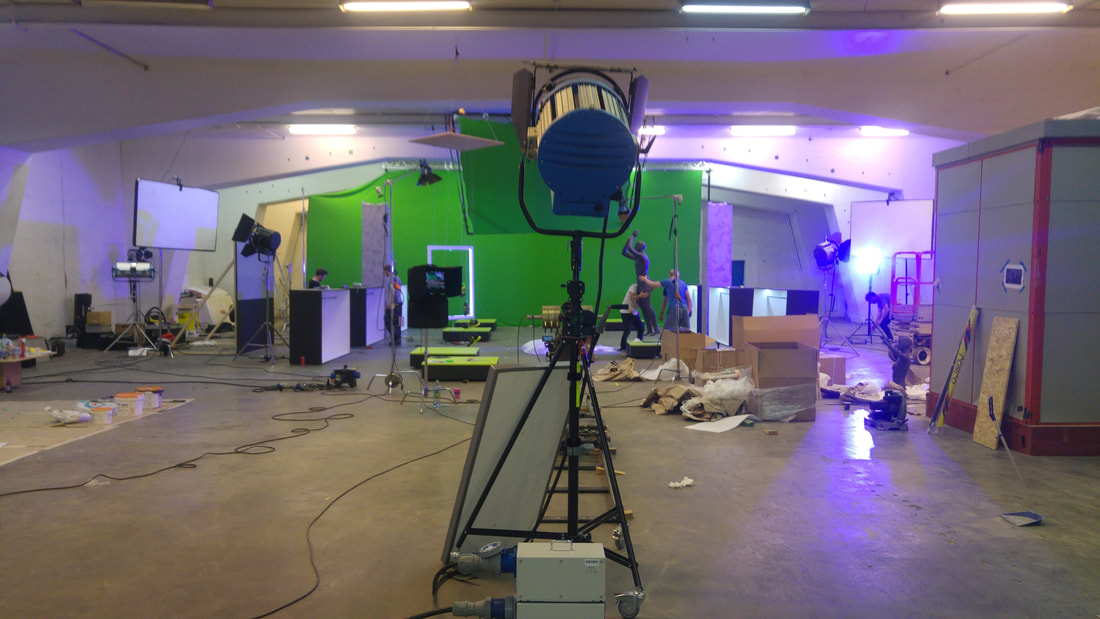
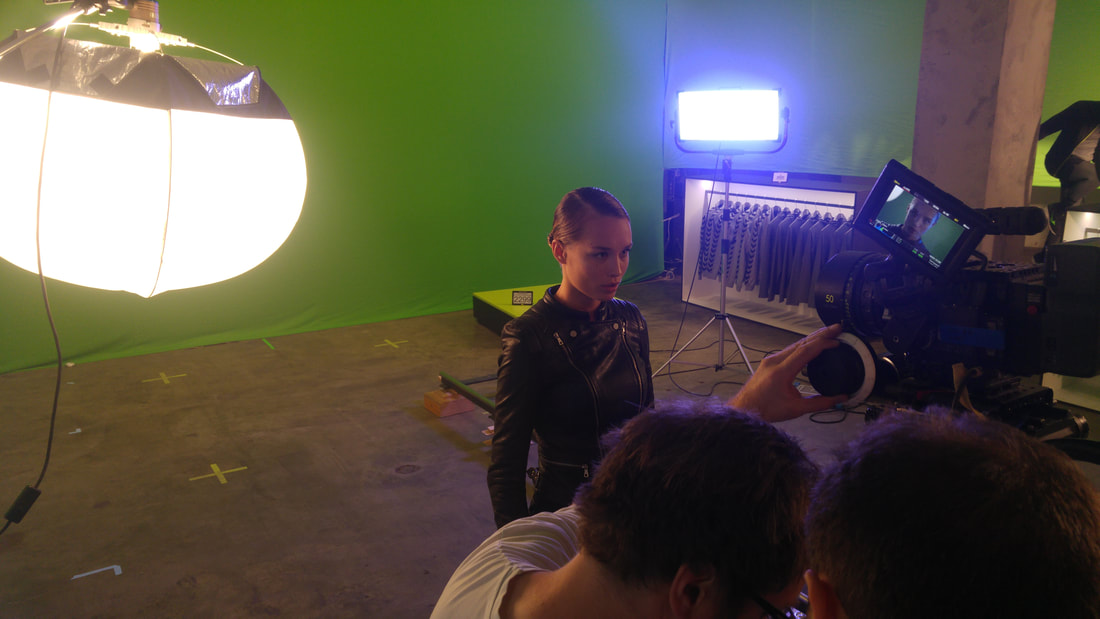
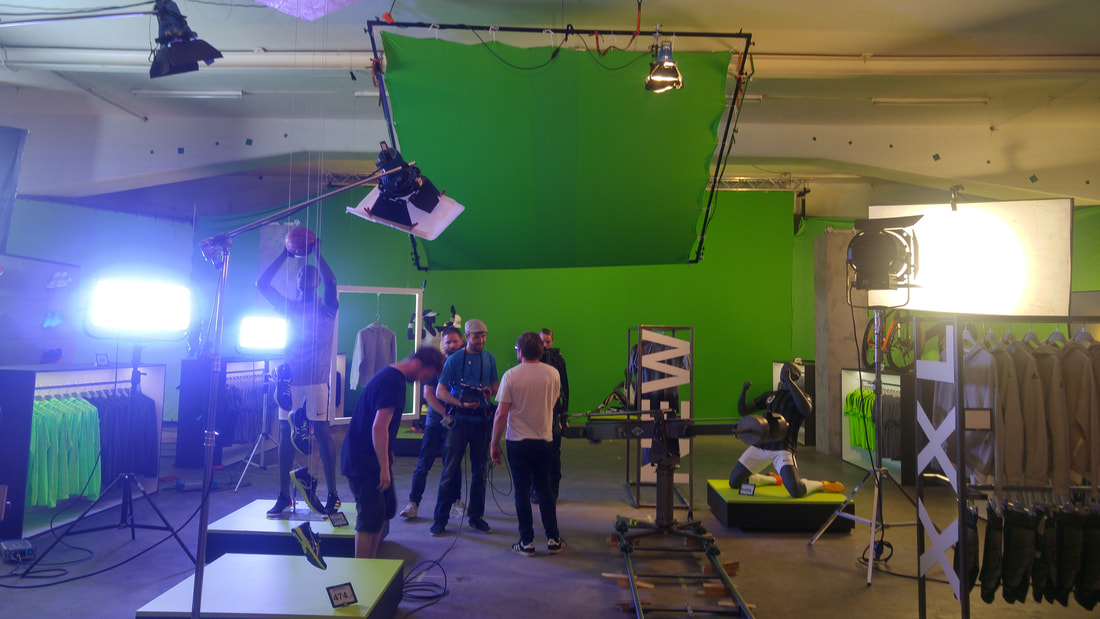
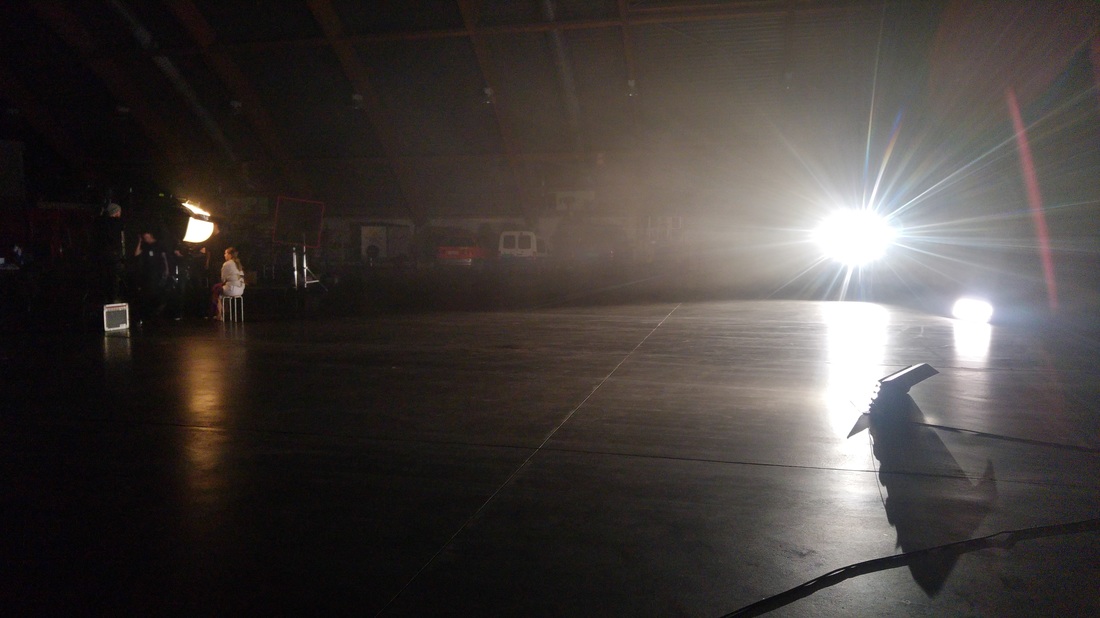
The location & general Lighting plan
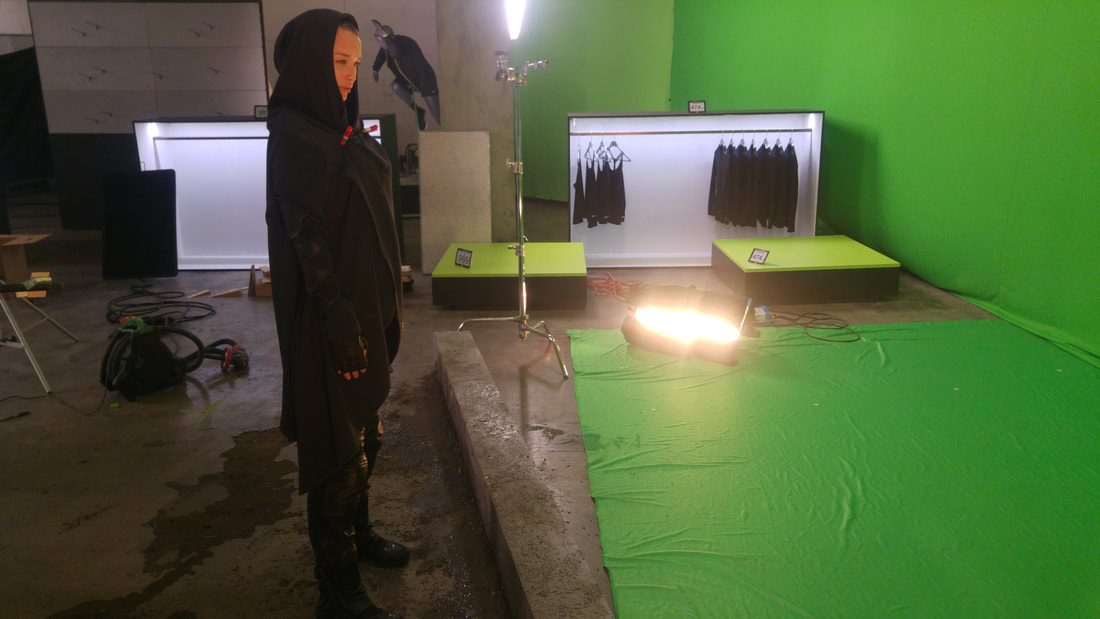
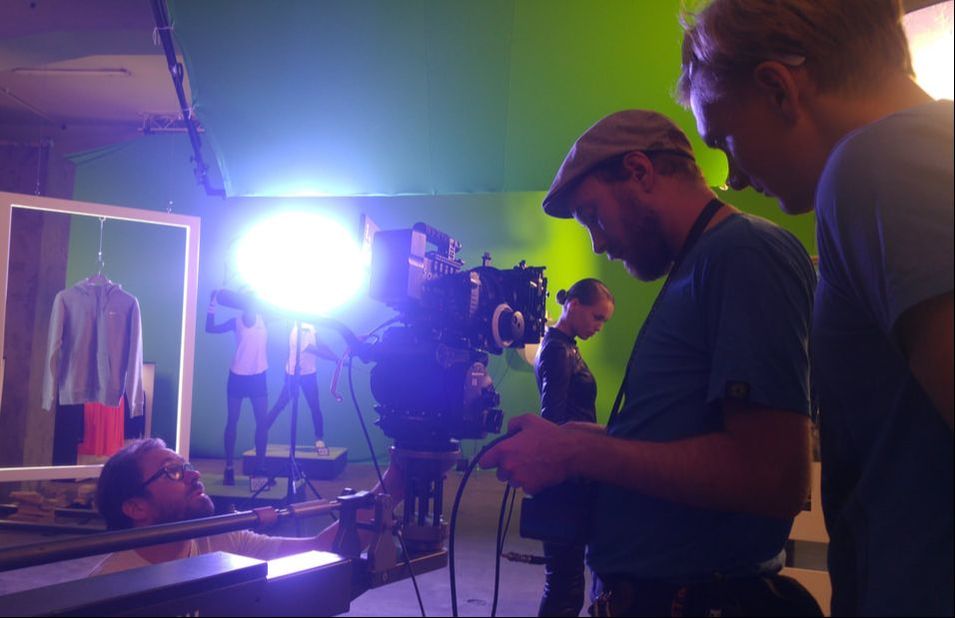
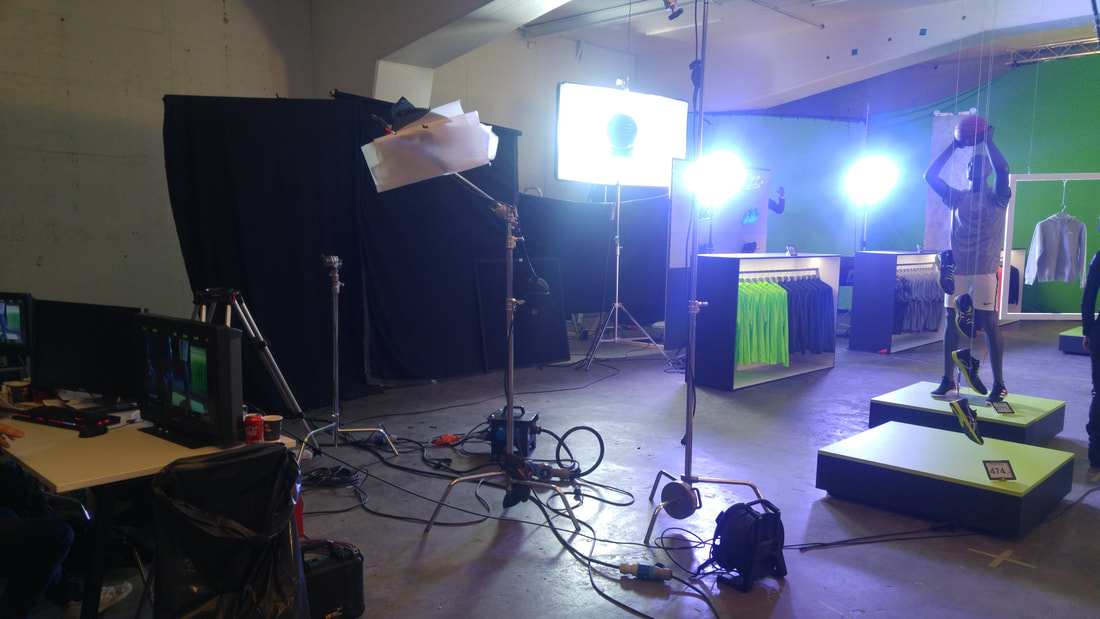
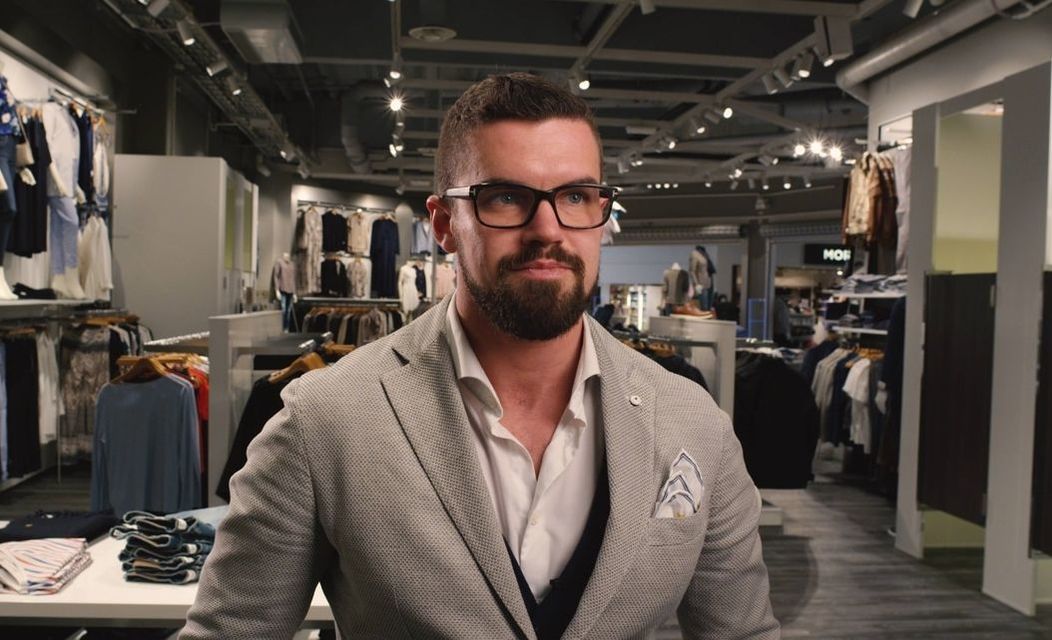
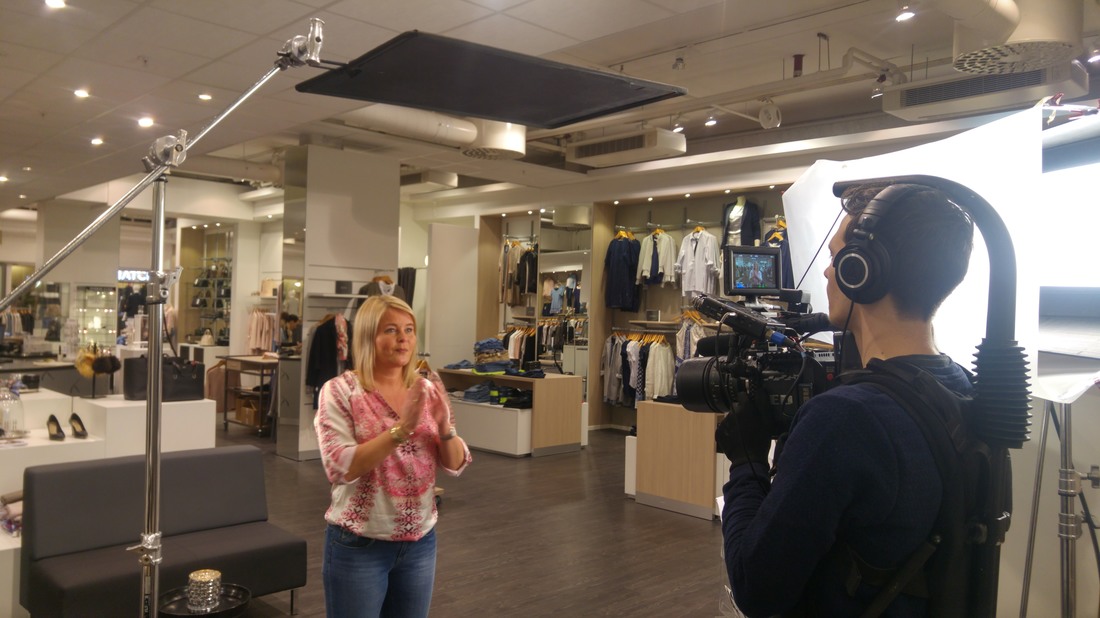
The 12k is bounced into the roof, providing a nice even fill light that can be dimmed up or down. The key was usually soft tungsten from the right, while we had a slightly harder blue kicker or backlight from the left. It might look the opposite in some shots, because we flipped it to get the greenscreen behind in some shots. Used a bounced 2.5k HMI (I think?) and two skypanels for the blue light.
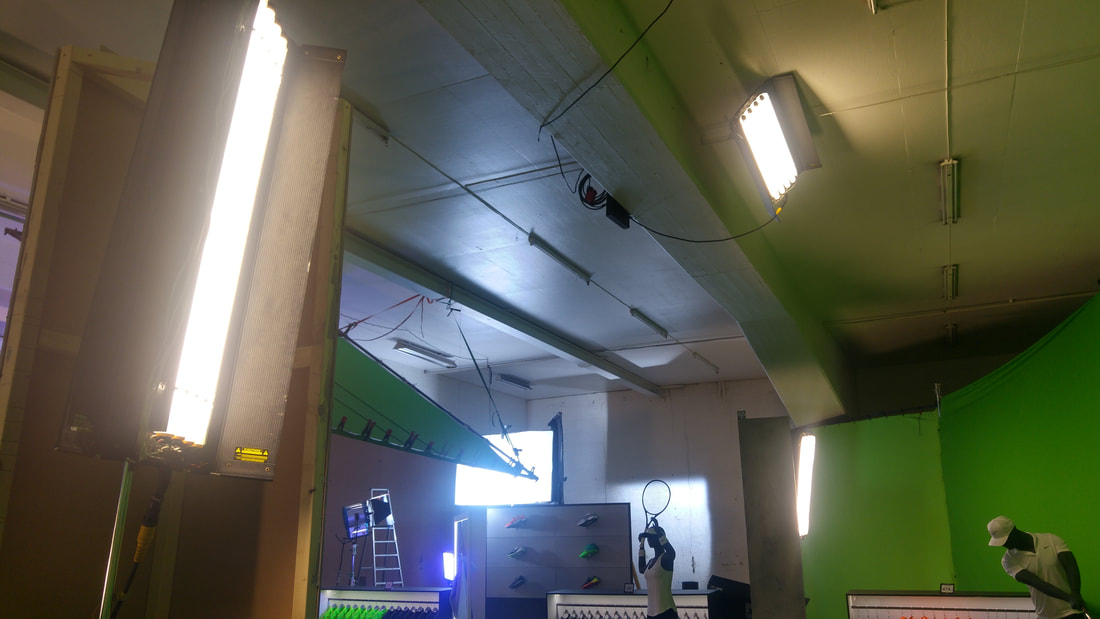
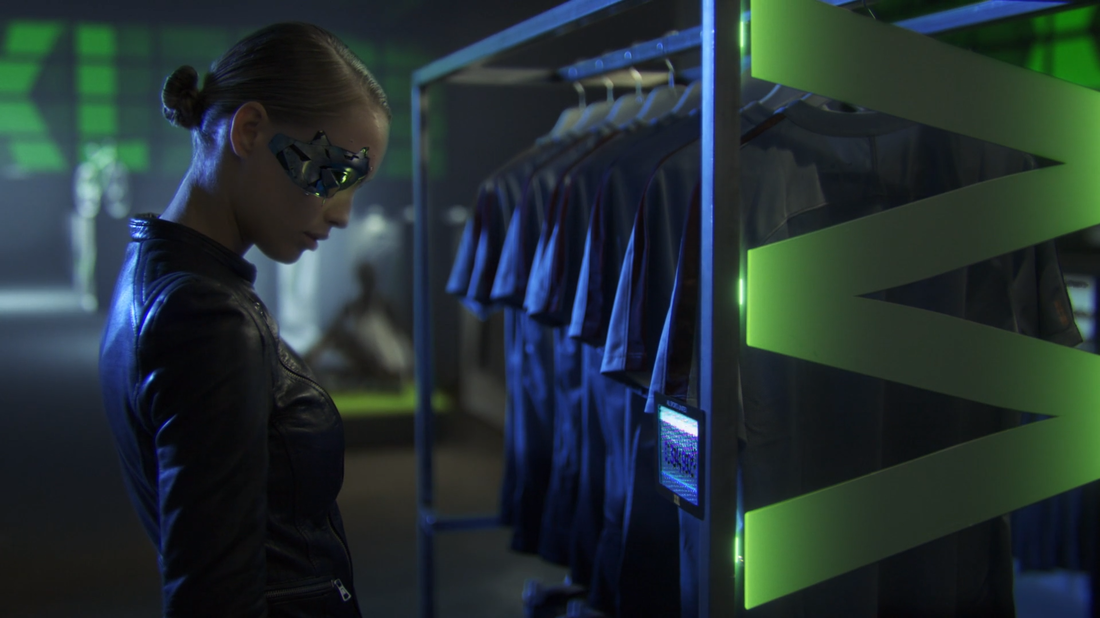
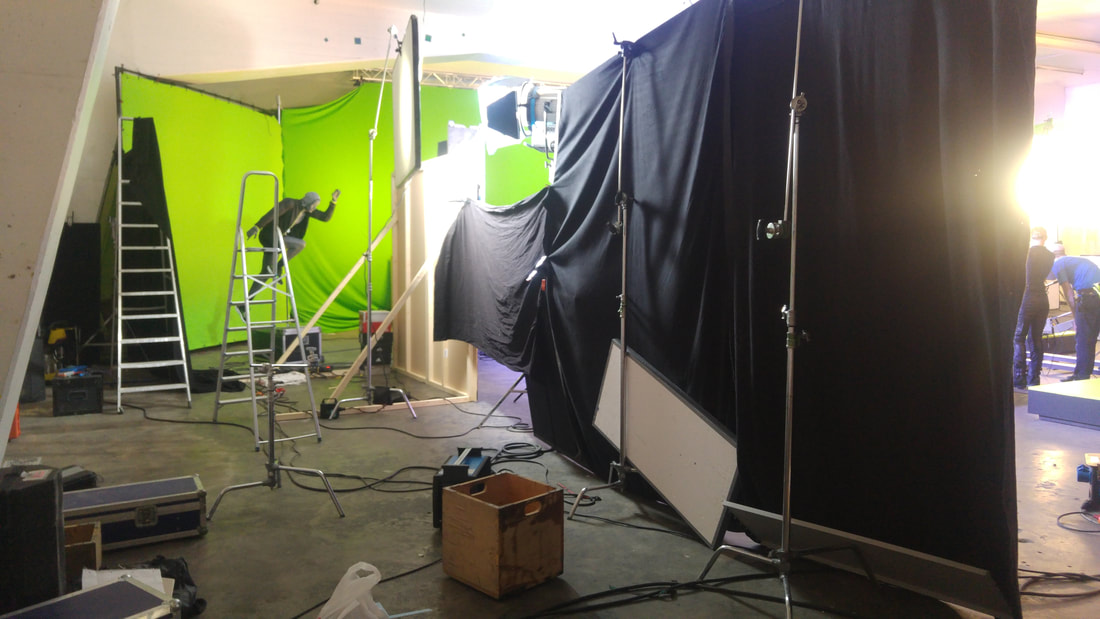
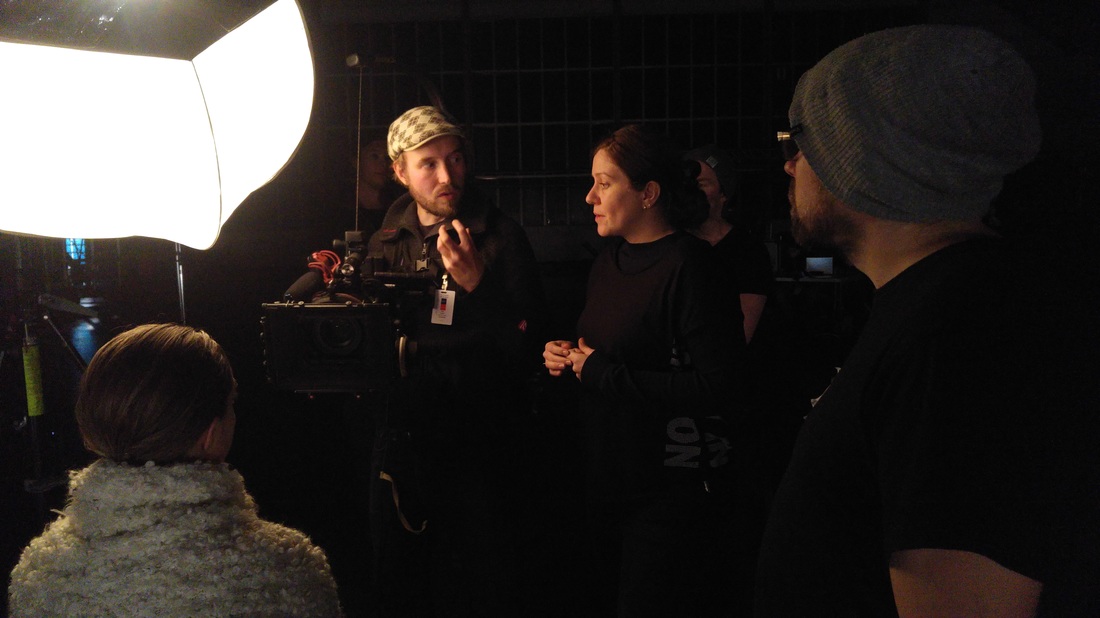
We built this sci-fi store, then extended it with VFX in post. In fact the 3D store was already made, so we tried to match the lighting. We aren't using a real studio because the city of Trondheim doesn't have one that is big enough. Note that I wasn't there to rig the kino-flos and main greenscreen.
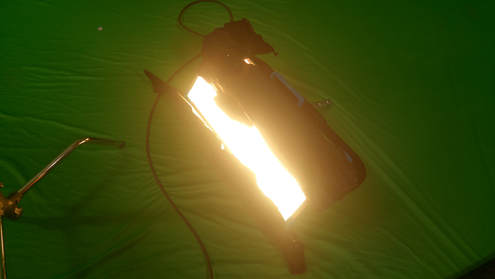
These 3 lights lit the greenscreen. Cleverly hidden, but would have been nice to have more fixtures available for a more even screen.
How it was lit
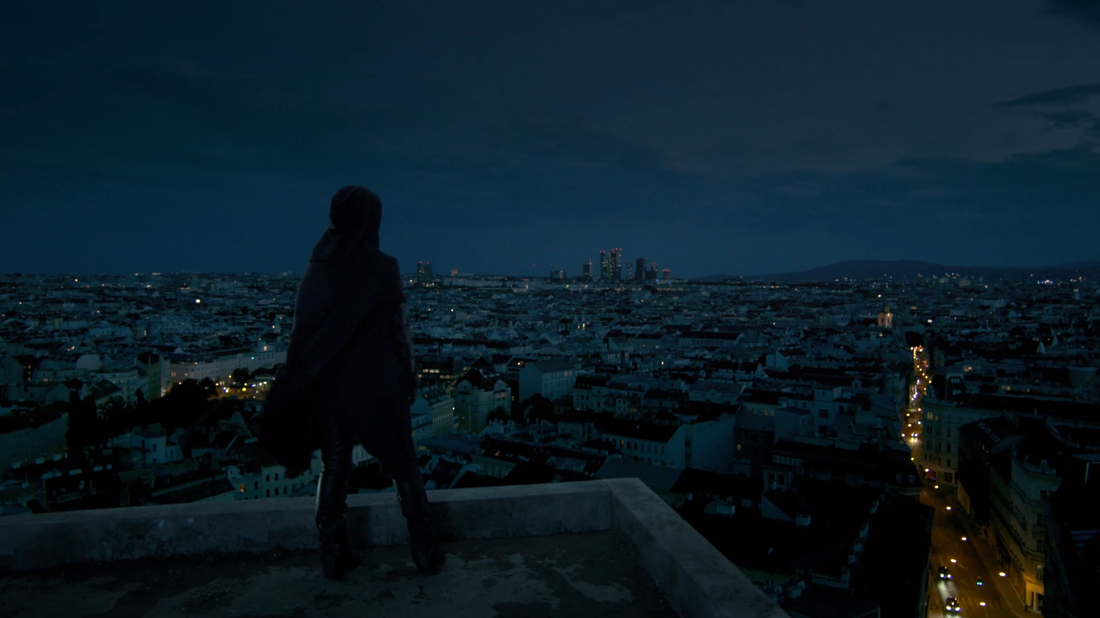
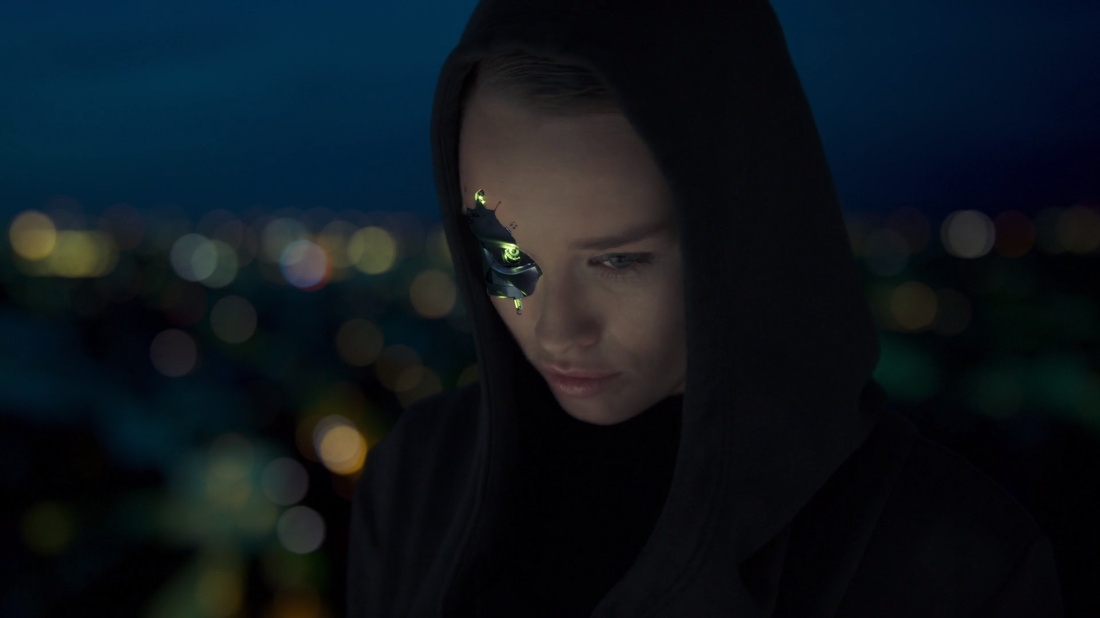
One skypanel low on each side to simulate lights from the city. I think it was set to candlelight mode. Ambient from dimmed down 12k hitting the roof of our location.
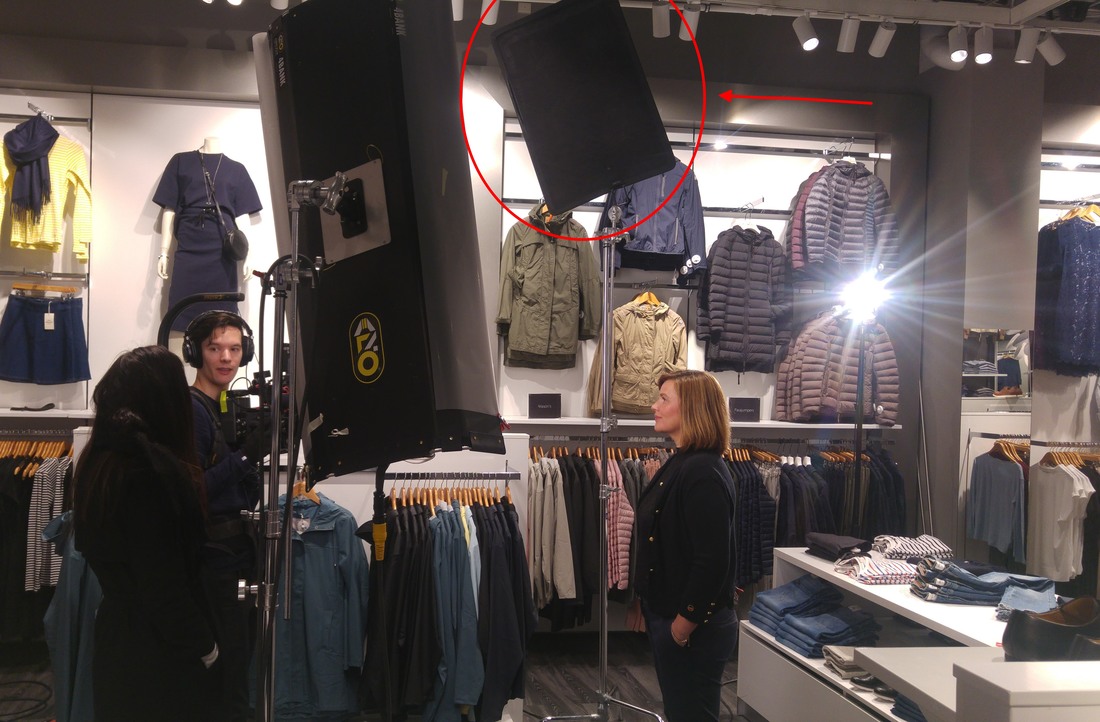
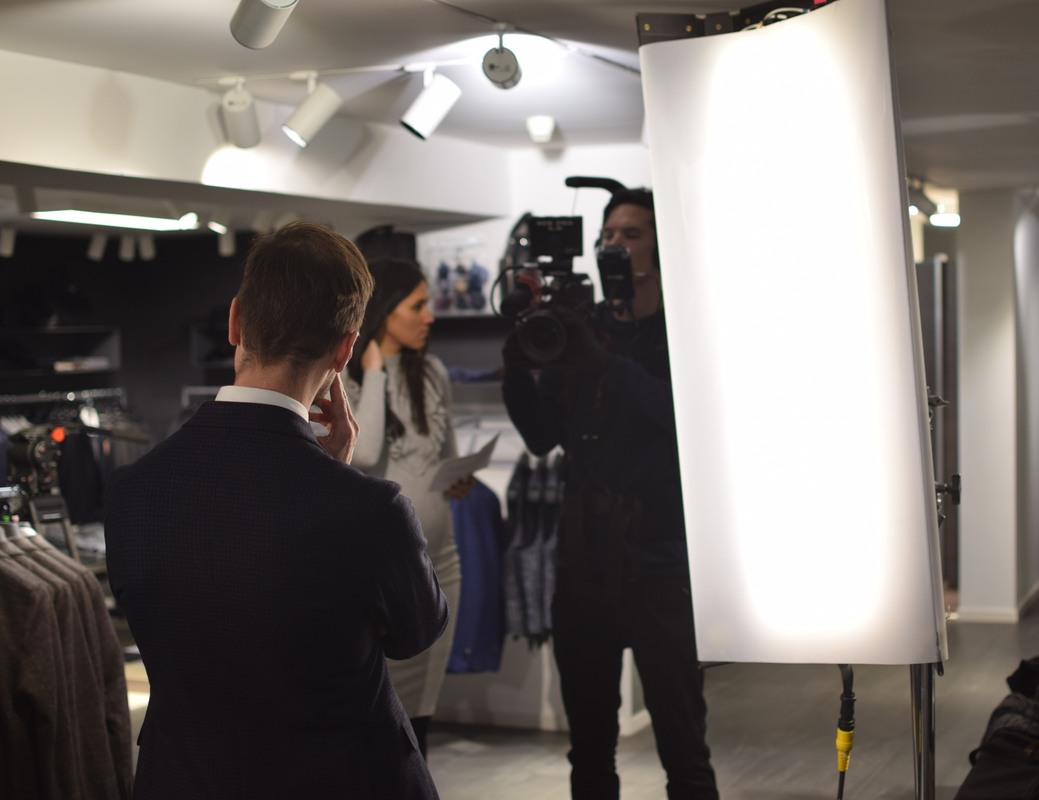
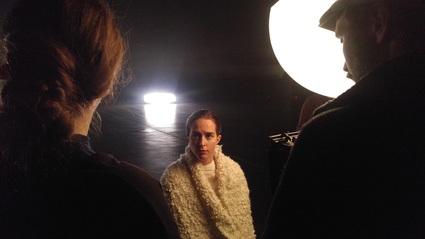
Skypanels in candlelight-mode bounced into two large bounceboards, while flagging the direct light off her face.
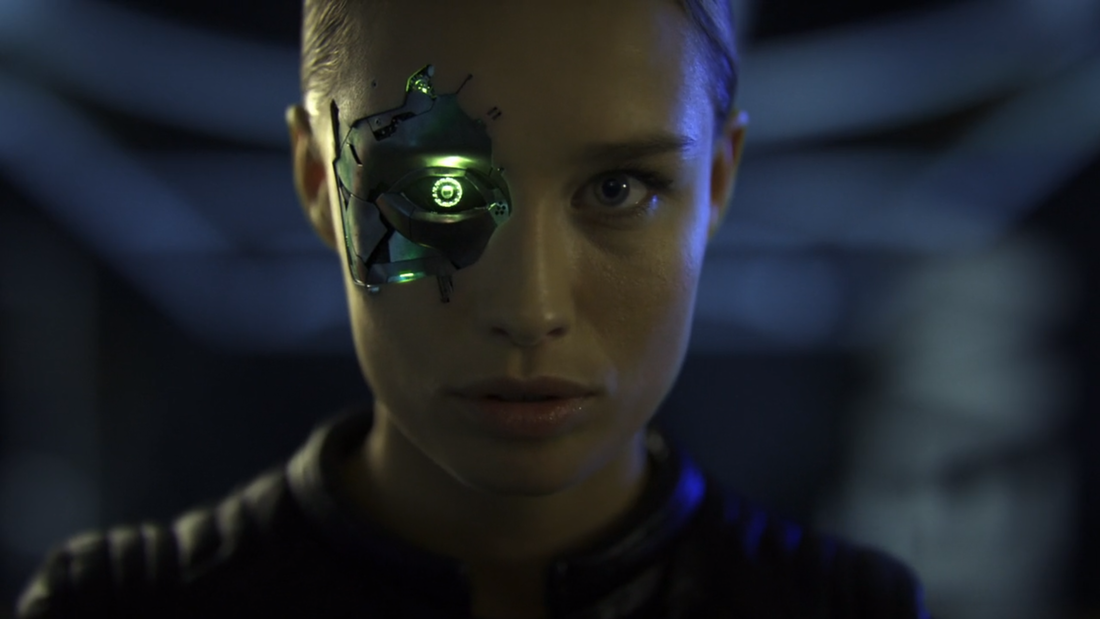
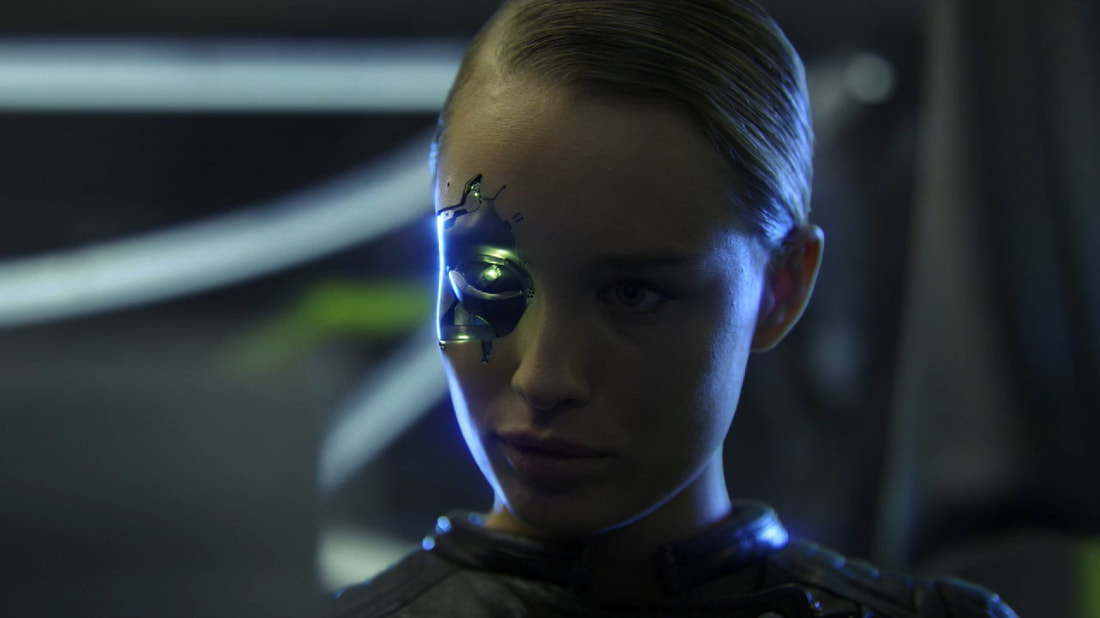
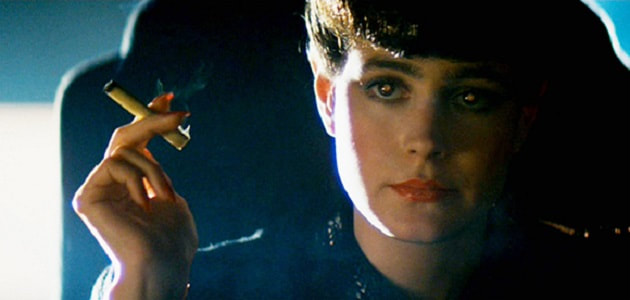
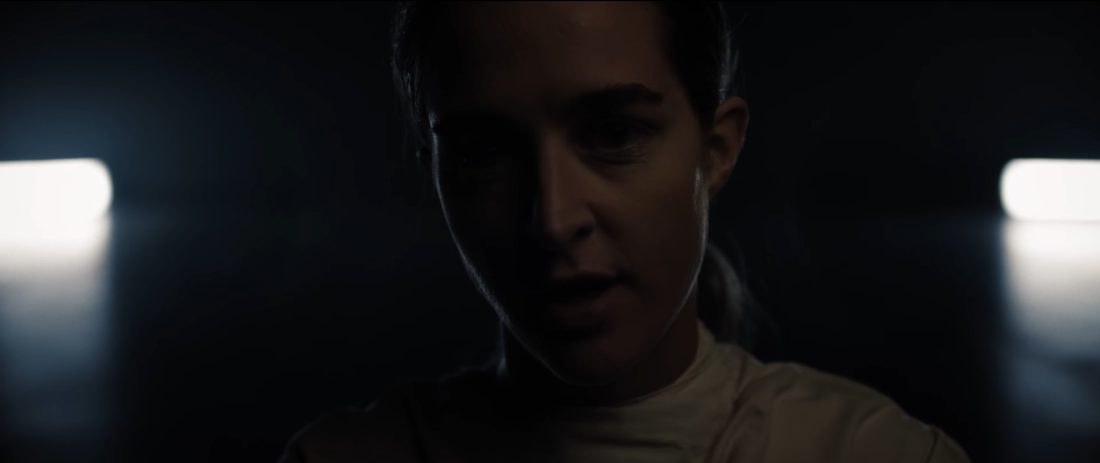
My favorite shot is this one. I love the blue overexposure on her camera left cheek. Really gives me old-school sci-fi vibes. One skypanel on each side behind her. Chimera lantern in front. When I saw it I thought of the image below.
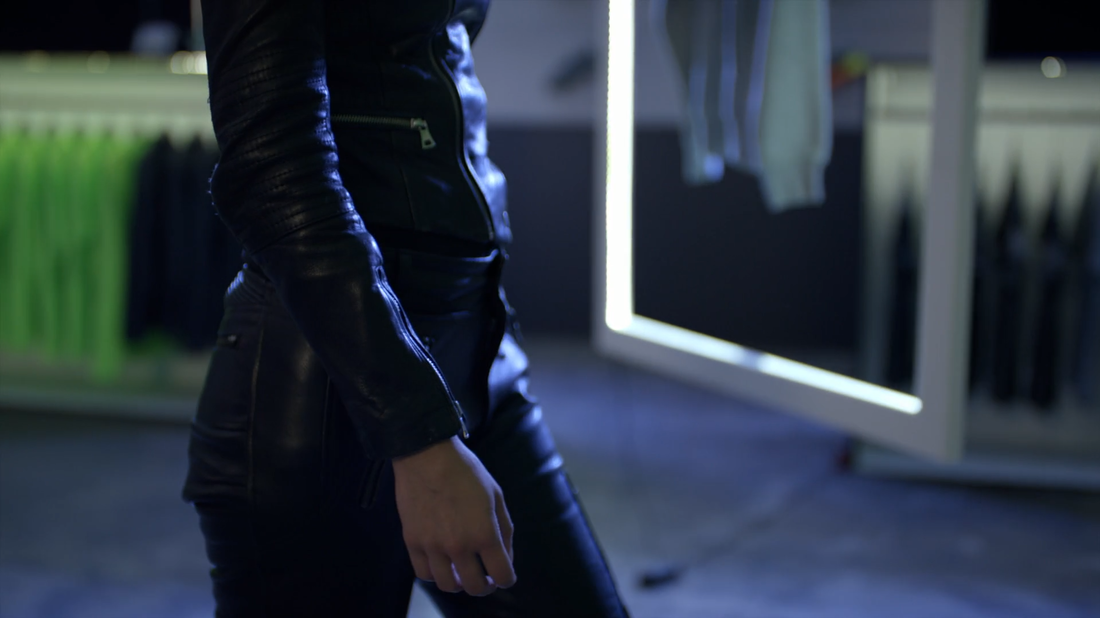
No VFX shot
Okay so we had this side-shot, but no more greenscreen to spare. So what do you do? REALLY shallow dept of field and patchwork job of the year!
Conclusions
I would probably encourage people to keep their cables more organised than seen above. If I remember correctly we didn't have enough so could only have the shortest path. I love the output and customizability the skypanels give, although I miss the lightweight of the Kino-Flo select. Hope you enjoyed! For comments, criticism or questions, reach me on twitter/instagram @tonivuc, or leave a comment here!
2 Comments
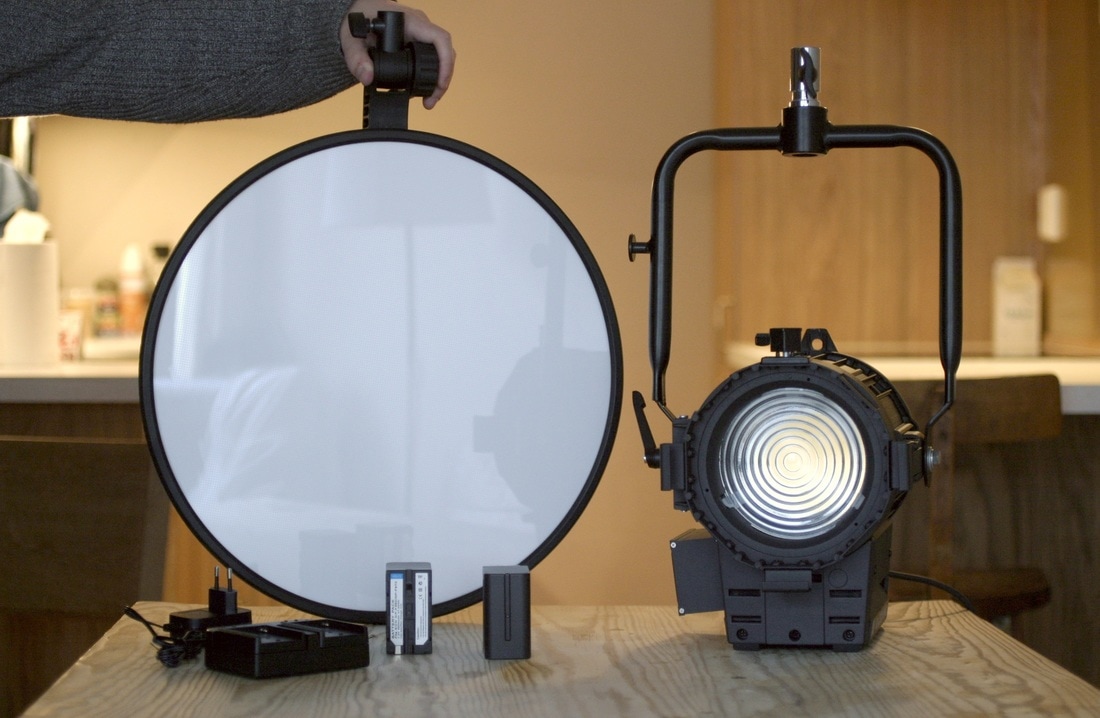
Today we are looking at a 70W LED 5600K Fresnel light and a 75W round LED softlight, both made by the chinese company GeneraLink (Zhengzhou Generalink Lighting Equipment Co., Ltd.)
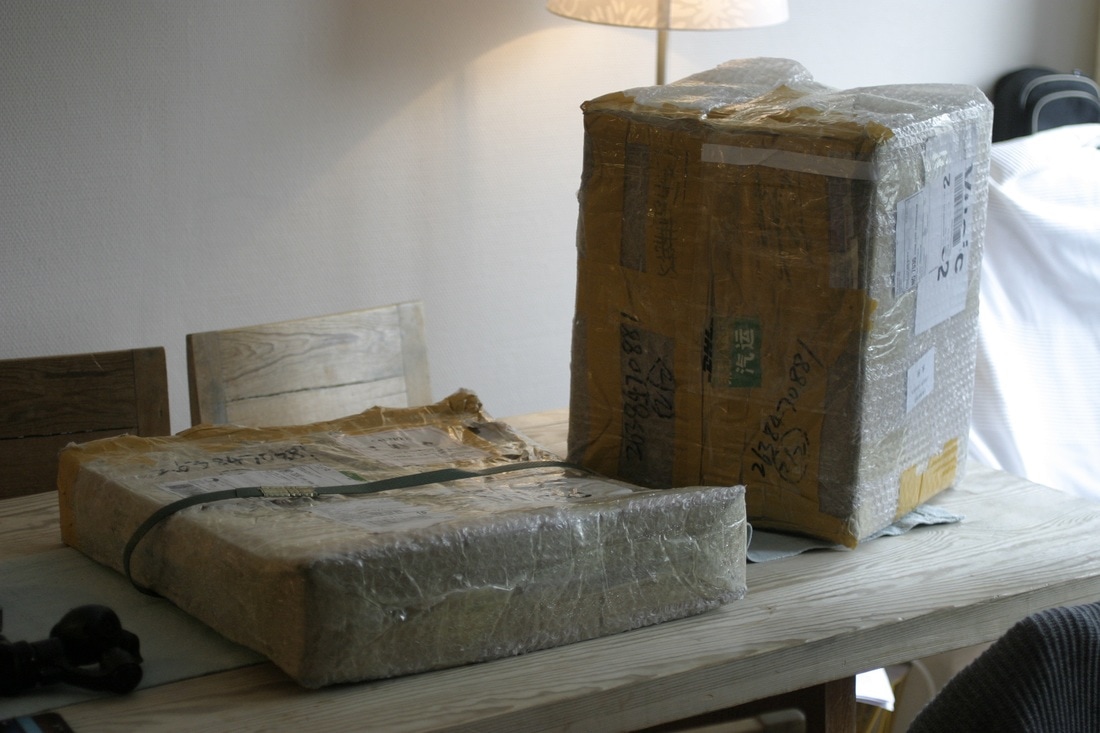
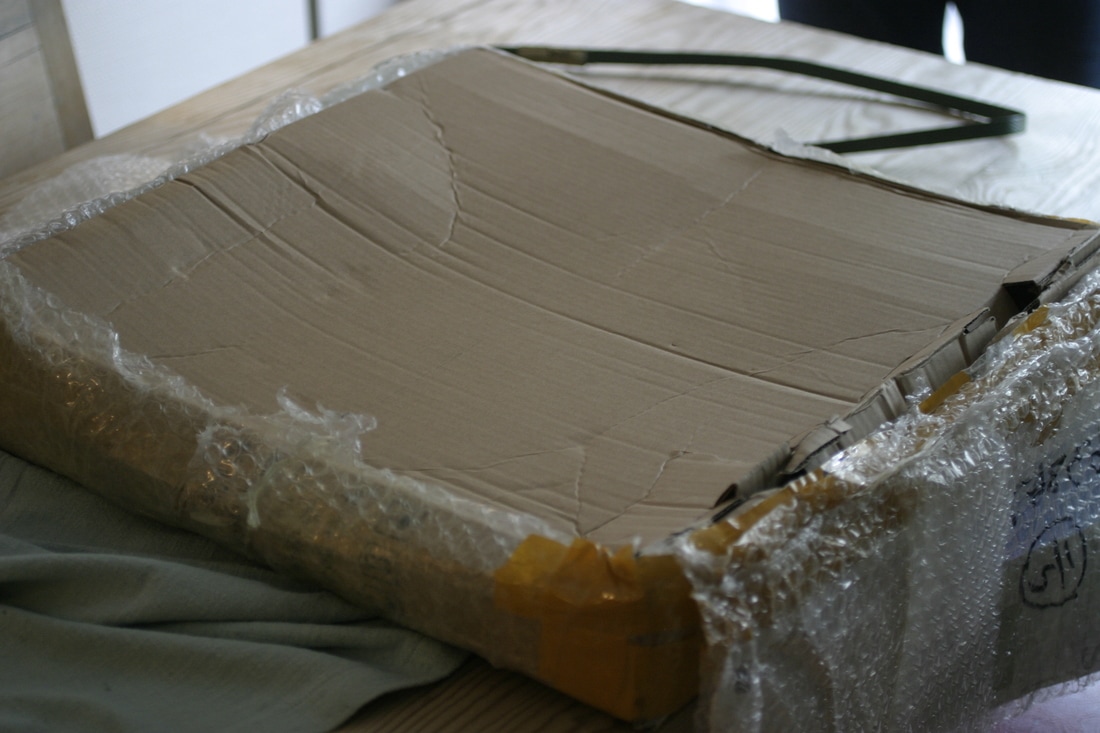
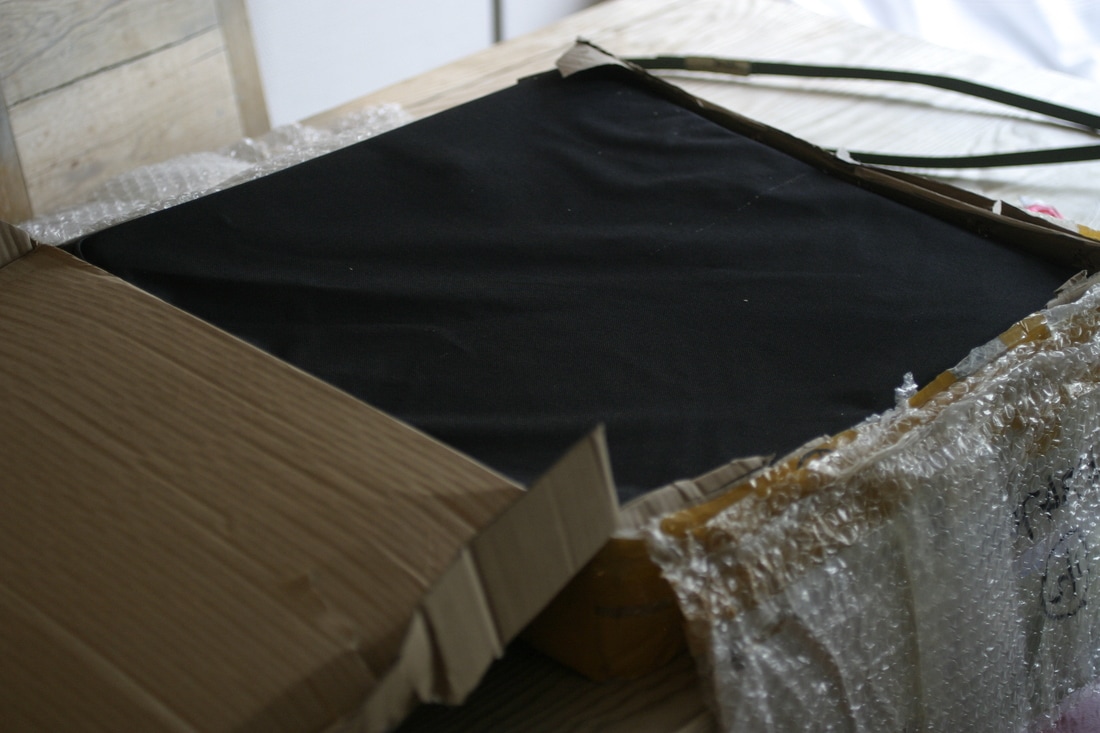
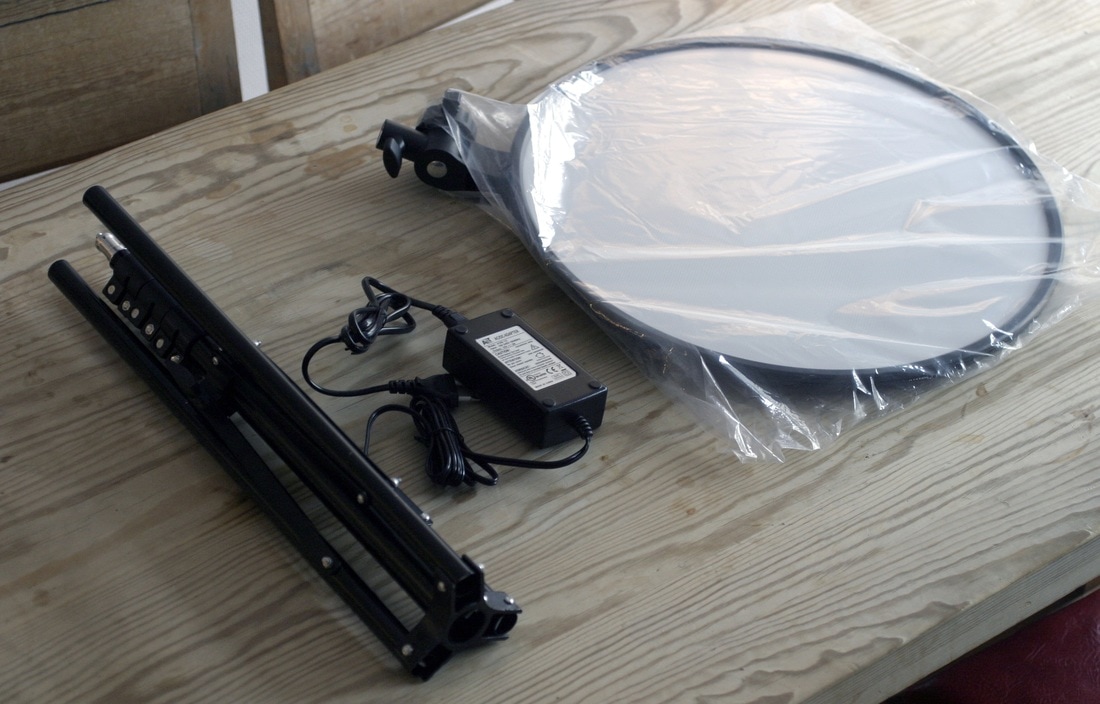
I stumbled over these two while browsing Alibaba. The low price and high CRI (93-95) promise stuck out to me. They also fared very well in this color accuracy test performed by IndieCinemaAcademy, getting the same rank as the Kino Flo Celeb LED 401. Yet the G&L lights are much, much, much cheaper. The round softlight GL-LP450DS setting me back 224 USD and the 70W LED Fresnel costing 259 USD. +138.00 USD in express shipping to Norway with DHL. (I paid half of that shipping price in exchange of promising to write a review when I got them, but worry not, I can write whatever my my heart desires.) To help me with this review I got the assistance of my friend, gaffer and co-owner of the fresnel light, David Horteman Bøe. 75W G&L Round led softlight (GL-LP450DS/Rpad 450D) UNBOXING & review
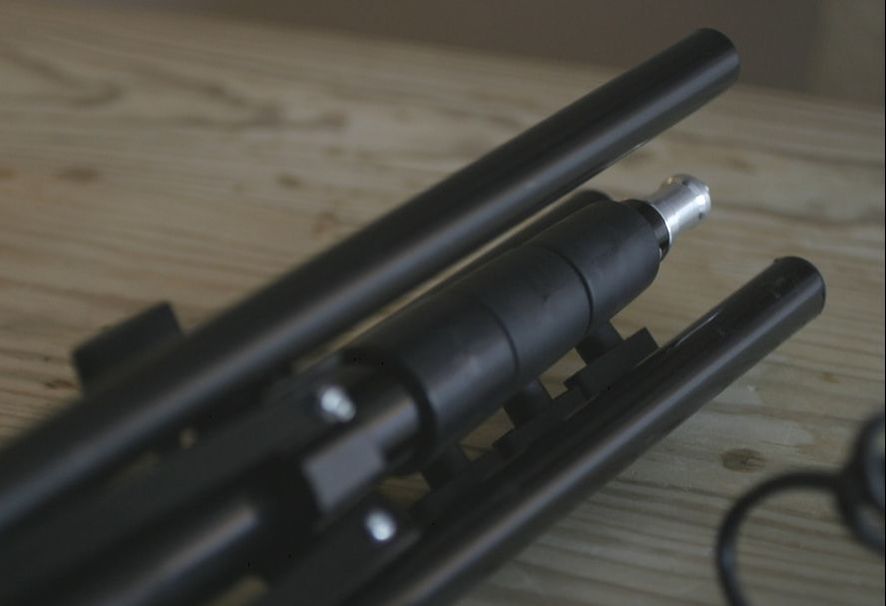
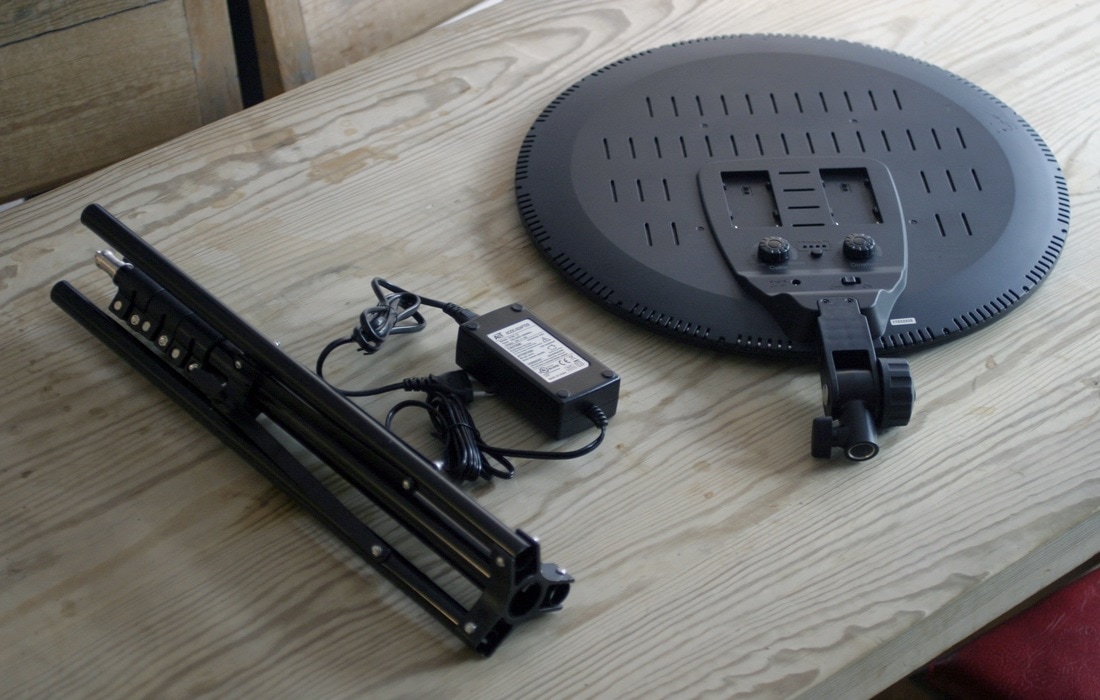
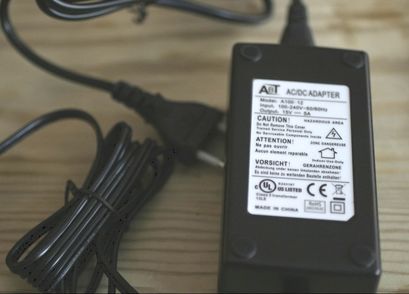
Note: That light stand "broke" on me the first time I used it. One of the extension rods detached from the rest and I couldn't get it to fasten after I put it together. Also the charger they sent me (not pictured) is only 1 ampere max. Which makes for some really slow charing.
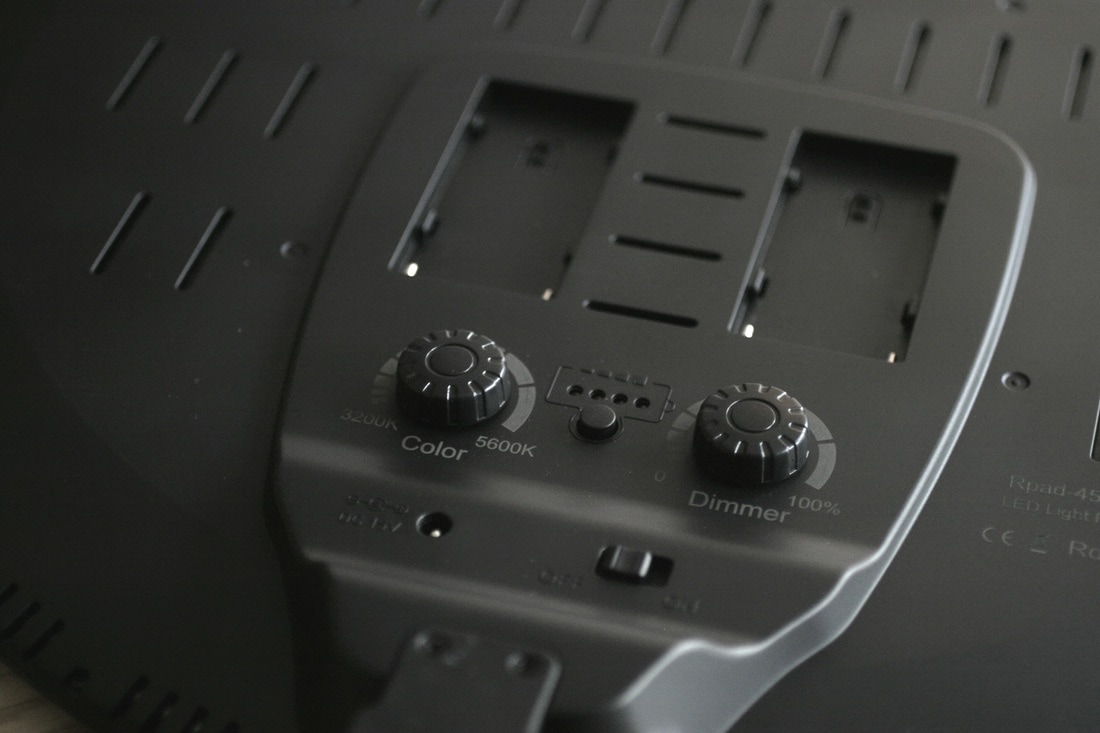
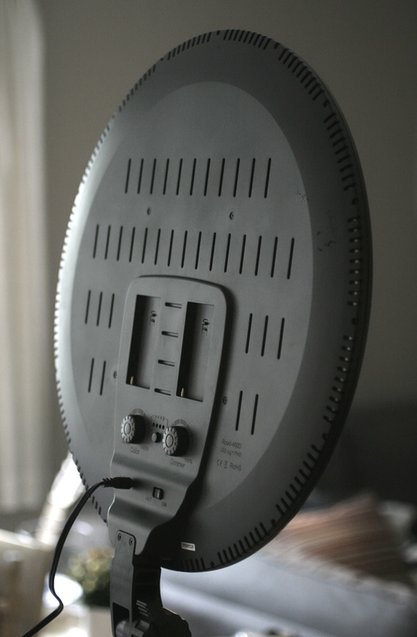
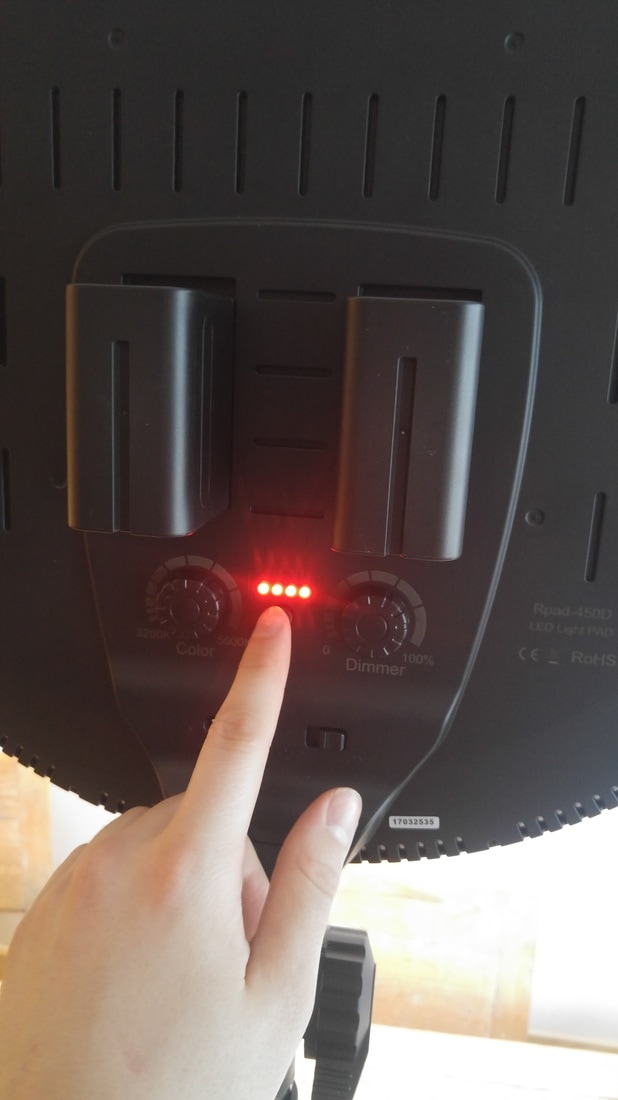
Okay, let's see what we got here. Two slots for Sony NP-F550/570/750/770/950/970 batteries. It dims from 20%-100%. When it goes under 20% it turns off. There is an on/off switch, A 15V DC input and and the text "Rpad 450D LED Light PAD". A quick google search on that reveals the light is also purchasable rebranded as Mettle, and many other brands. Who the original creator is, is unclear to me. But considering my light has no branding, I would think this is as close to the original source as it gets.
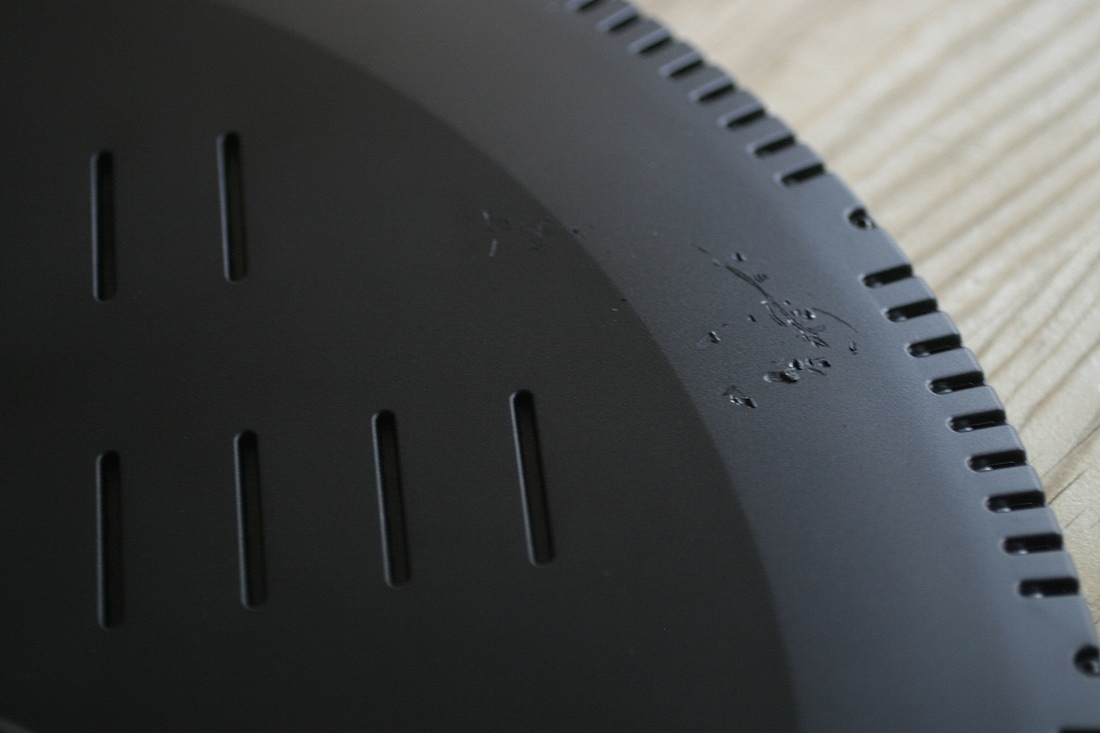
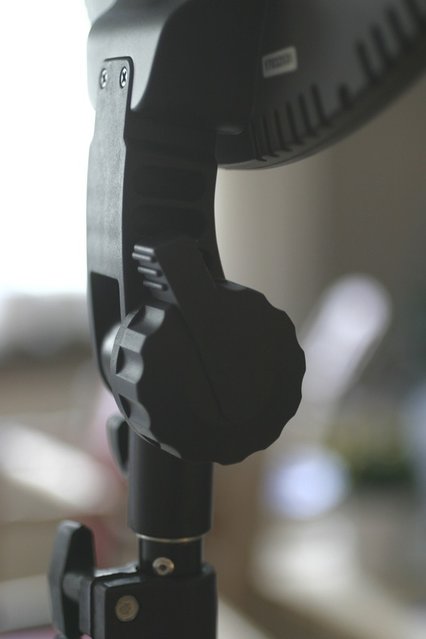
Not really loving the tightening knob. It's made out of plastic and locks on plastic "teeth" that I am sure will wear out after a while if it is re-adjusted often.
On the back here there is a battery indicator. It would have been nice to have something a bit more accurate. Also you can't check the battery level without turning the light on. Speaking of battery life: I got 2 hours and 5 minutes on a full charge. After that the light made a low popping sound and fell a few stops in brightness. At this point I could no longer dim it or change the color temperature. I let it stay this way for 10 more minutes until I turned it off because some sort of auto-shutoff had failed. Turns out I was right as I was no longer able to turn it on after this point without charging it back up again.
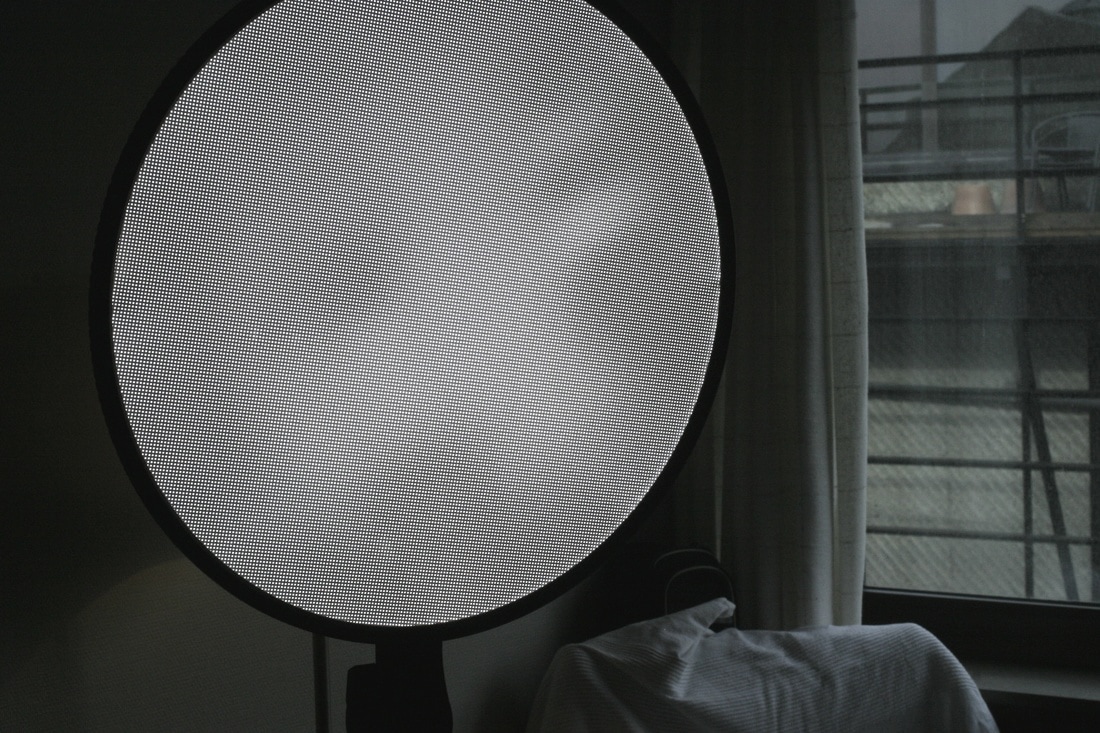
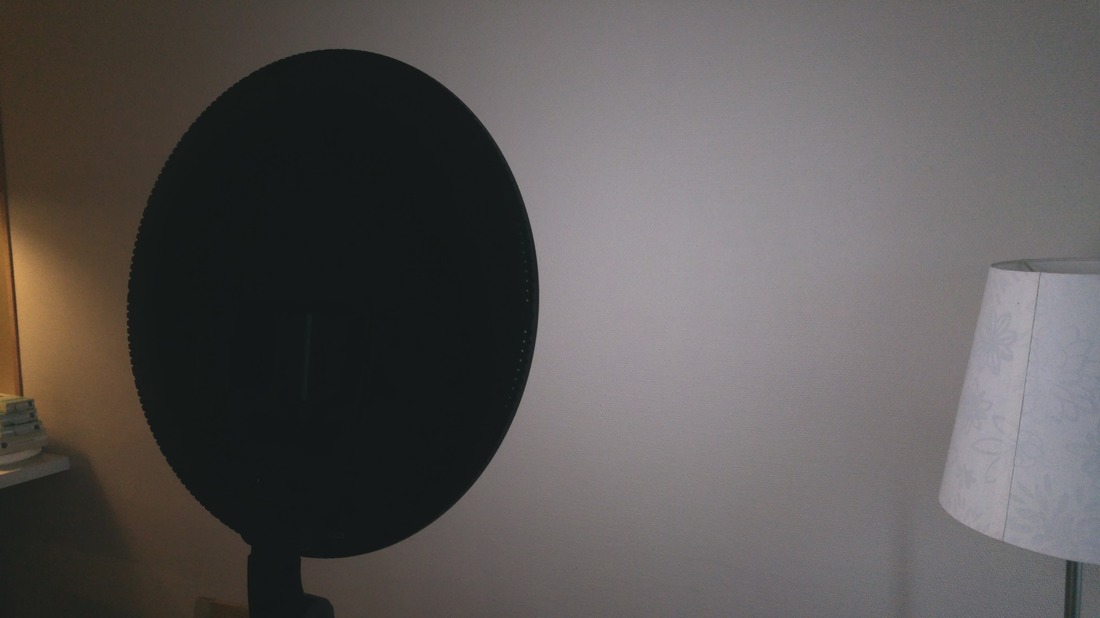
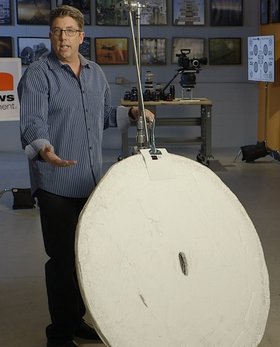
The thing that really made me want to get this light was the possebility of getting a beautiful round catchlight (reflection) in the eye anywhere! I really like what cinematographer Shane Hurlbut (bottom left) does with his big round bounce boards. The LED light is a smaller source, but the battery powered feature and variable color temperature (3200K-5600K) makes it sort of a portable "bounce" light that can be fired from any angle.
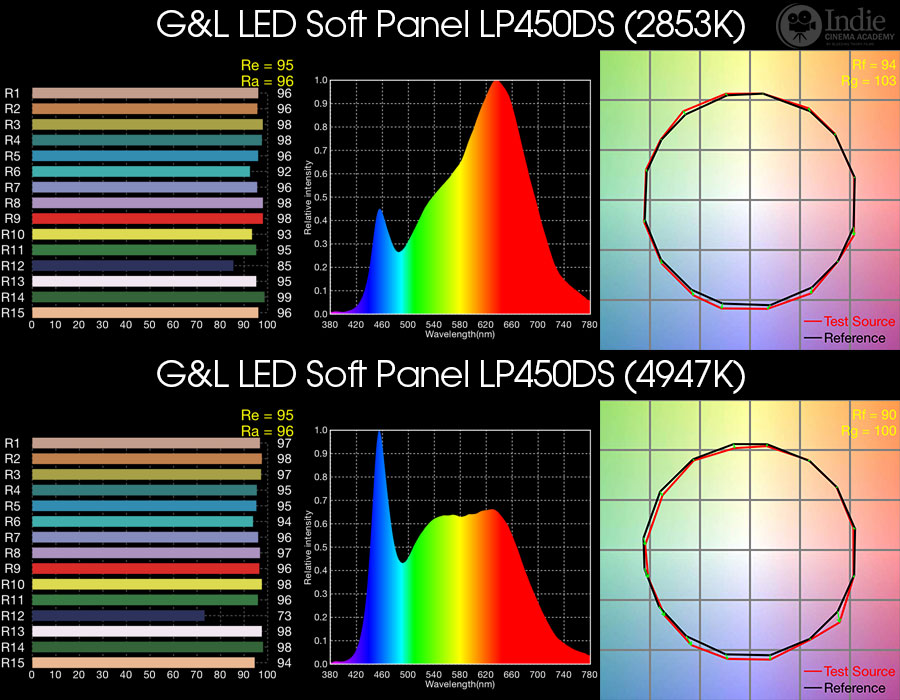
Color accuracy
I don't have acces to a full spectrum color meter so I'm going to post the results Indie Cinema Academy got at NAB 2016.
Practical indoor test
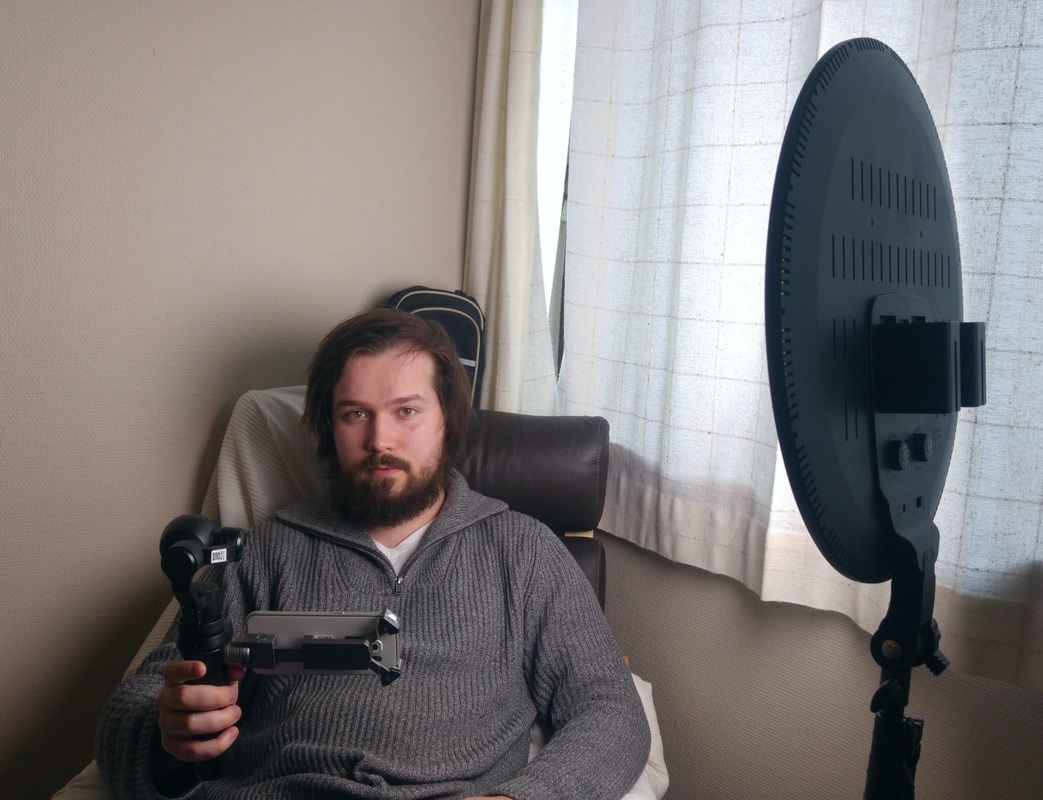
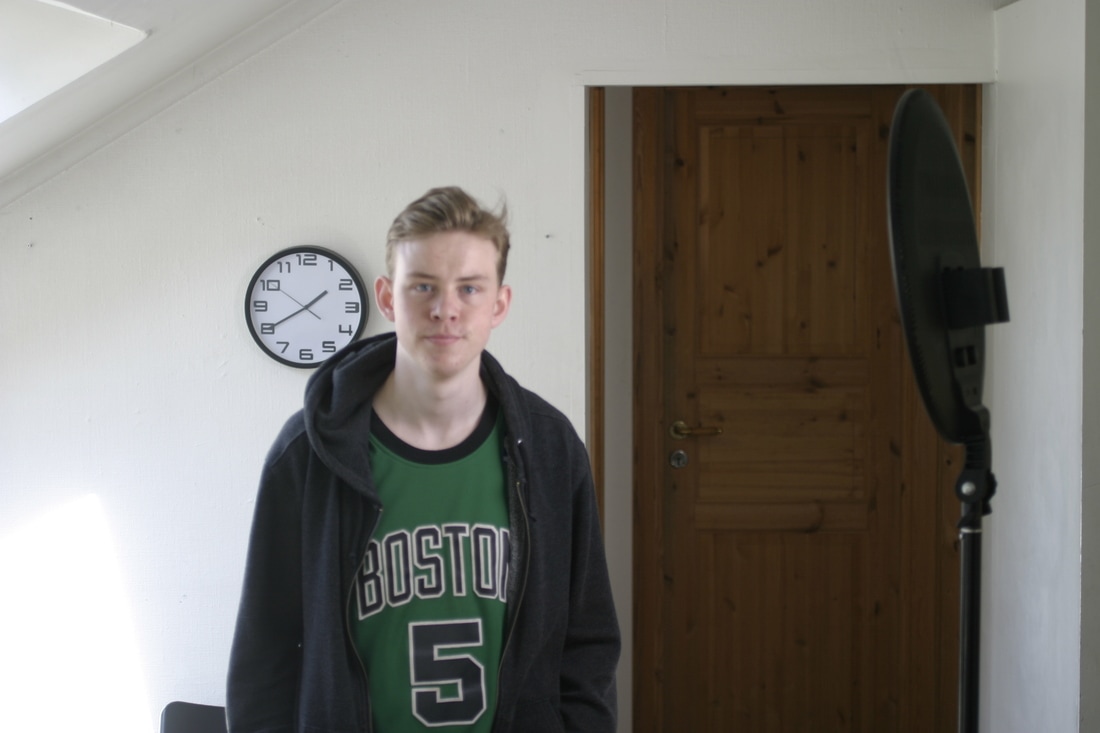
The picture below shows the distance between the light and my flatmate. It also shows the surroundings. Mostly ambient skylight, with some direct sunlight bounce bottom left. A really bright day. The LED light is 100% brightness all the time.
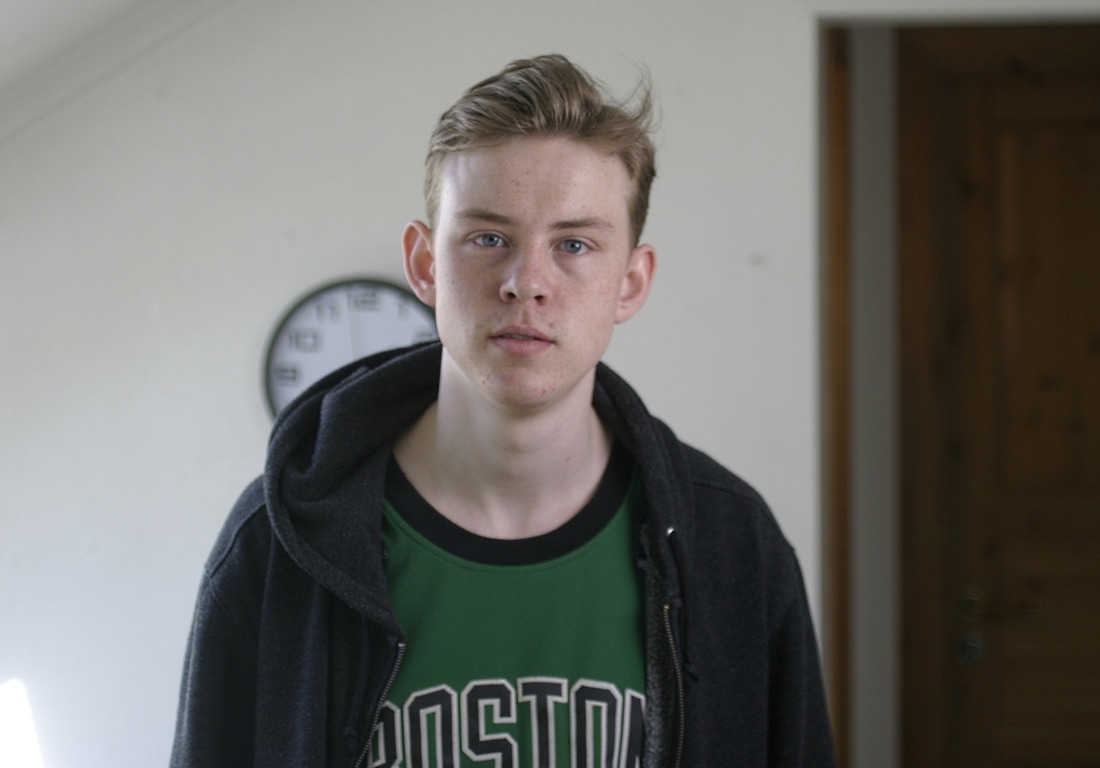
Our model moved a step closer to the light in the following shots
The light can provide some fill in a wide shot. But you have to get really close to use it as a key. Regarding color, his "lit" side is warmer, but that is to be expected due to the ambient skylight being much cooler by nature. (10.000K-20.000K) When I saw this in the camera viewfinder he looked just a tiny bit too magenta. But on my monitor now it looks fine. I'm pleased with the color.
Practical outdoor test
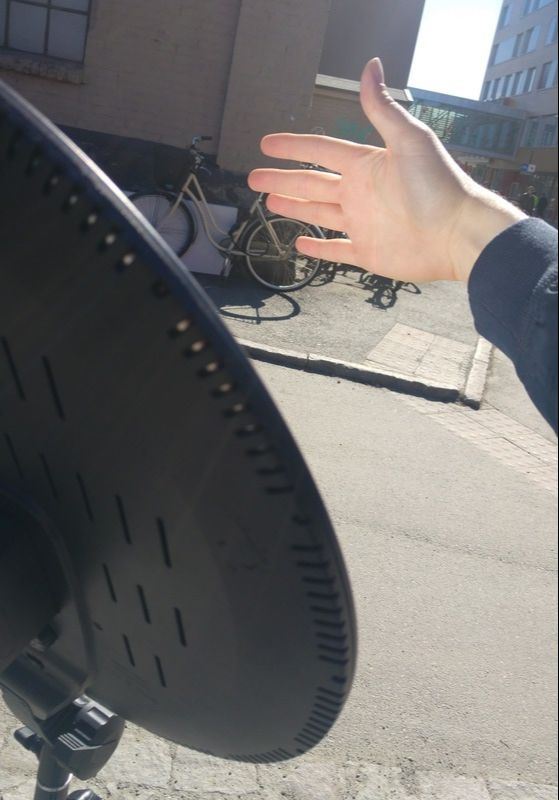
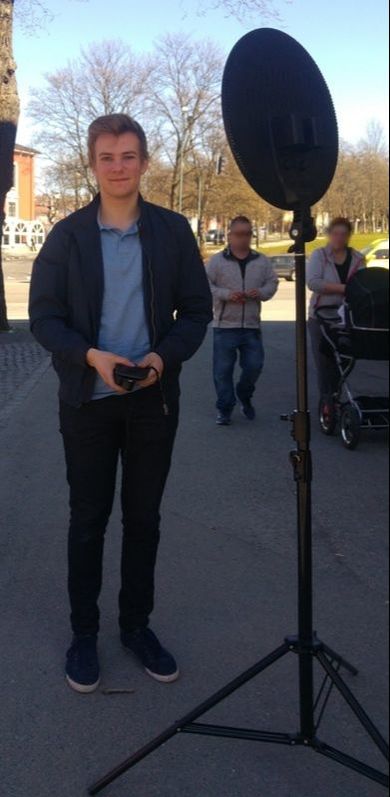
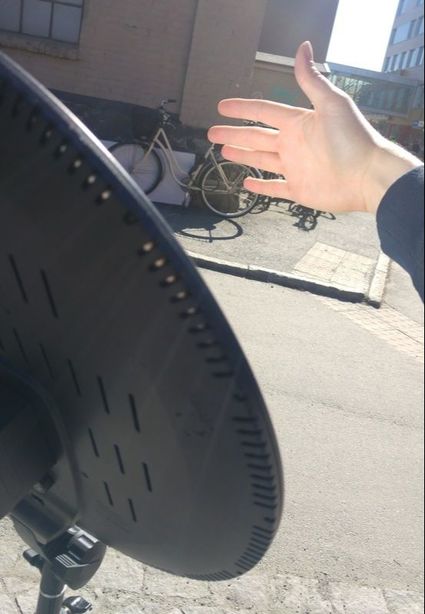
The light output, while perfectly fine inside, turned out to be quite hopeless outside. In direct sunlight you will get much more light output using it as a bounce board than as a light. Only standing less than a meter away did it really do anything of use, even in the shade.
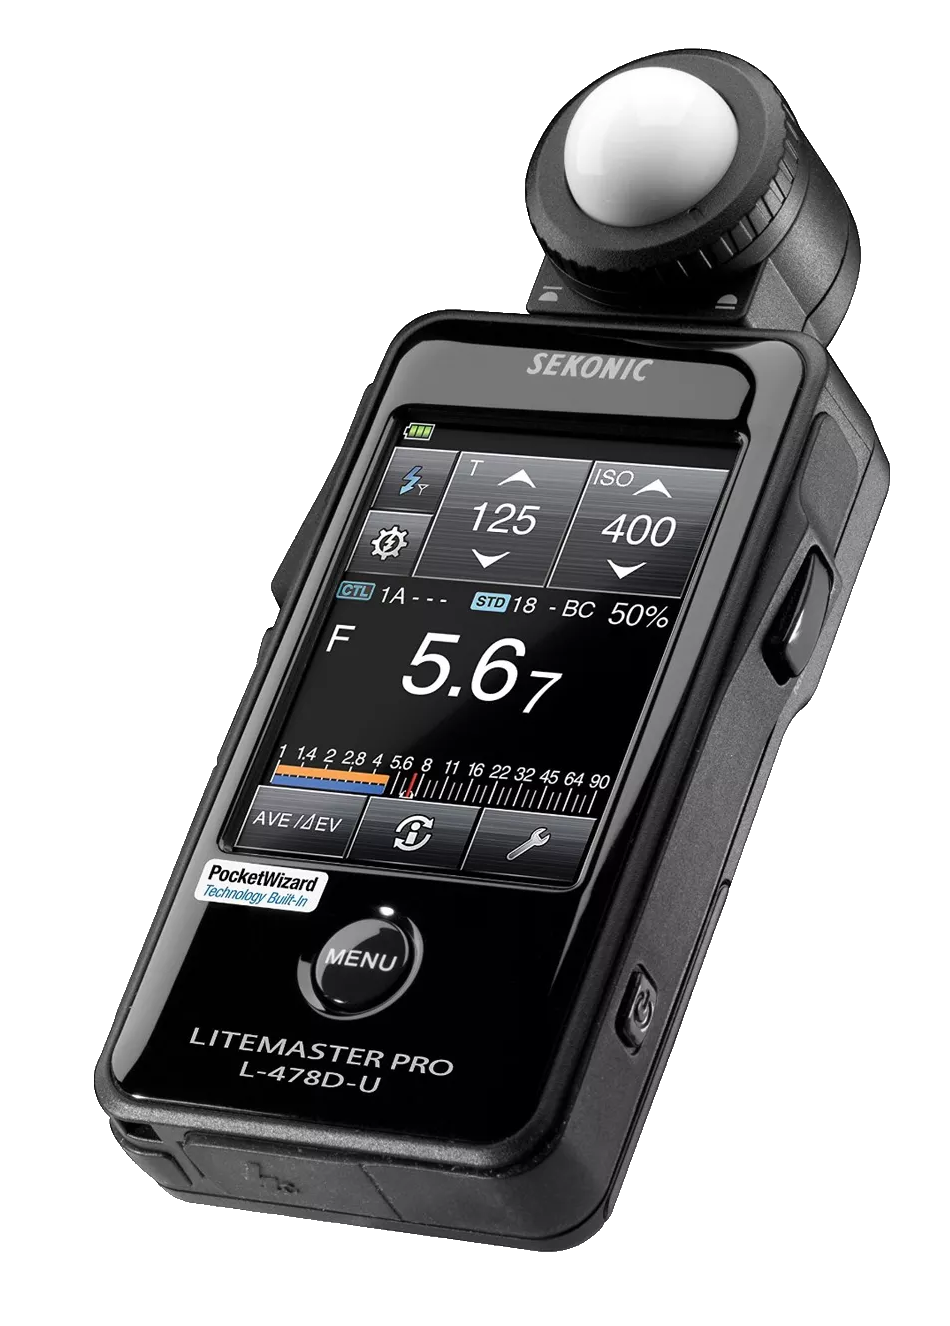
Measured light output
Summary
Pros:
Good for run and gun shoots in dark environments where it lets you move fast and wirelessly, or boom it handheld. It's not a must have unit. But if you want that round catchlight in the eyes of your subject wherever you are, it's worth a buy. The light can be bought here. 70W LED Fresnel (GL-LED70WAD)
This one I bought together with David, mostly because I was interested in trying the LED Fresnel technology, and this manufacturer in general as they seem to be pushing the boundries in China. What's cool is that they will customize it for you. 3200K or 5600K? 5 pin or 3 pin DMX? Want your logo on it? No problem! Any plug you want too. It's also available in many other wattages up to 200W.
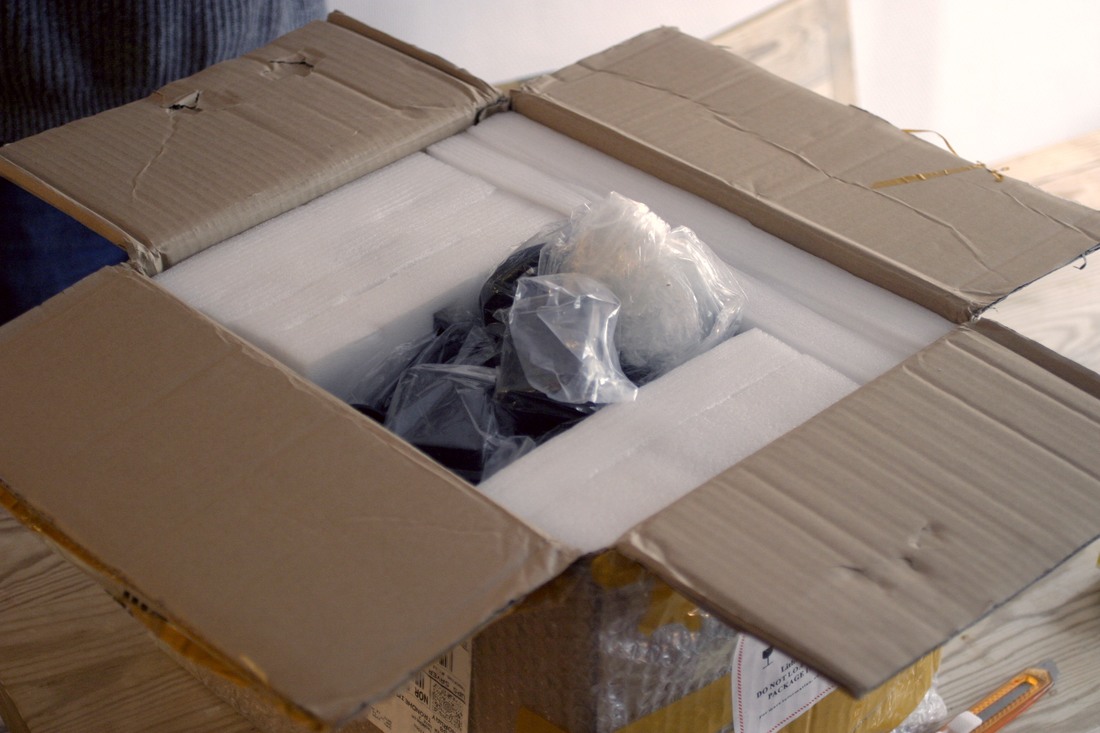
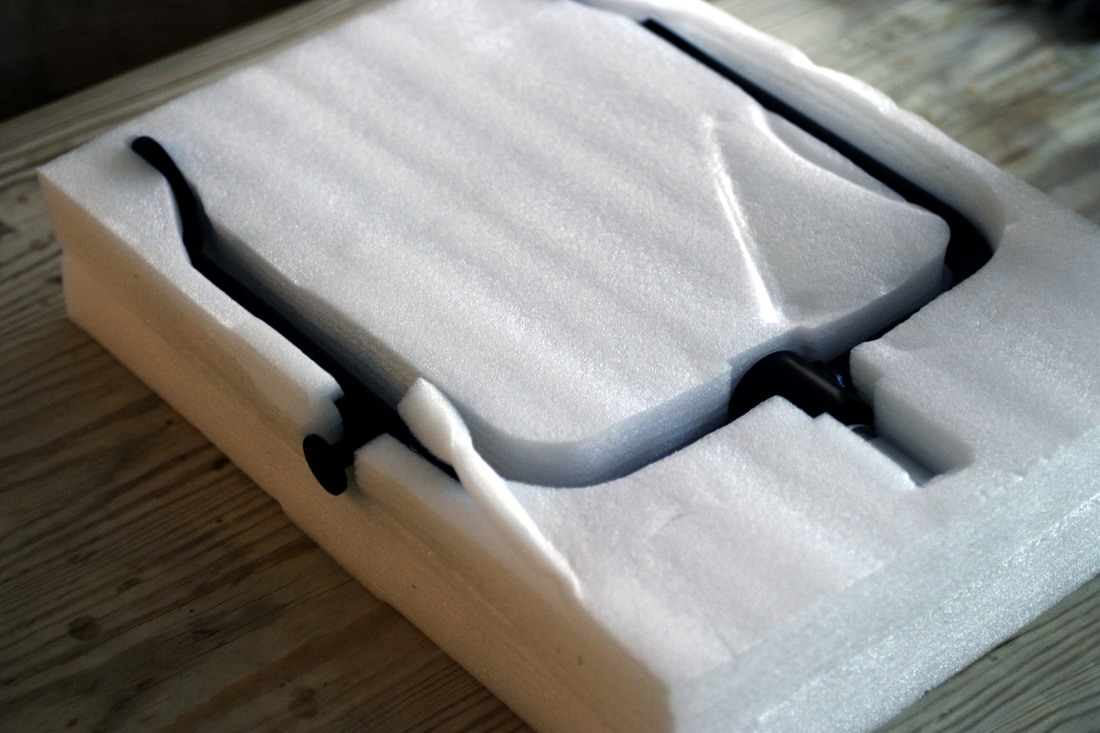
Unboxing
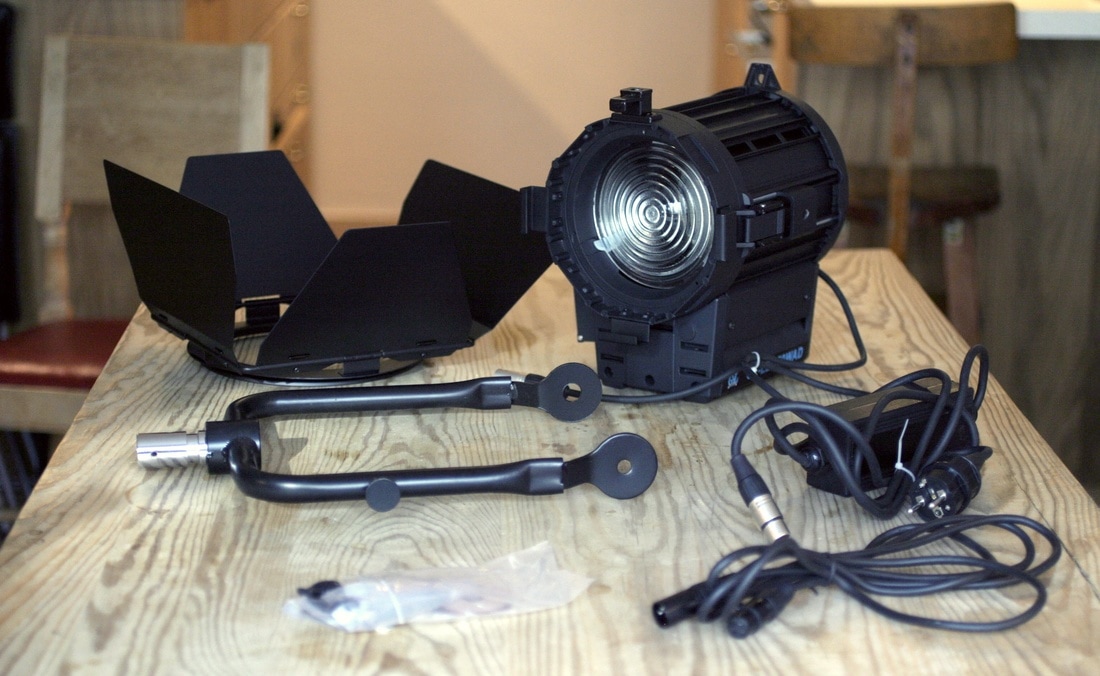
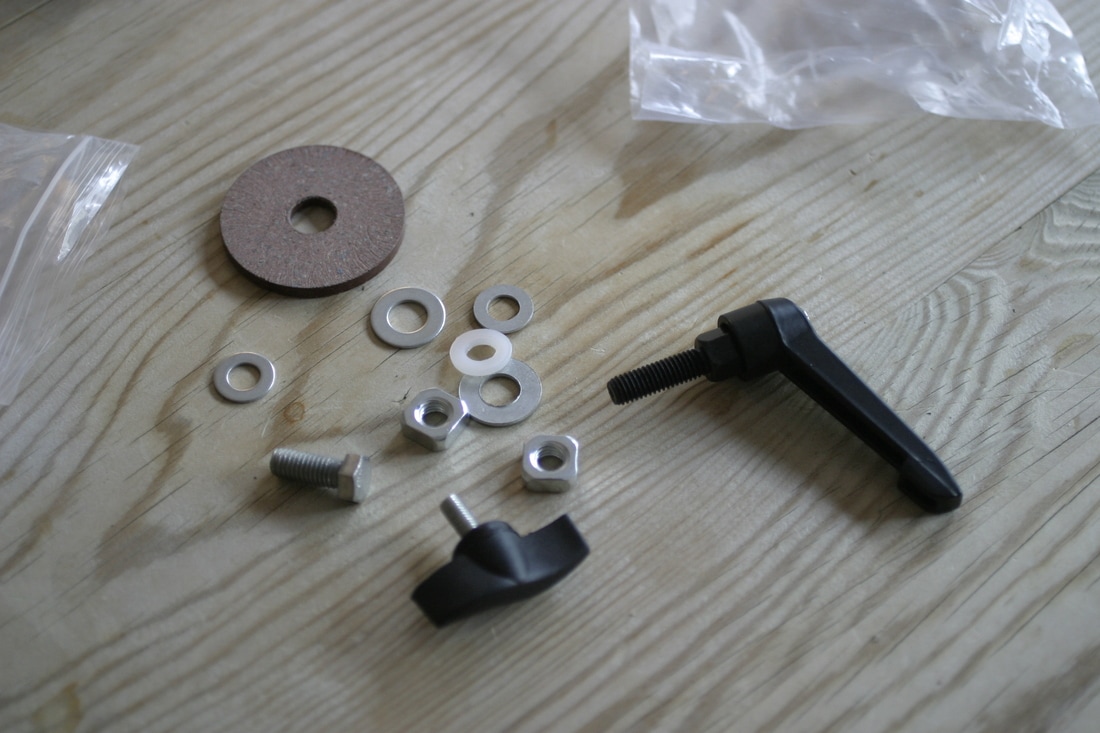
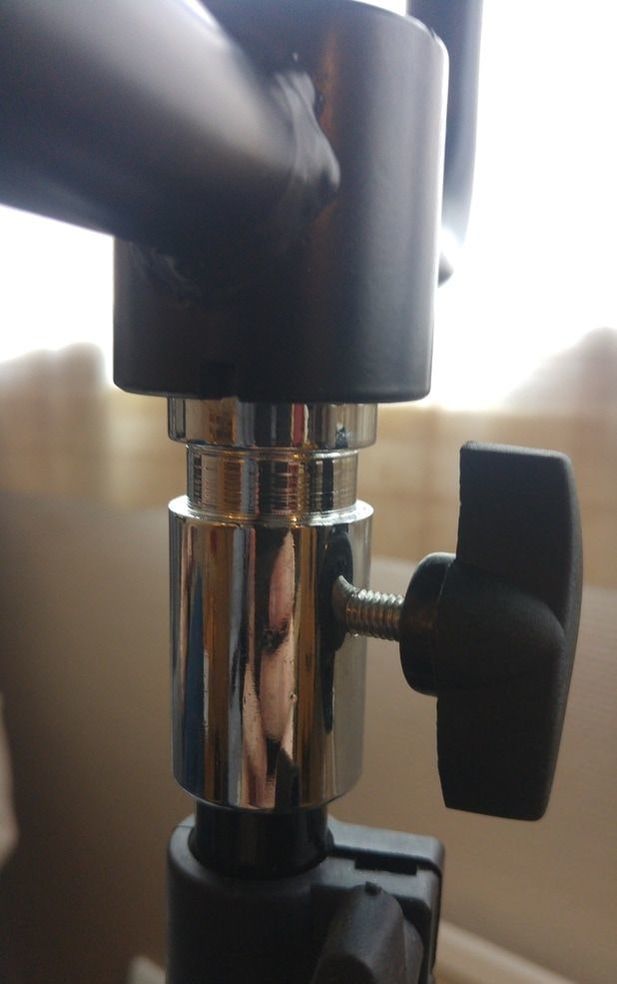
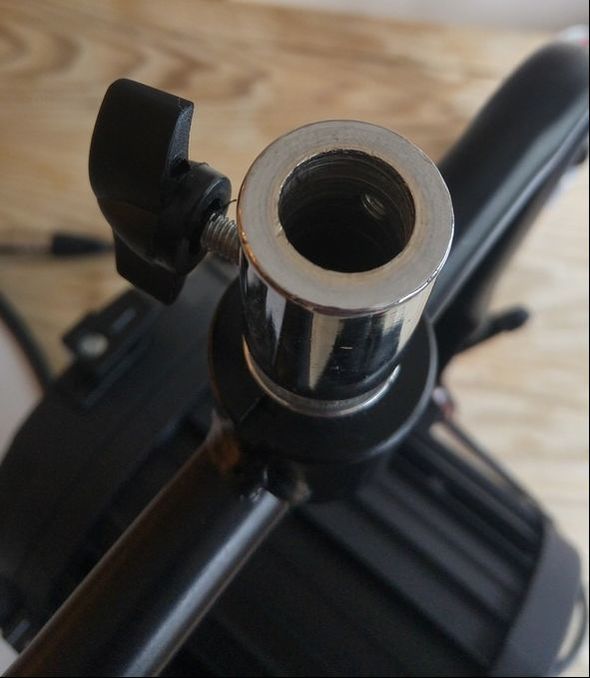
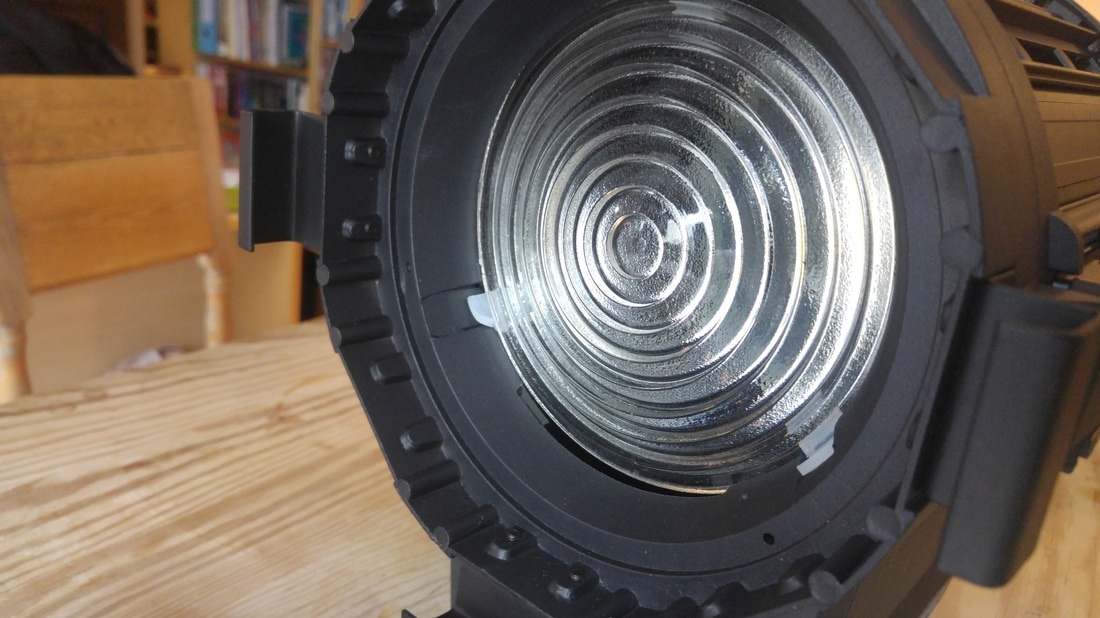
Assembly was a bit of try and fail. There were no instructions so me and david pretty much gussed what went where. But it's not like too much can go wrong. We got it to work fine afer a few minutes.
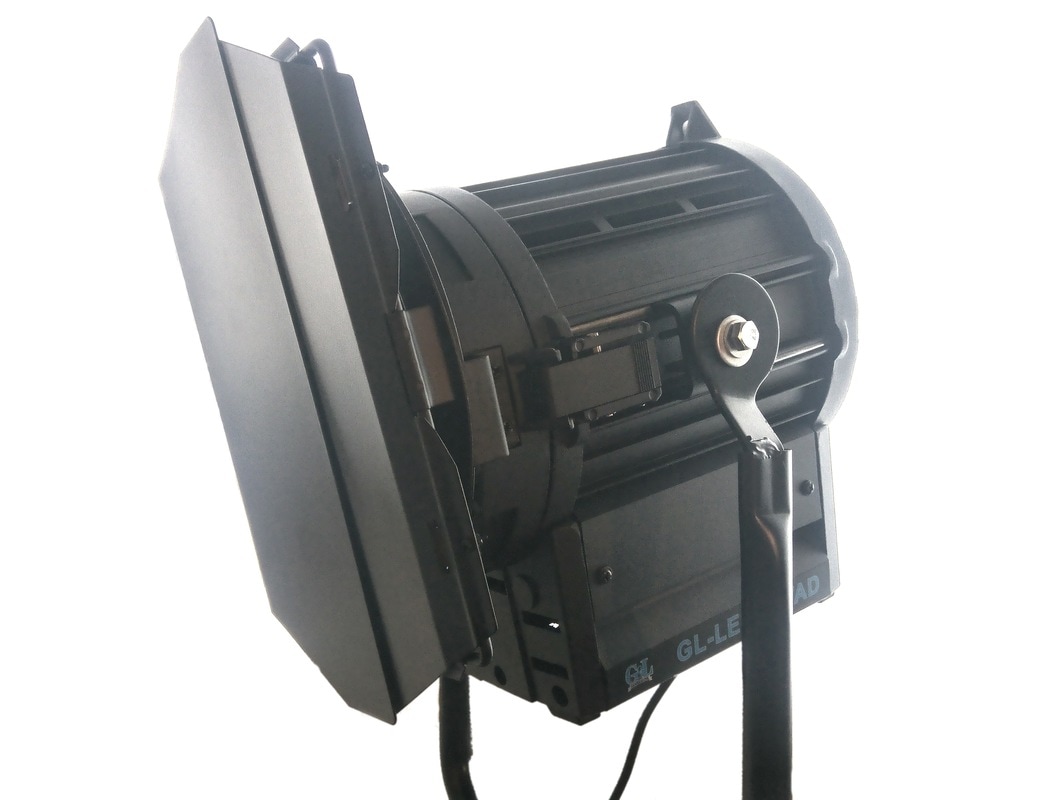
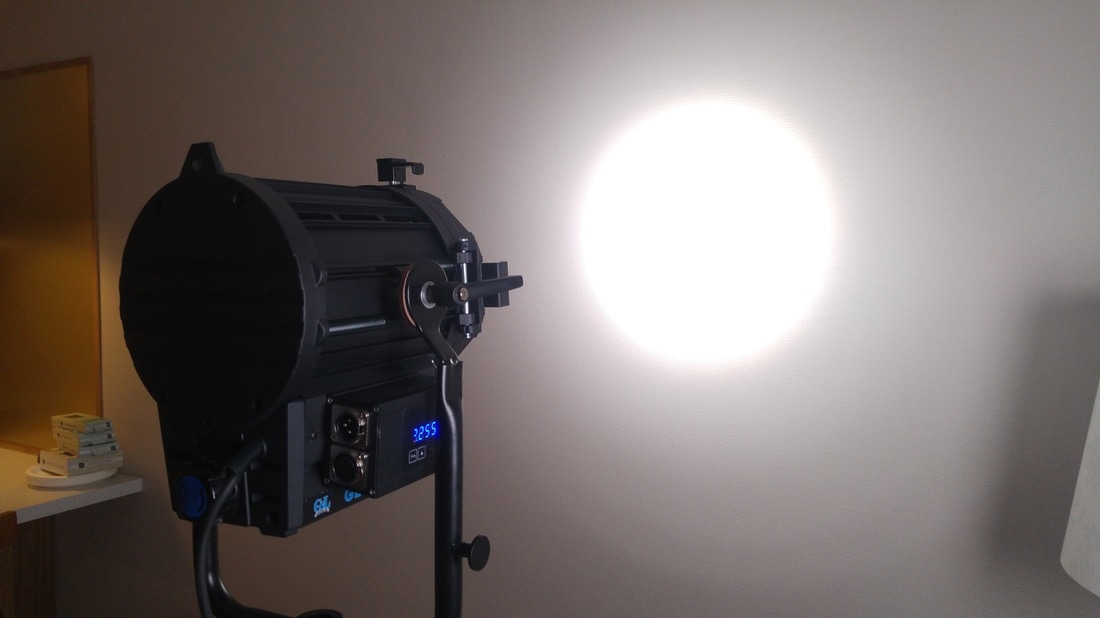
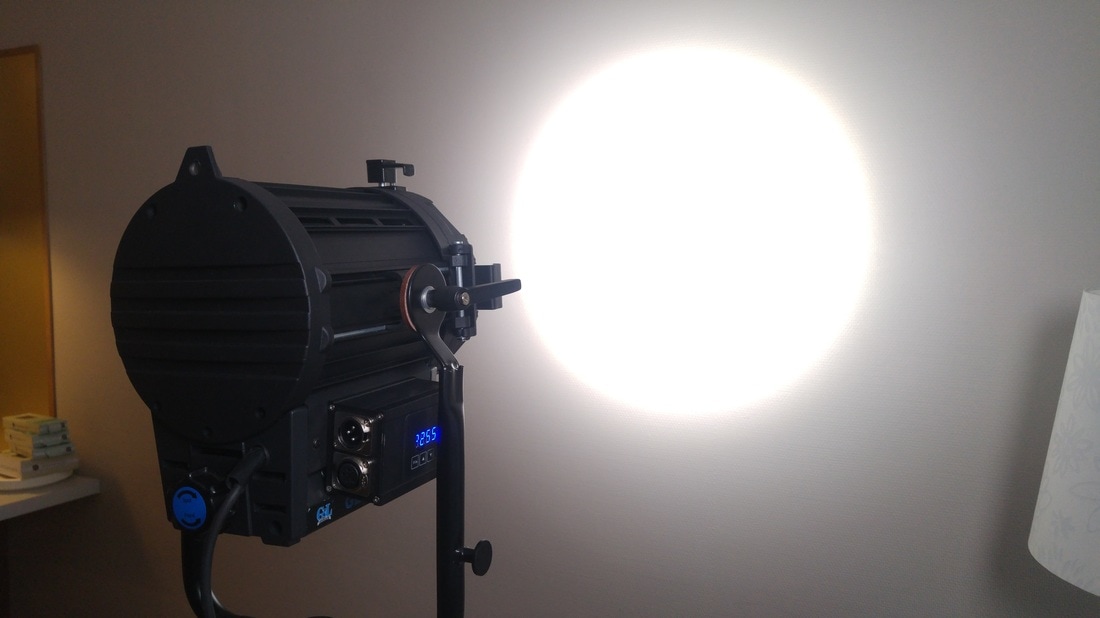
The light appears to use the same housing as my 1000W Roccer tungsten light, also made in china. Barn doors are nice.
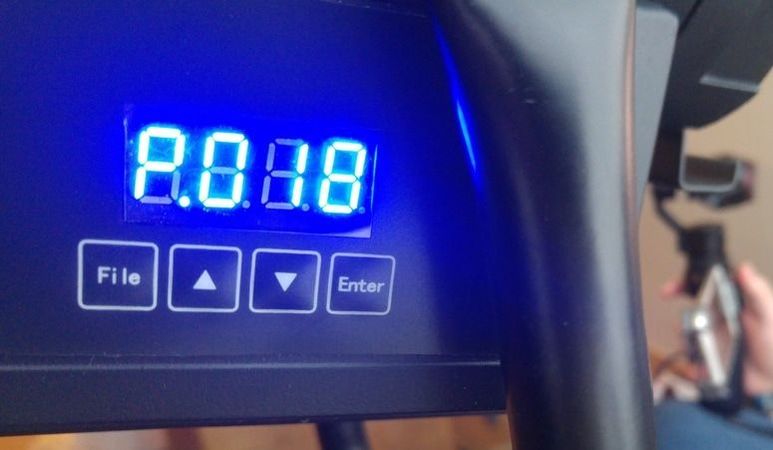
For controlling the light there are two menus, which are cycled with the "Enter" button. One for setting the DMX address, and one for setting the brightness/power (Signified with a P, as seen above). Power goes from 0 to 255. I have two issues with changing the brightness of the ligth:
1. The buttons are too small. 2. The buttons are located under the mounting bar. So if the light is mounted on the ground, it covers the display and the buttons. If the light is mounted from the top this isn't an issue. Considering the text is wrong it is quite easy to assume that this is an off the shelf part they cut costs by not customizing.
Color accuracy
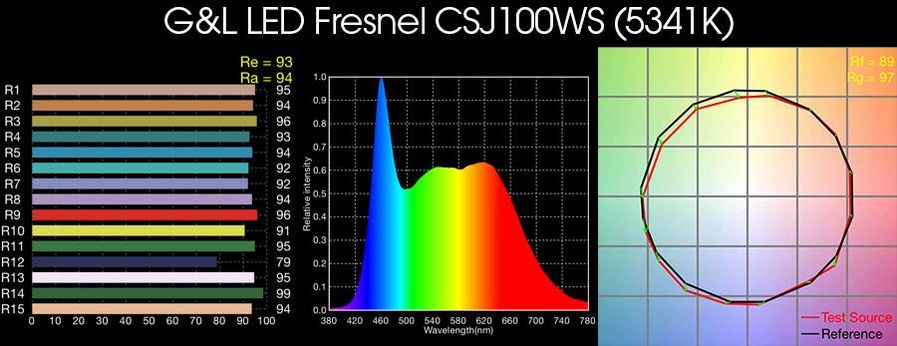
I don't have data for this particular model. But there is independently tested data by Indie Cinema Academy for the GeneraLink CSJ100WS. Which is bi-color fresnel released around the same time as this one. One can assume the color accuracy will be similar, as high color accuracy is consistent in all tested GeneraLink products.
Peeking inside
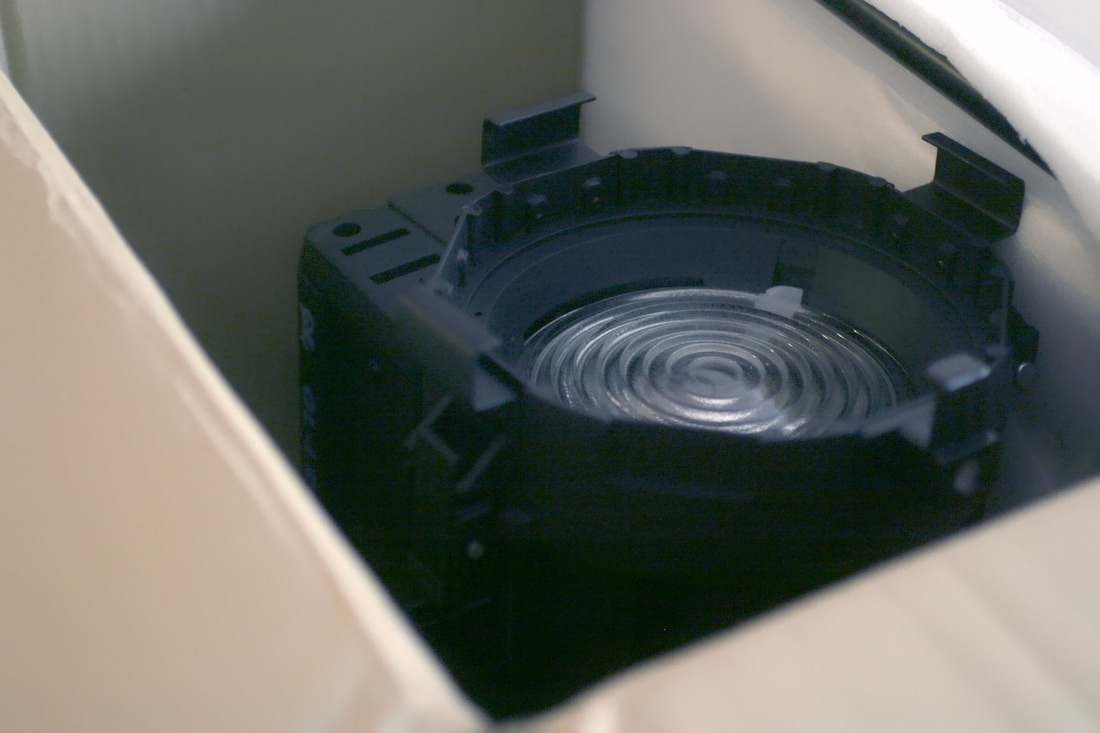
I couldn't figure out how to open the lens door, so Jessica at GeneraLink made this video for me. Great customer service!
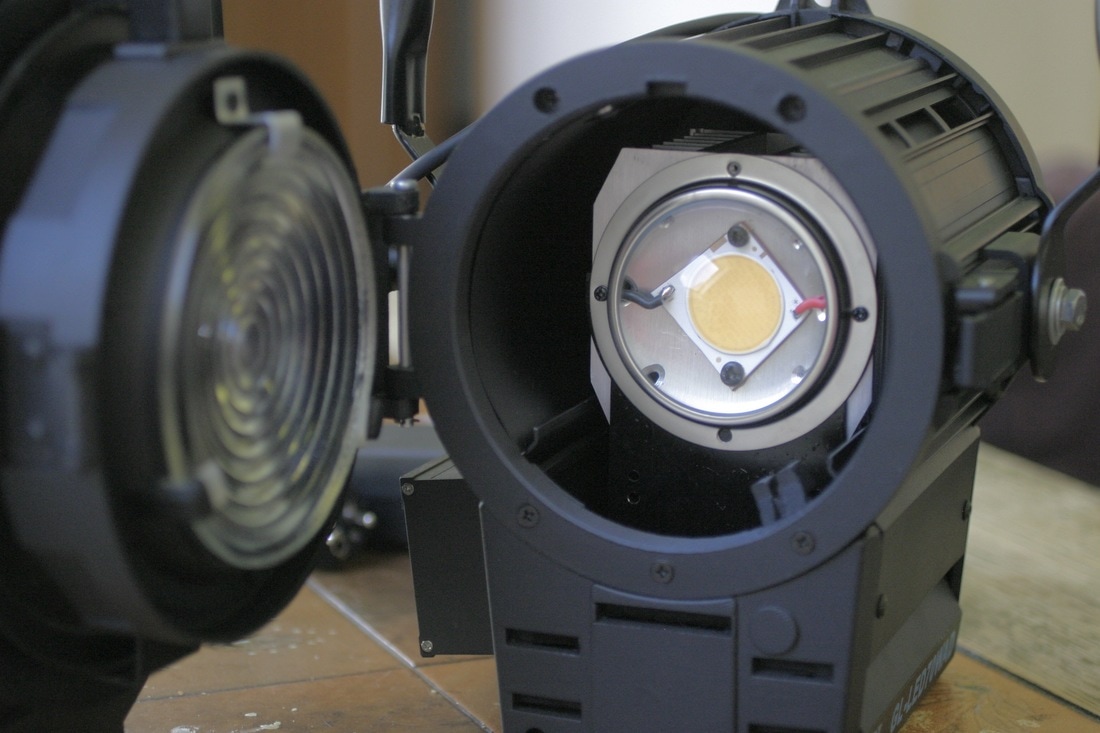
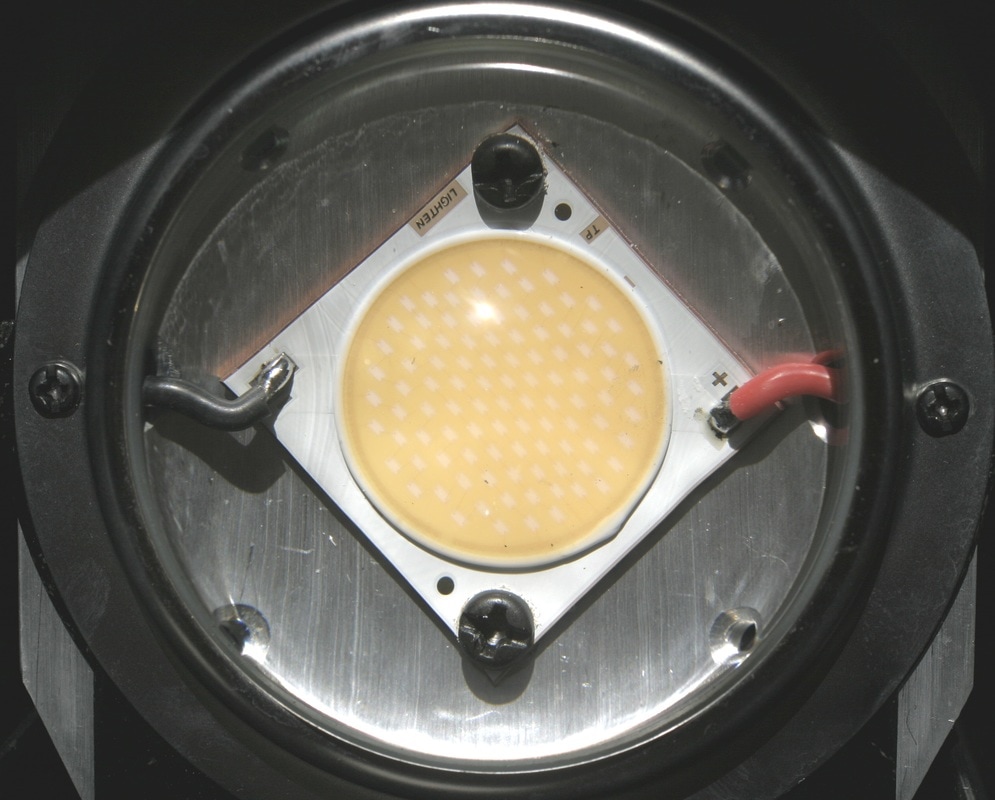
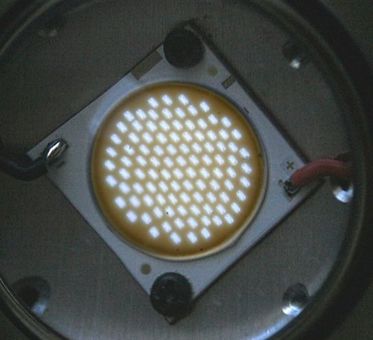
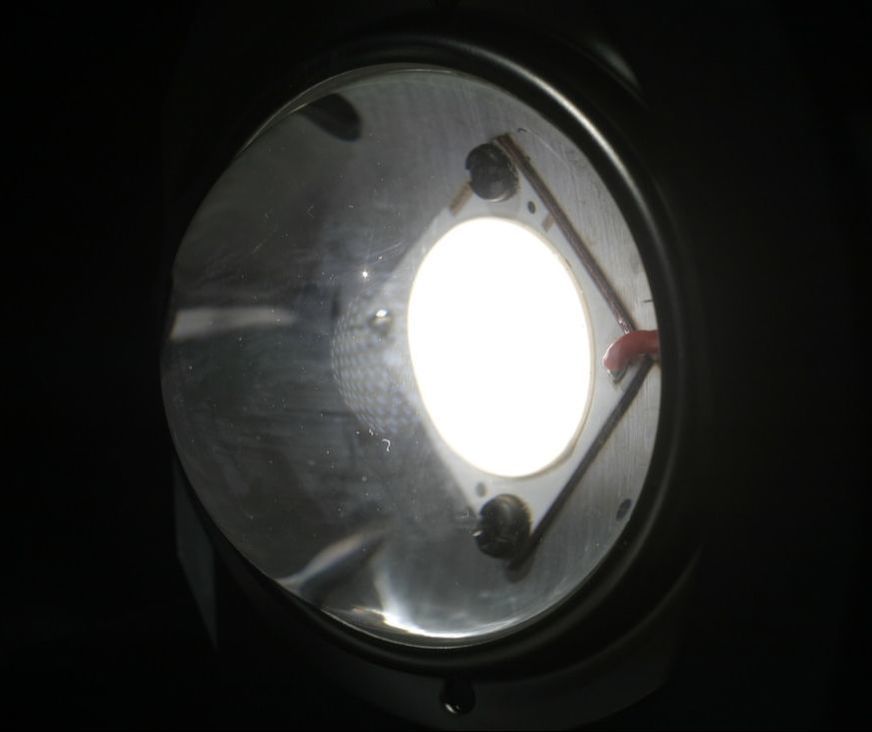
Opening the light reveals one big Chip On Board (COB) LED. This contains many small light emitting diodes that together make one source.
Venting holes in the power supply?
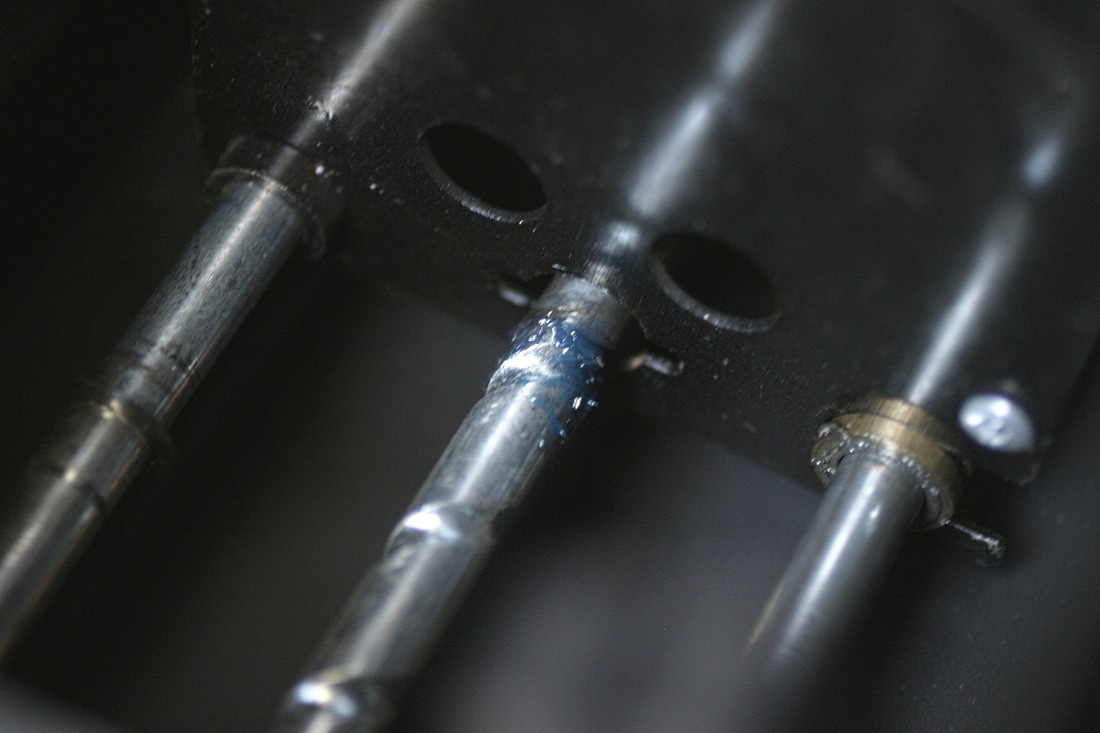
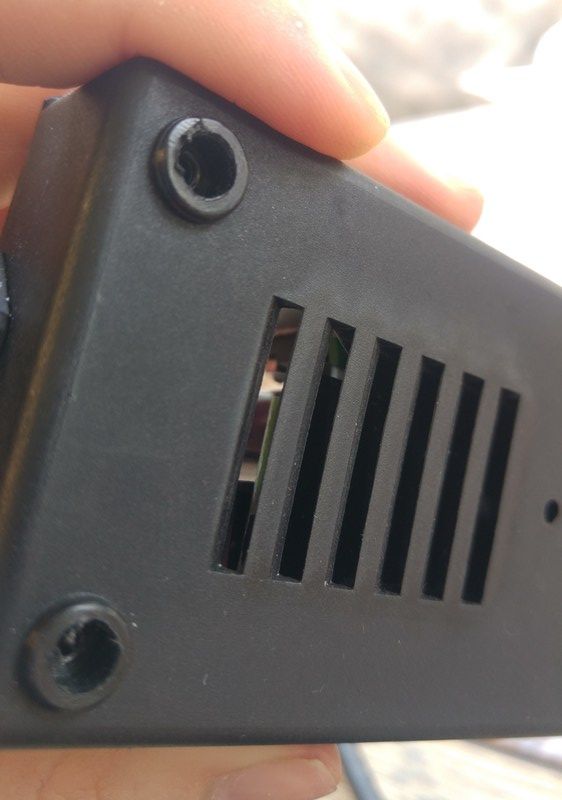
A very weird design choice are the venting holes in the power supply. As you can see there is no filter so dirt and water can easily get in here. The power supply is normally on the ground. If I'm bringing this light outside or into another environment that isn't almost completely sterile I might have to make some sort of DIY filter to keep dirt out. And cover it completely with gaffa tape when working in a wet environment. I don't really know how the components inside will react to that yet.
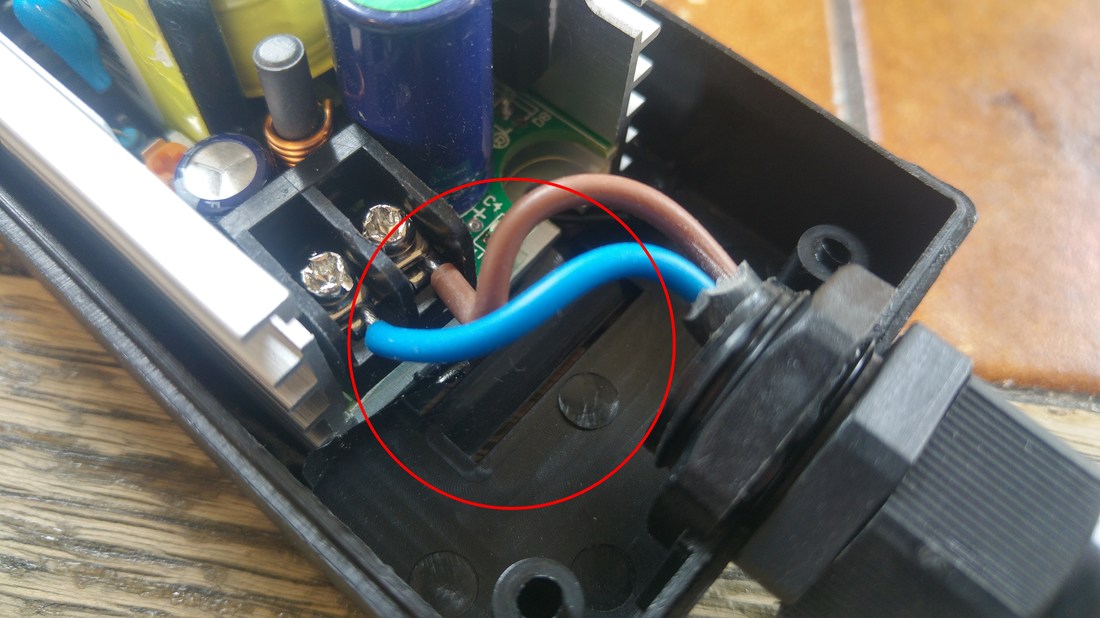
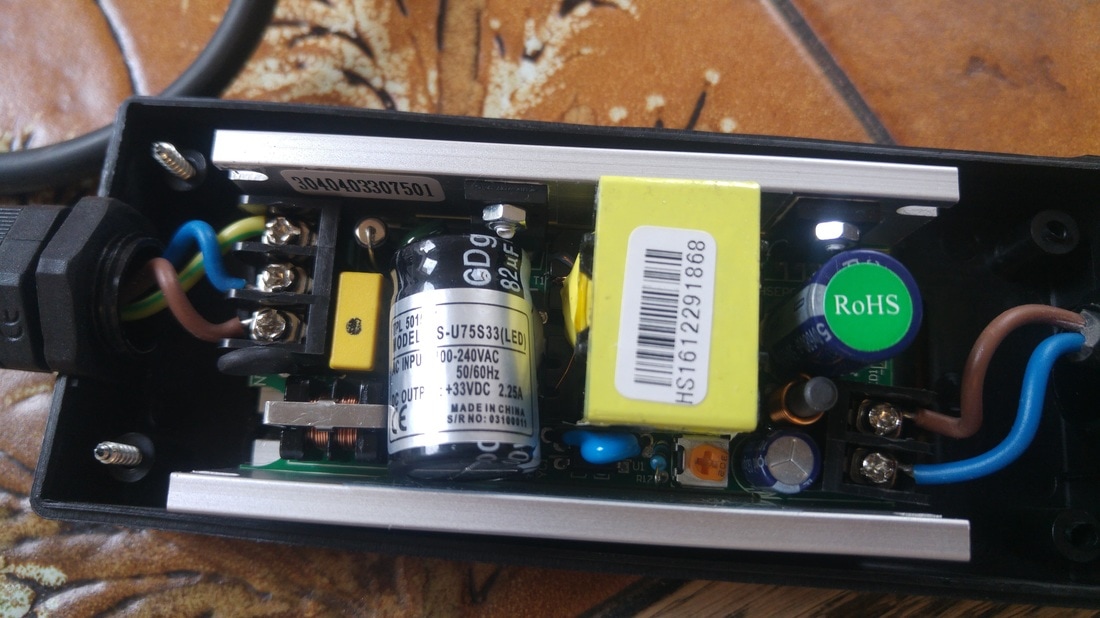
Here is a picture of the inside of the power supply for those interested. The only thing I can tell you is that there is proper grounding for the high voltage part.
Testing
Okay, let's take a look at what kind of light it produces.
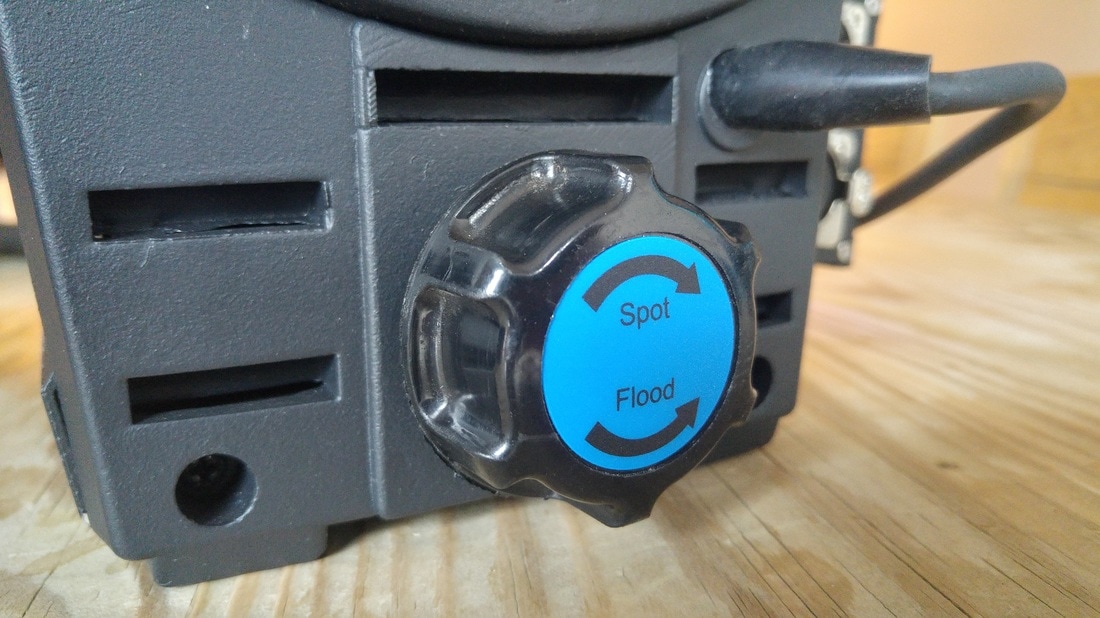
I remember thinking I expected it to be a bit wider when on full flood. But the tight spot beam is very impressive to me. Notice how the shadows aren't completely sharp. Because the source of the light is larger than a typical lightbulb, this LED light won't give you as sharp shadows as a tungsten unit. But it's very close, especially on full flood.
Measured light output
Summary
Pros:
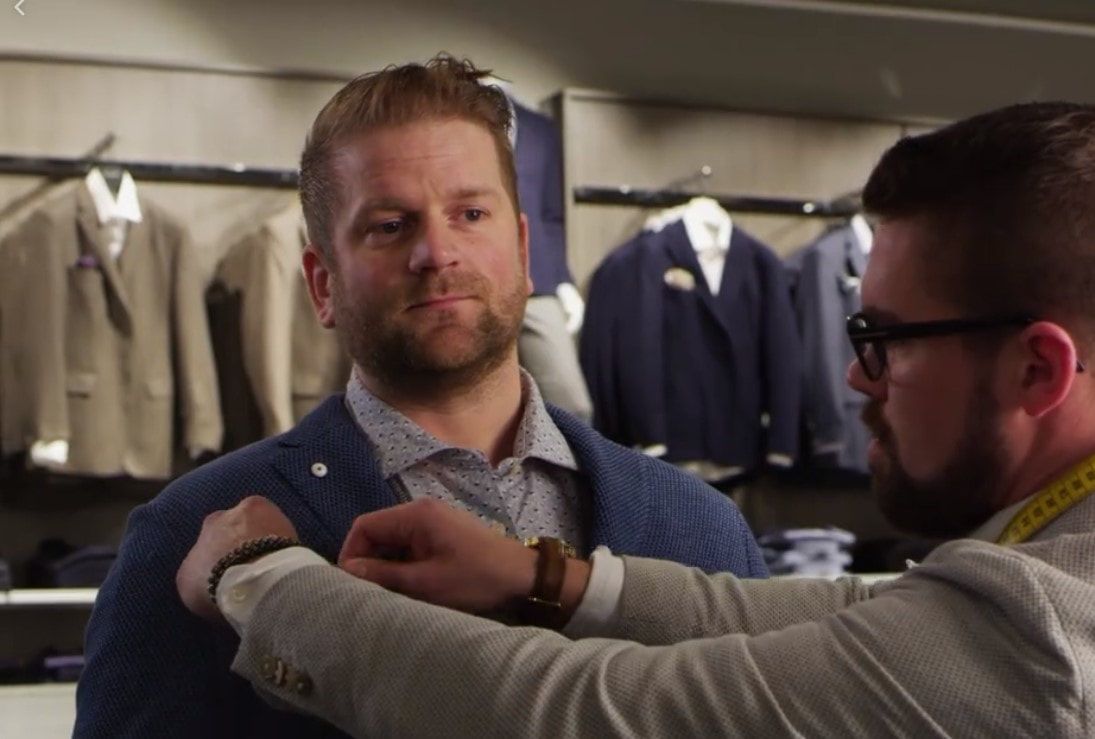
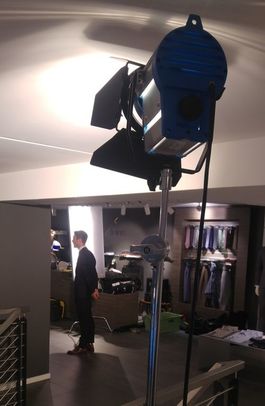
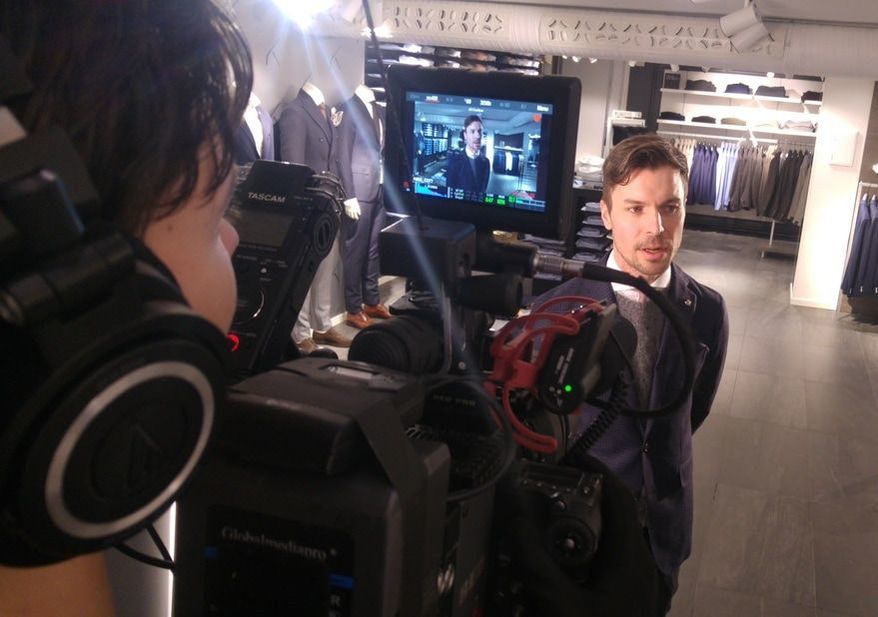
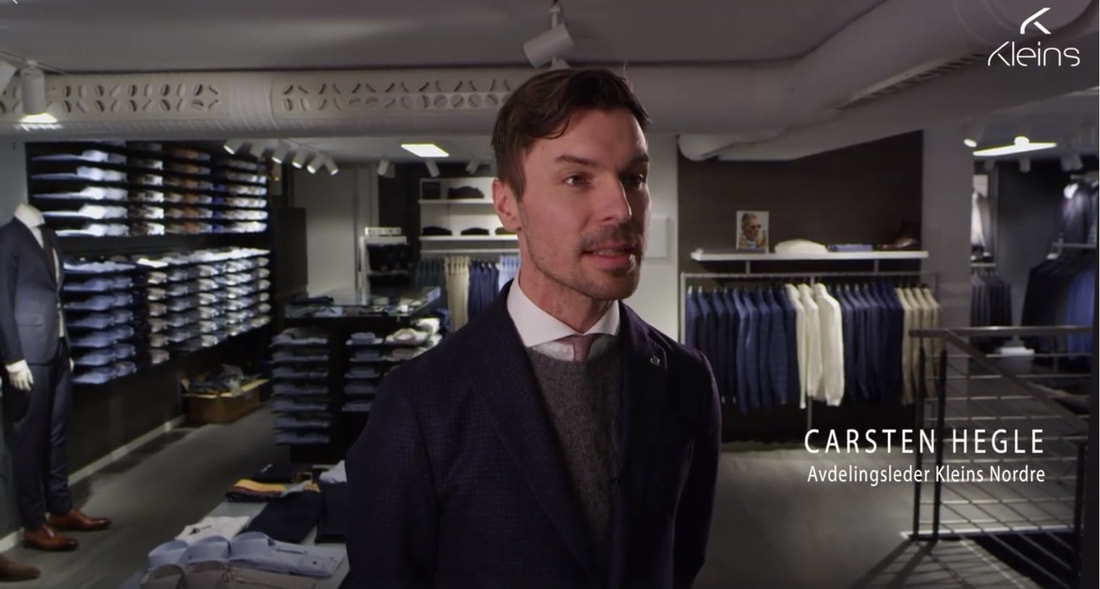
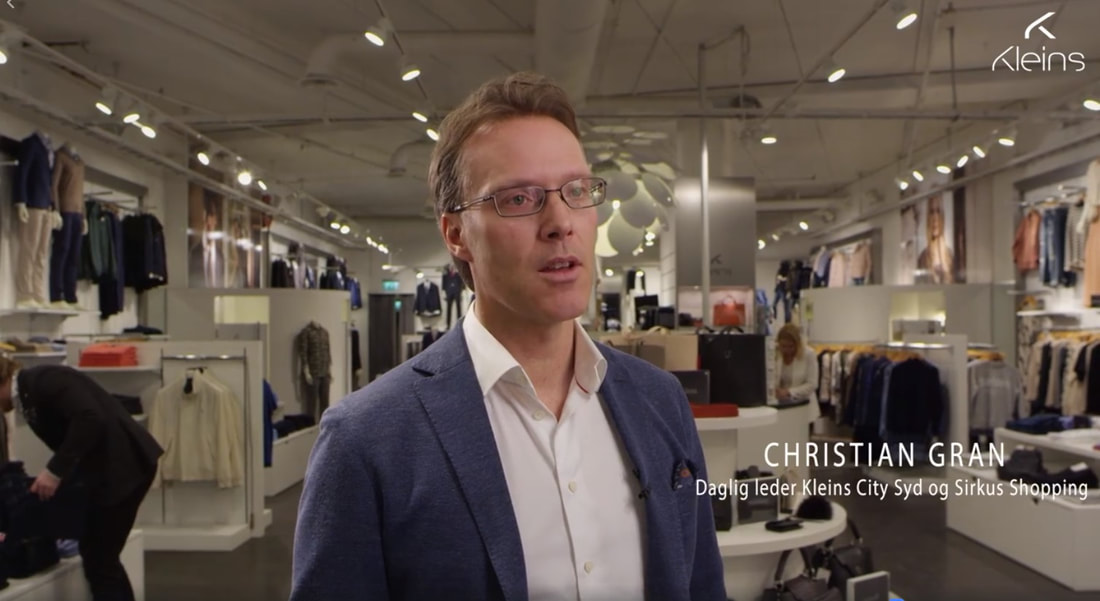
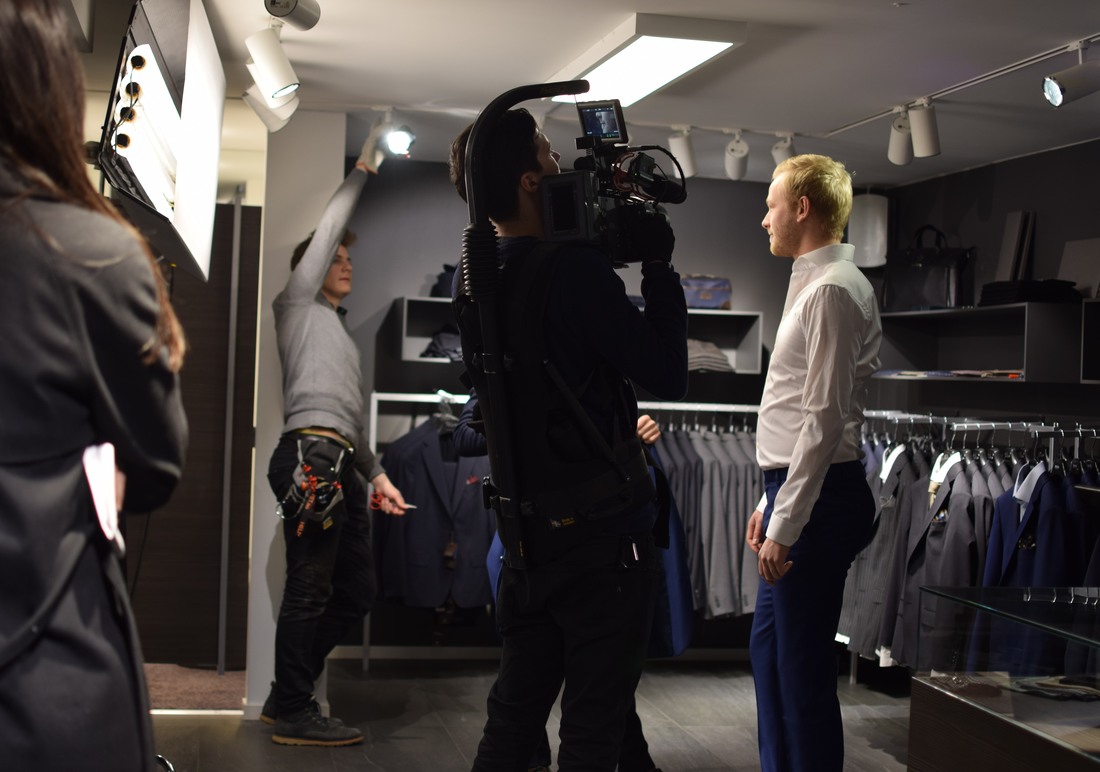
I'm going to be using this light as a hairlight or kicker when I'm shooting daylight balanced. For example in combination with daylight balanced kino-flo lights. The DMX and precise on-board dimming make it very practical for this purpose. It could also work as fill when diffused, but only in in close to medium shots. I think it's going to last. The light can be bought here. Final thoughts: The company GeneraLink has been very helpful in answering all my questions and usually replies via email in 24 hours. If you add them on skype or WeChat it's probably faster. I'm really looking forward to seeing if they can push the LED technology further. What I want are stronger lights. Possibly creating a cheaper rival to the Mole Richardson 900W LED? You can reach me on Twitter & Instagram or in the comments if you have any questions! A while ago I did a social media commercial shoot with one of my friends Eivind André Bjørnø for the norwegian clothing reseller Kleins. We went to 4 locations all over the city in one day and got around 25 shots. With no lighting the results could be something like: Why is this terrible?Top heavy lighting is terrible for commercials and corporate videos because you want to see a persons eyes. Having no lighting in the eyes is like the subject wearing sunglasses. There is no connection. You are alienated from the subject. Not to mention films use it to show misery and loneliness. We wanted to show honest employees and managers talking about their stores and customers. So the audience connecting with the people in the videos is key. How do we fix it?Relight the entire store! Just kidding, that's what a feature film would do. We are two guys, DoP/Director/Sound recordist Eivind Bjørnø and me, the gaffer/AC. And we are going to make these people look great. For example like this: Our preconditions are:
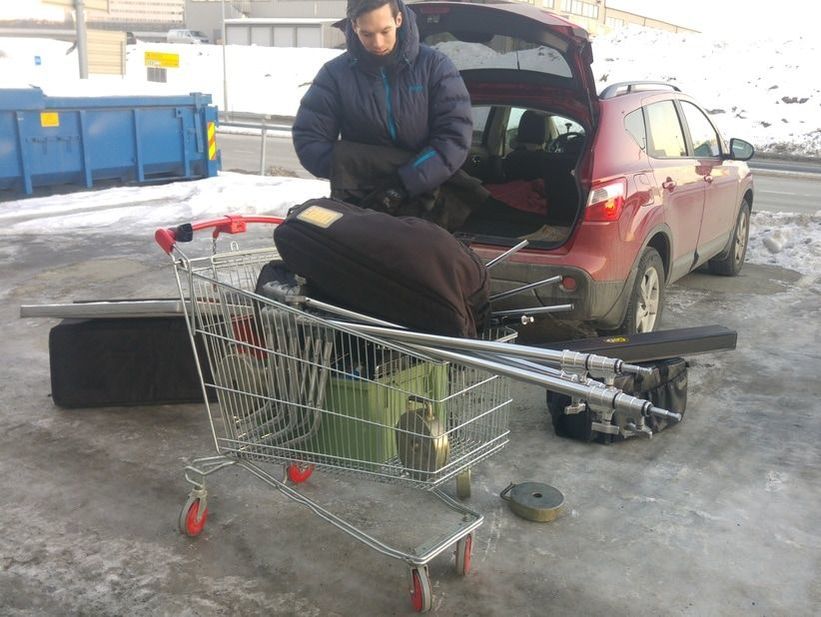
1. FLAG THE STORE LIGHTING OFF THE SUBJECT 2. Add a soft key lightWe lost some light removing those spotlights. Now it's time to add some of our own. Lighting the subject a stop or two over the background is good because our eyes are drawn to the brightest spot in the frame. It also creates separation. 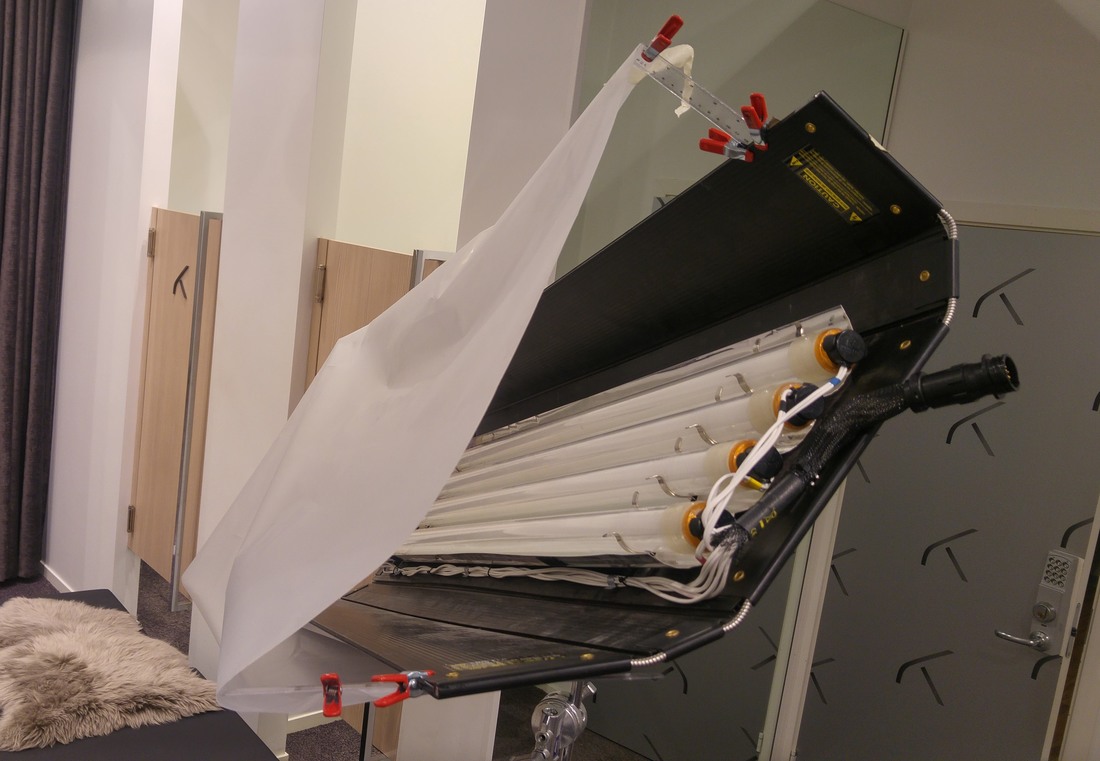 Need a softer source? Increase the surface area relative to the subject! The diffusion makes the source bigger so it softens and flattens wrinkles. In my case I knew one of the employees had some wrinkles, and I hacked together this cheap solution from things in my home. No time, money or space in the car to set up a diffusion frame. And this setup surprisingly enough survived being moved around! 3. Add a hairlight/kickerAlmost always good to get some seperation from the background. And a hairlight and or kicker just makes things look high production value. The little extra effort really does it. The results turned out pretty decent, especially considering the time we had. All our equipment and two people fit in this medium size car. Hope you enjoyed! I appreciate questions, comments or criticism, and can be reached @tonivuc on twitter/instagram or in the comments here.
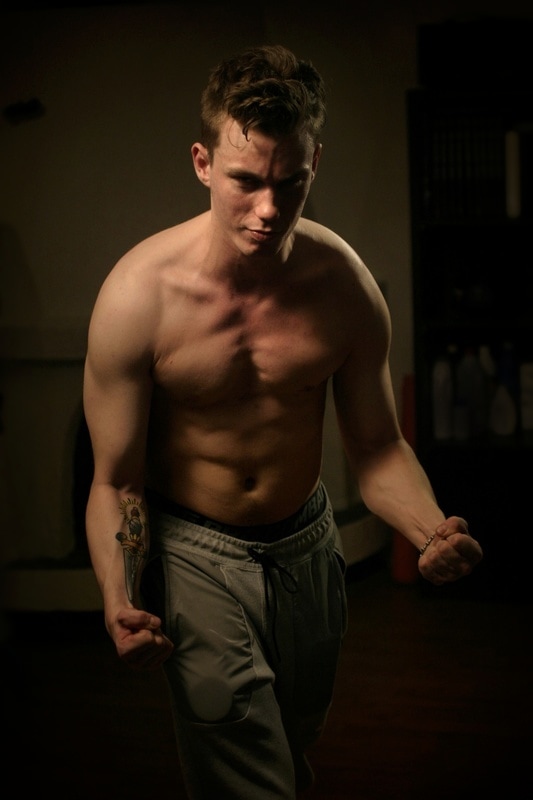
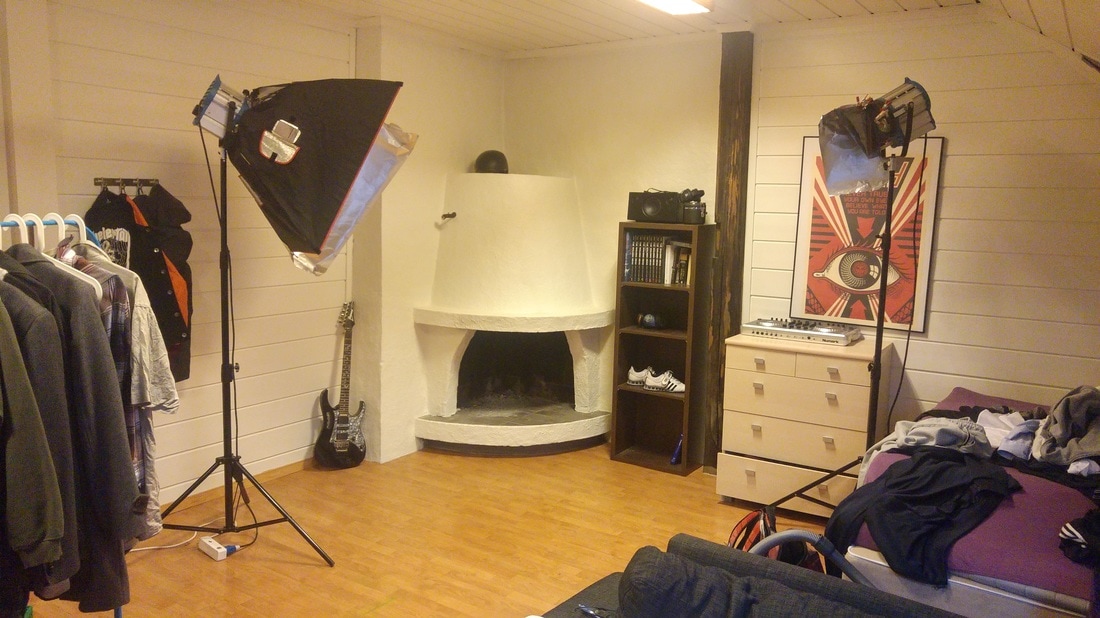
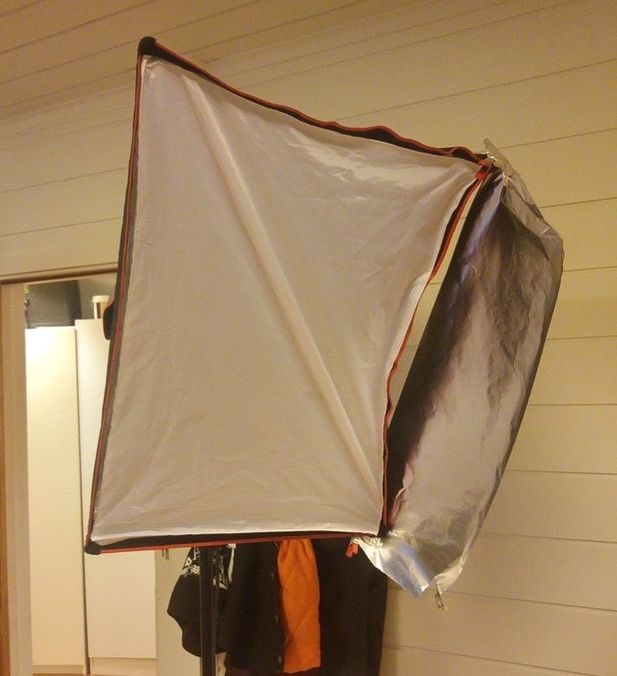
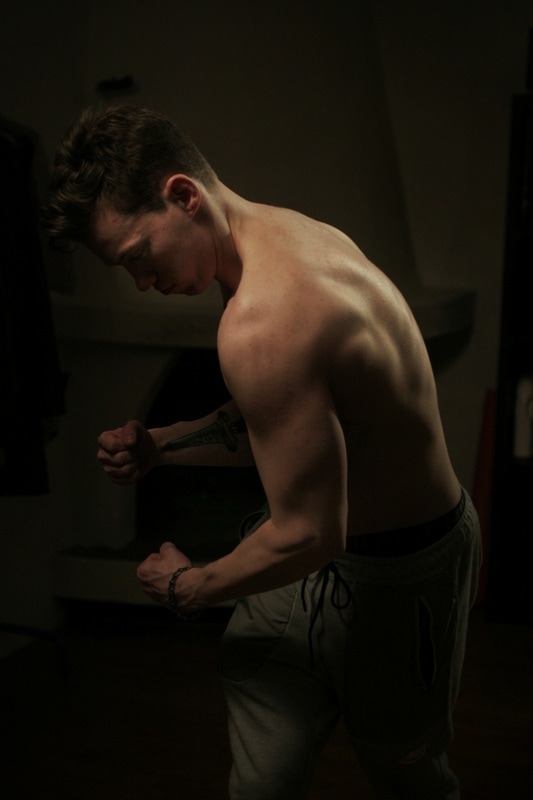
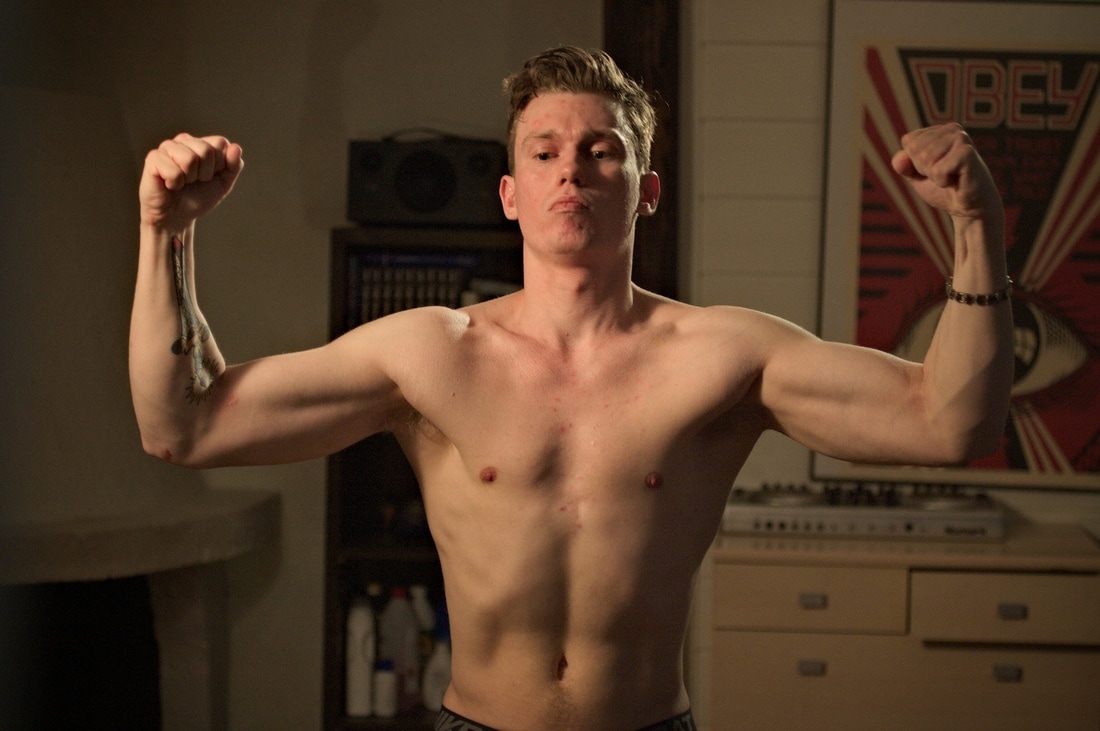
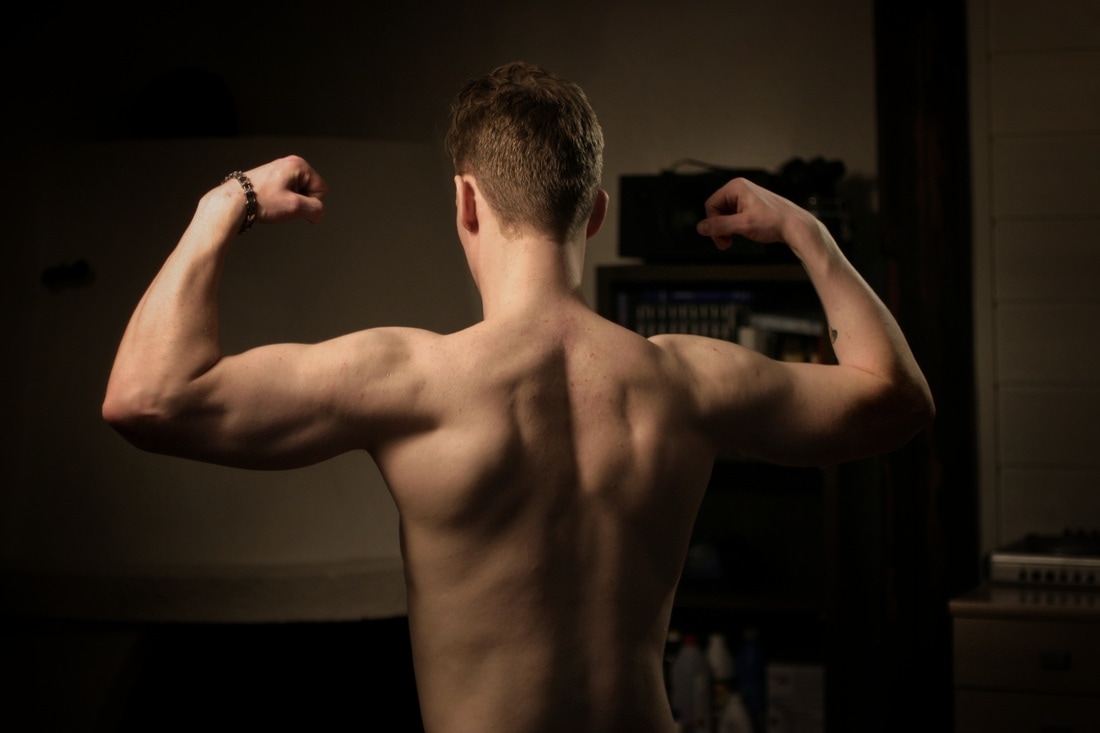
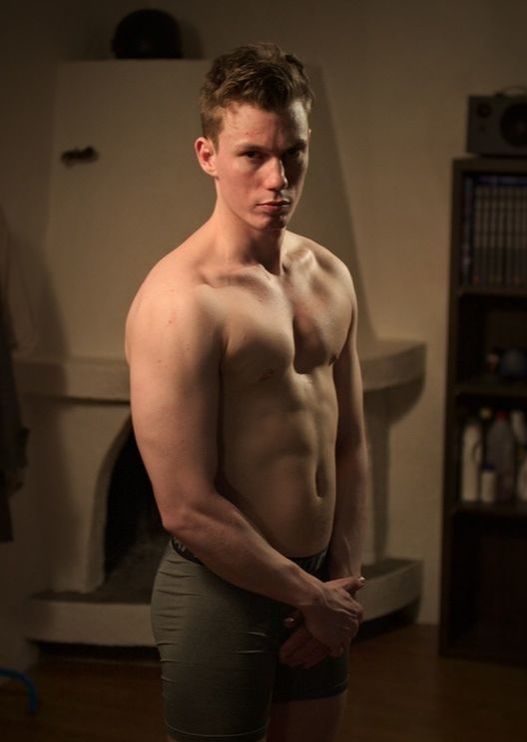
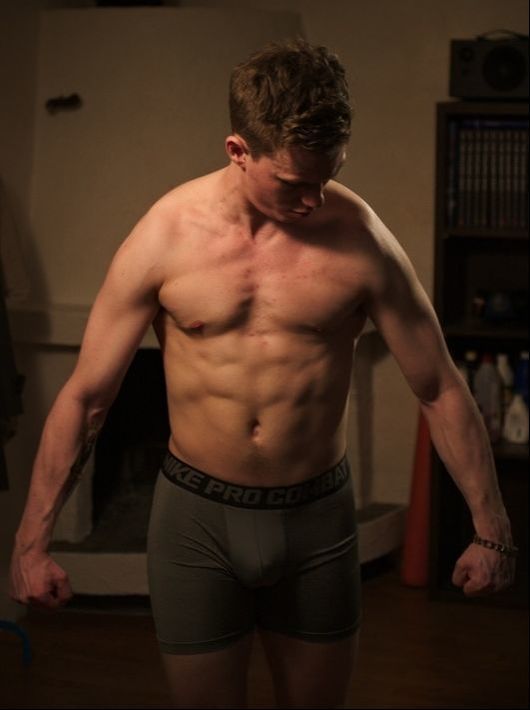
One of my flatmates likes to stay in shape and wanted me to take some pictures of him in proper lighting to see what his muscles looked at at their best. I took it as a challenge and opportunity to learn something new so I agreed to help. These are some of the pictures! First I had a look at this great 2 minute tutorial to get me started. 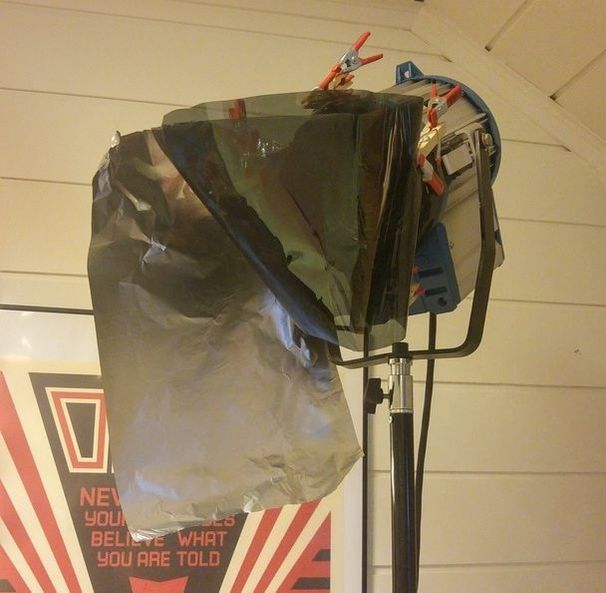 Used my 1000W for backlight. Softbox doesn't fit on it otherwise I would have used it as a key light. In stead I put double ND filter on it and flooded it. Some foil here as well standing in for barndoors which are in shipping. Sometimes I would put the softbox's inner diffusion over it when it needed some softening. Here are some more pictures. I only had my 50mm lens so when we switched to poses with wider arms he had to step further back into the room and that makde it very difficult to keep light off the back wall. But I'm still quite pleased with how the results turned out! The softbox warmed up the 650W, and that produced a nice color contrast between the 1000W kicker. I actually love the shiny look his skin got when I lit it with the kicker. But I had to watch for nasty shadows from the hard light. Otherwise pretty much the only thing I did was moving him and the light around so that the light produced defined shadows from his muscles and that was it. I did some light editing afterwards by darkening the background and upping the contrast on him.
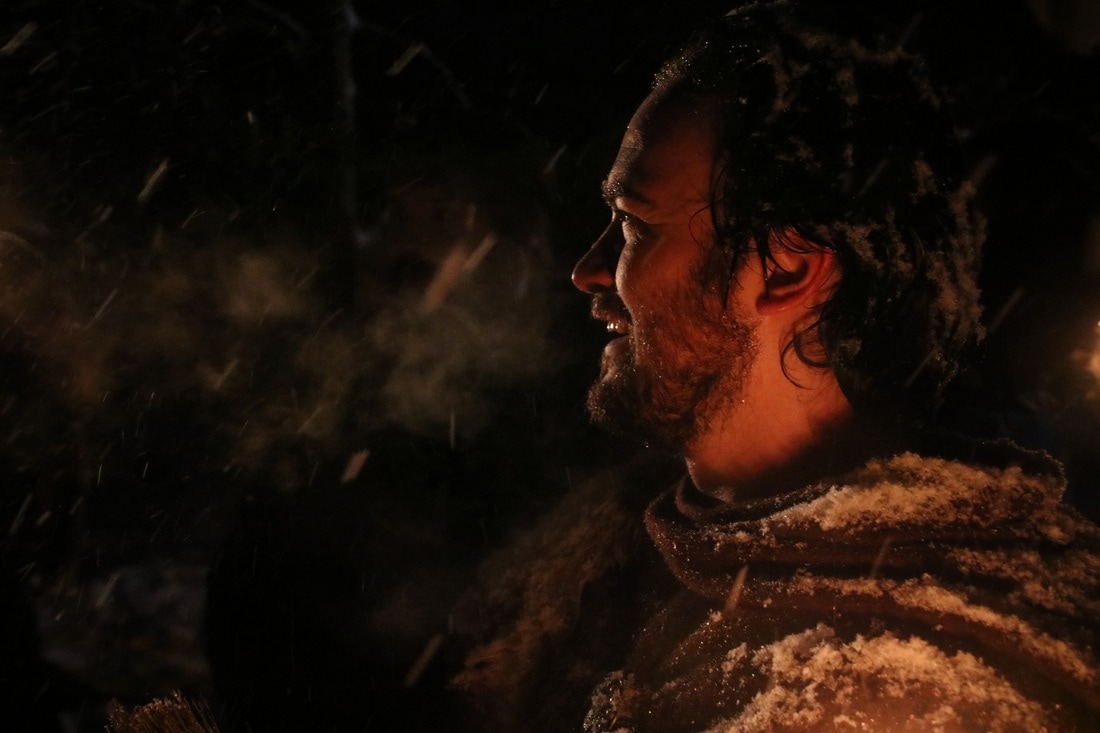
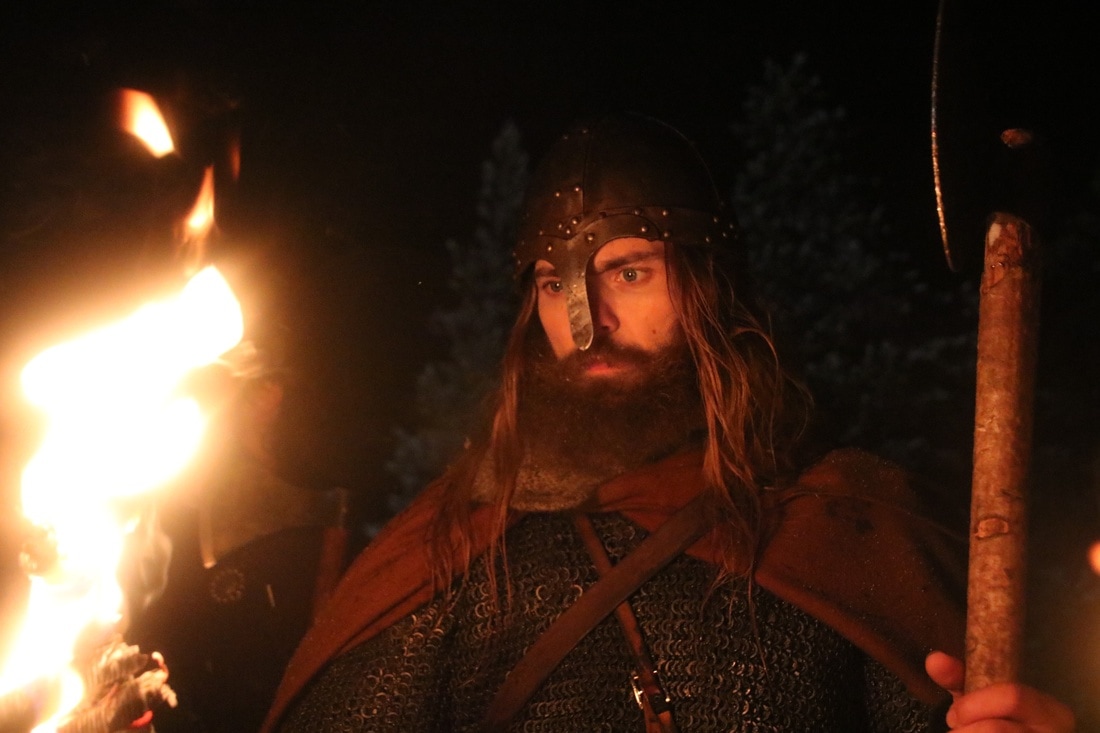
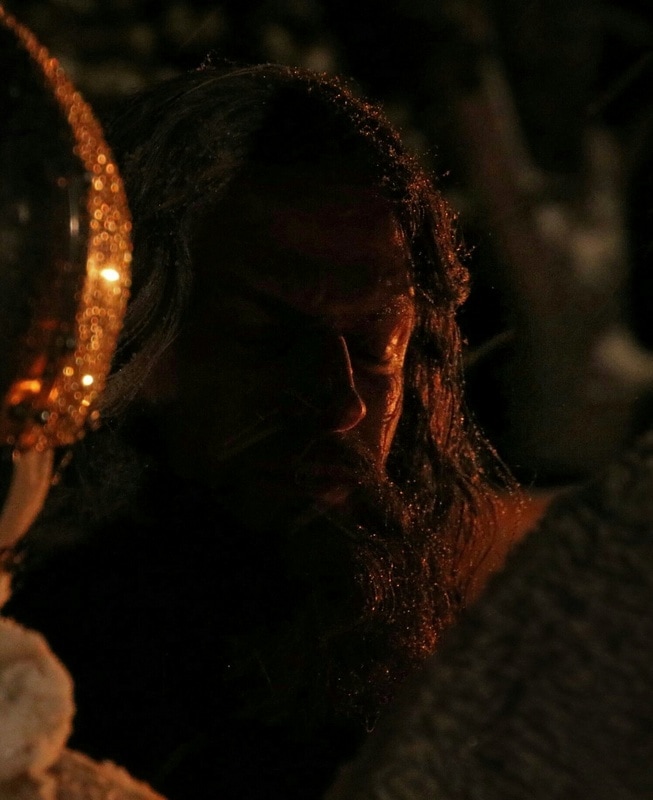
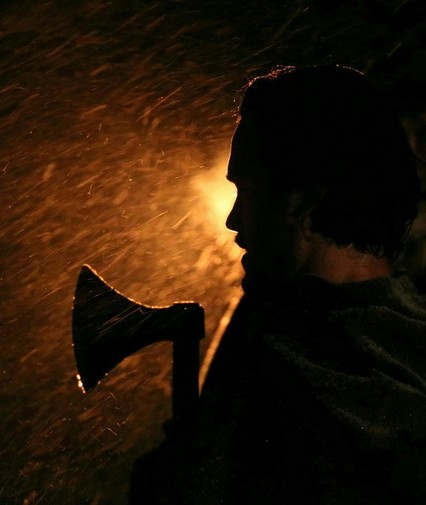
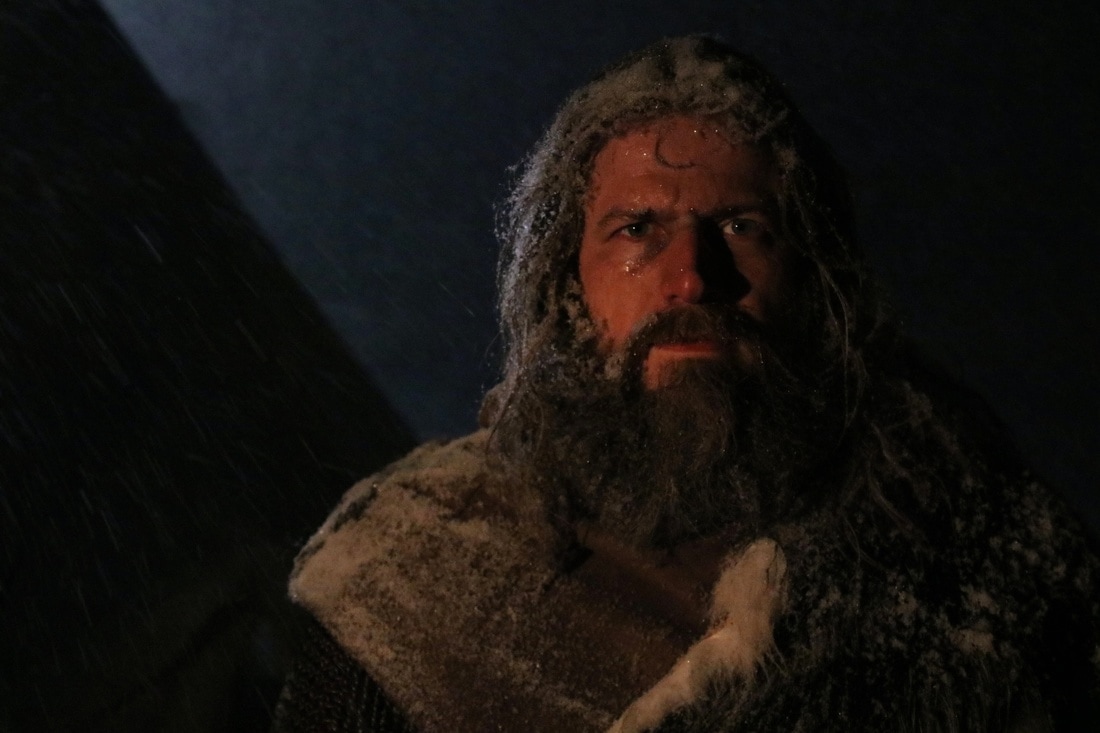
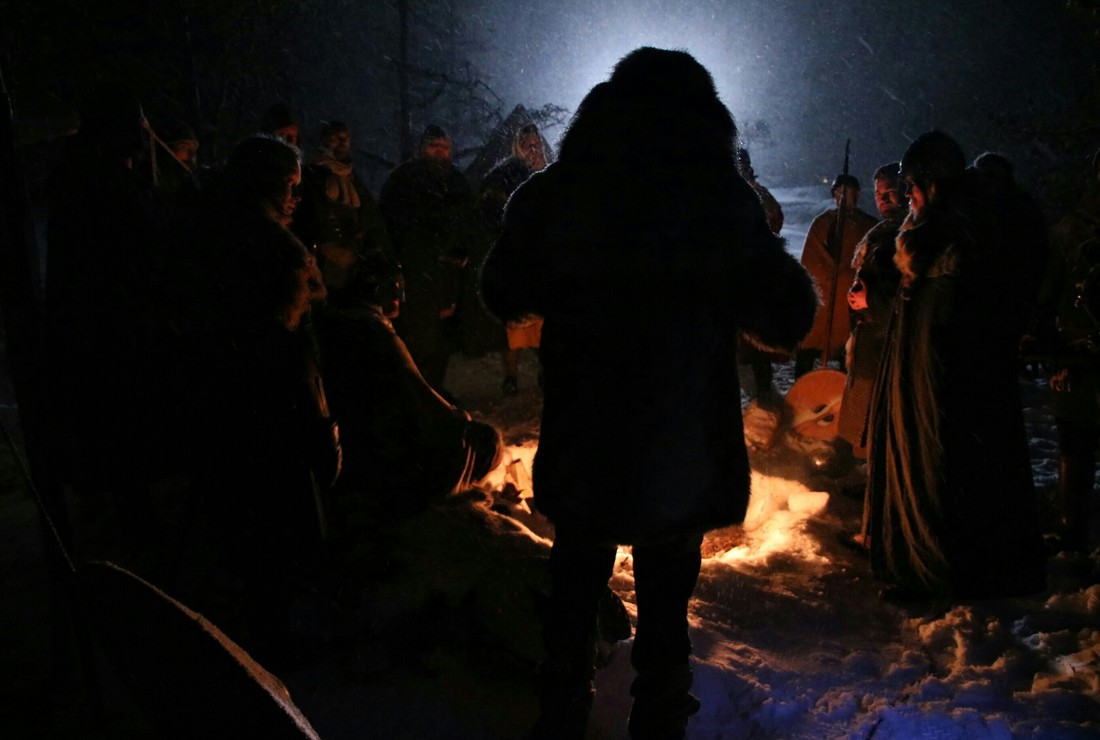
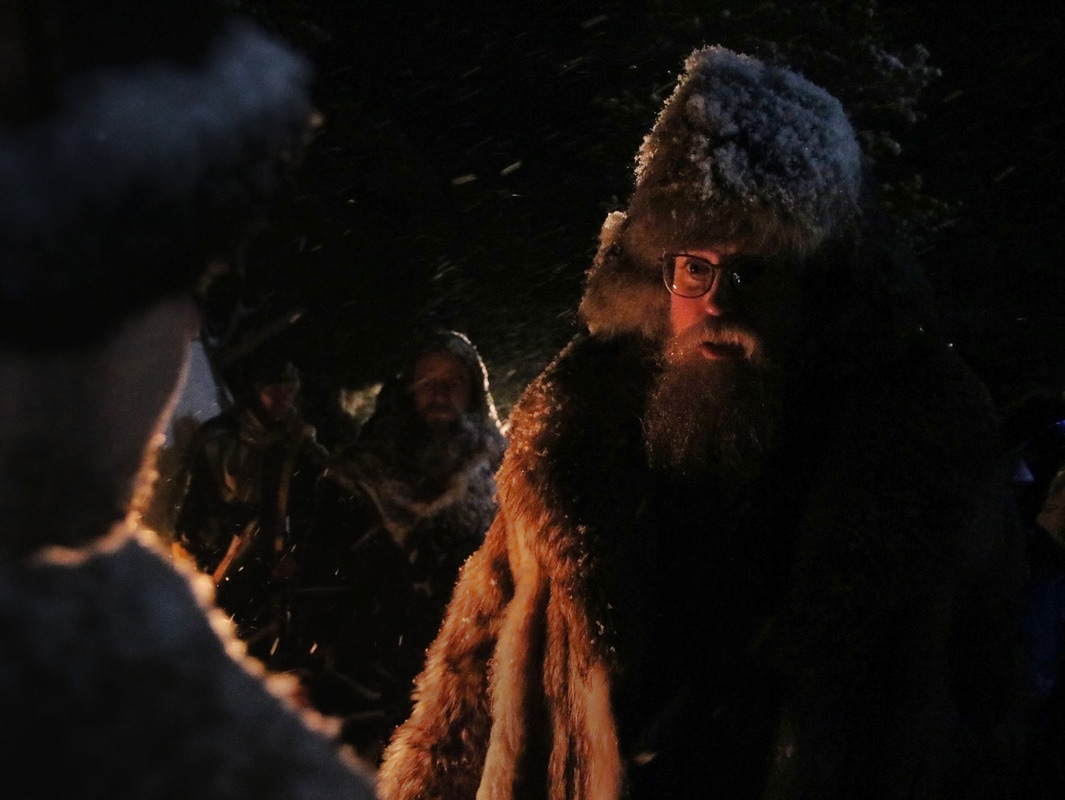
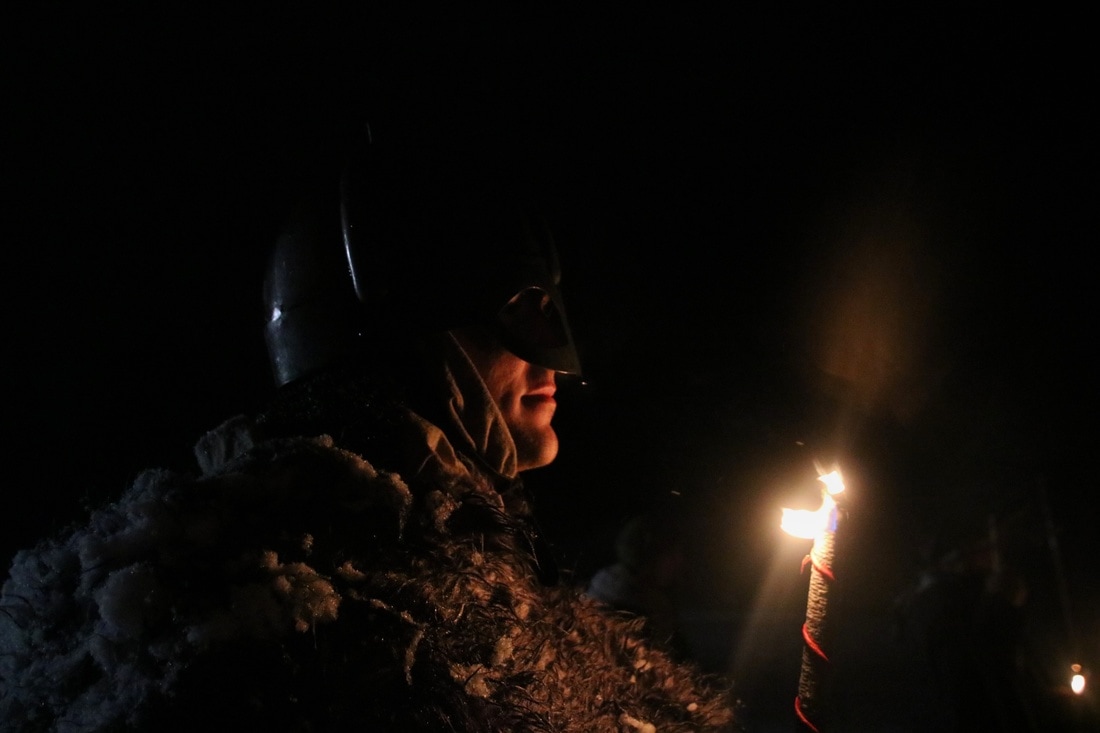
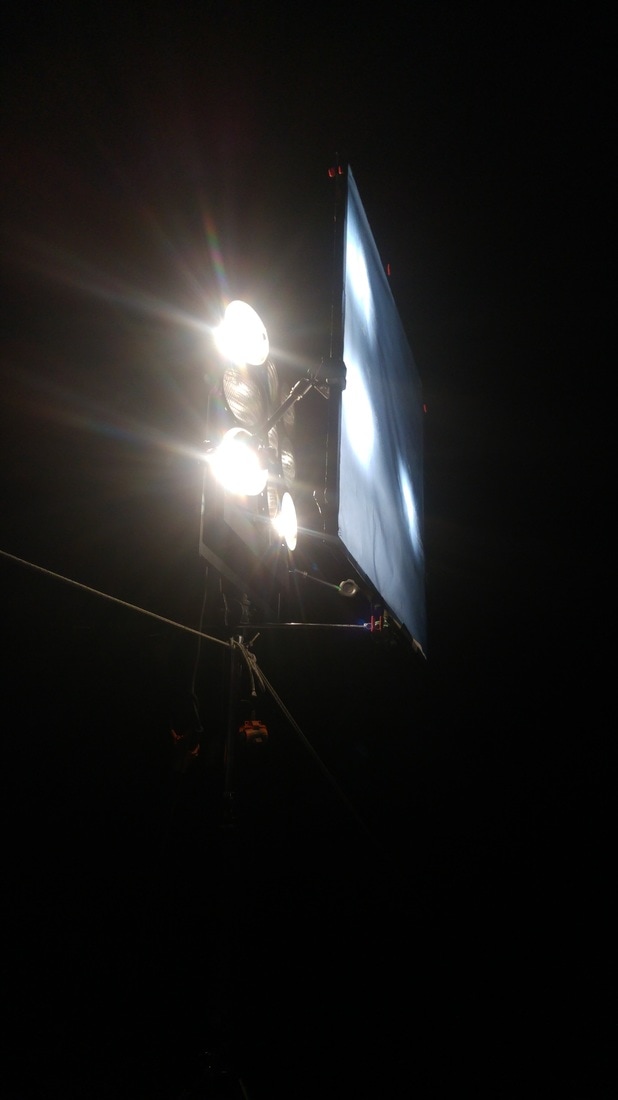
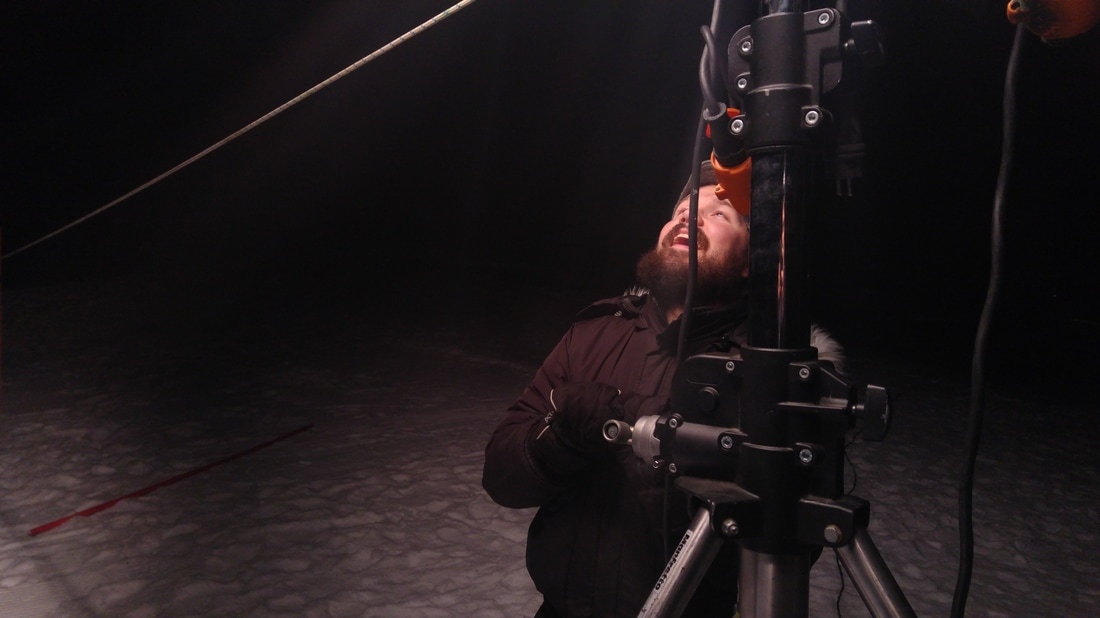
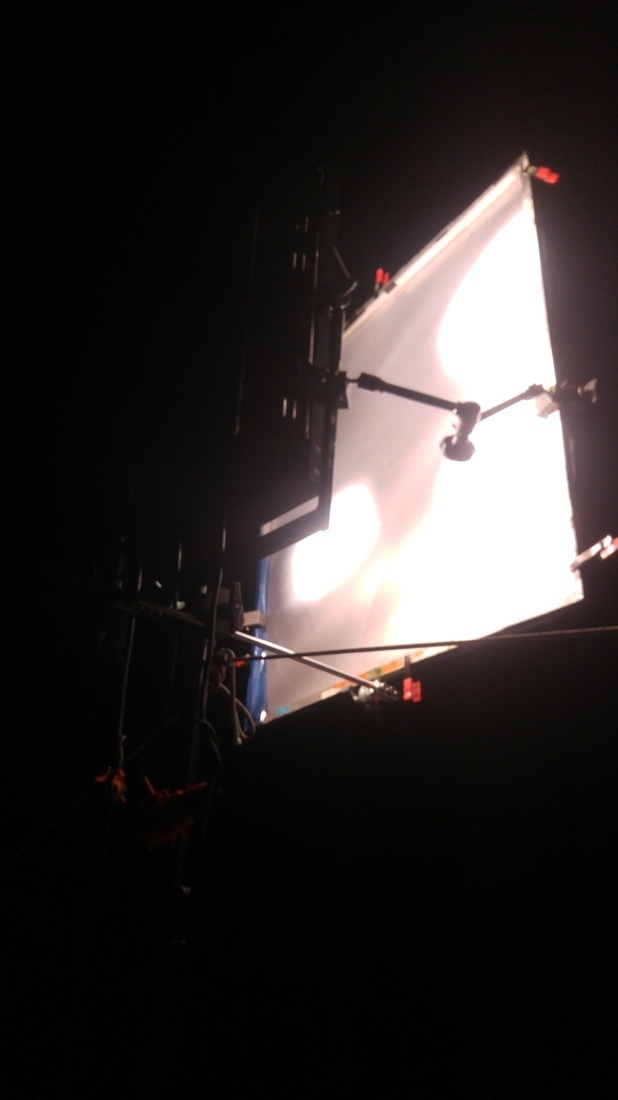
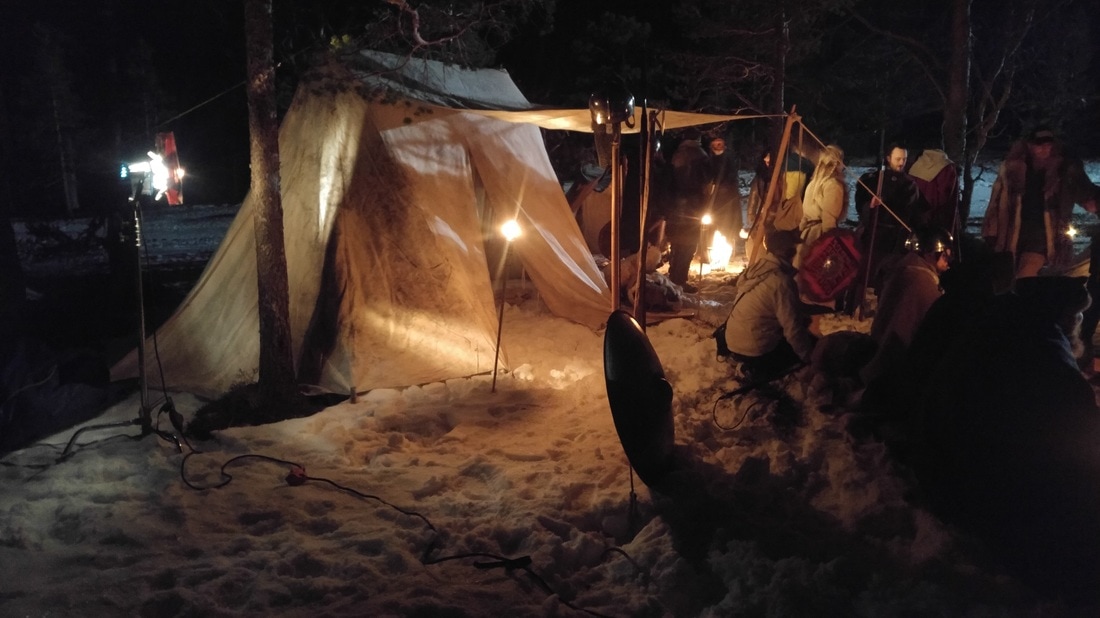
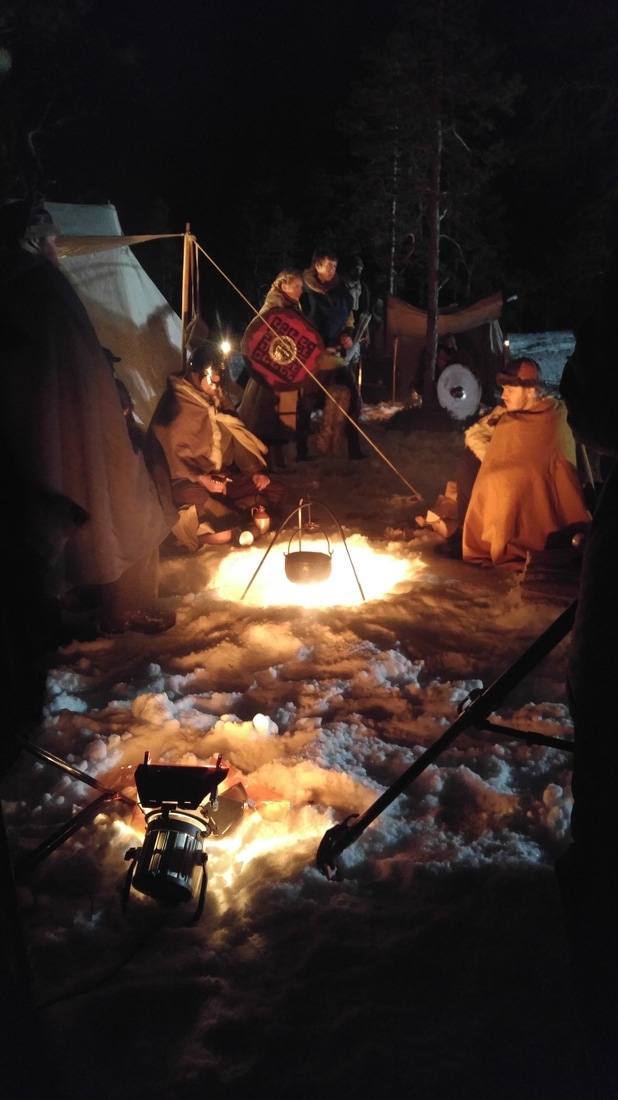
Hope you enjoyed! Leave questions or comments down below or @tonivuc on twitter. I jumped on this project last minute as the light assistant/best boy. A very dedicated team of people have been working on it for over a year and this is round two of shooting the project. Director: Ole Fredrik 'offe' Wannebo, DoP: Arne Vidar Stoltenberg, Gaffer: David Hortman Bøe. Pictures by me. Check out the Ragnarok facebook page! Light setup was quite simple, but beautiful. Maxibrute with 1/2 CTB as moonlight and two small fresnels with 1/2 CTO, +real firelight and torches. After rigging I got a chance to take some pictures with a borrowed camera. I included my favorites below. Details about the lighting are further down. How the lighting was doneMoonlight from a maxibrute on top of the hill not too far away. Magic arms with mafer clamps to secure the gel frame to the light. 1/4 diffusion + 1/2 CTB. Widn't use all the power because it was supposed to look realistic, and the firelight would be dominating in that case. We didn't use a HMI because this light let us split the power draw over 3 wall sockets. Typical use of the 300w fresnel to boost the lighting from the practicals. 1/2 CTO, sometimes 1/2 ND (our dimmer broke). 650w fresnel dimmed down with 1/2 CTO to boost the firelight. Spotted to soften it a bit.
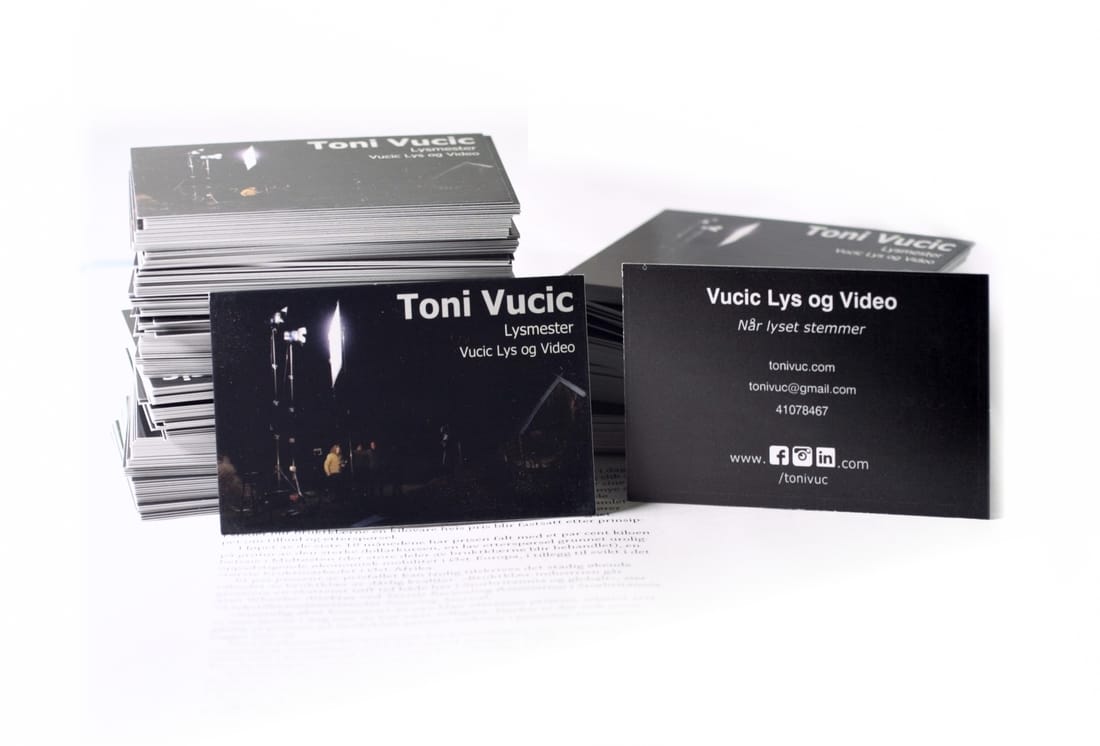
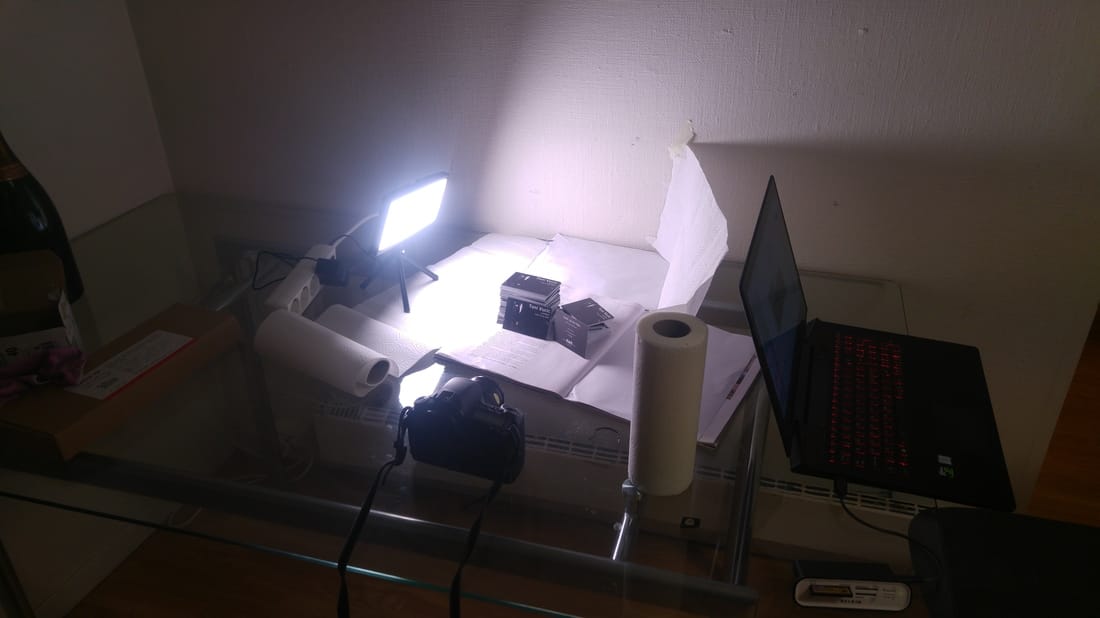
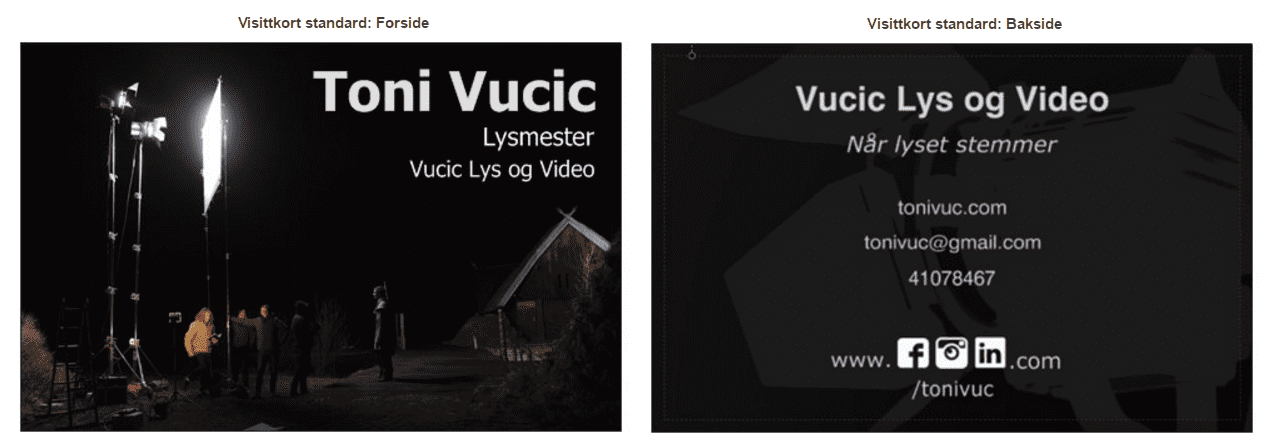
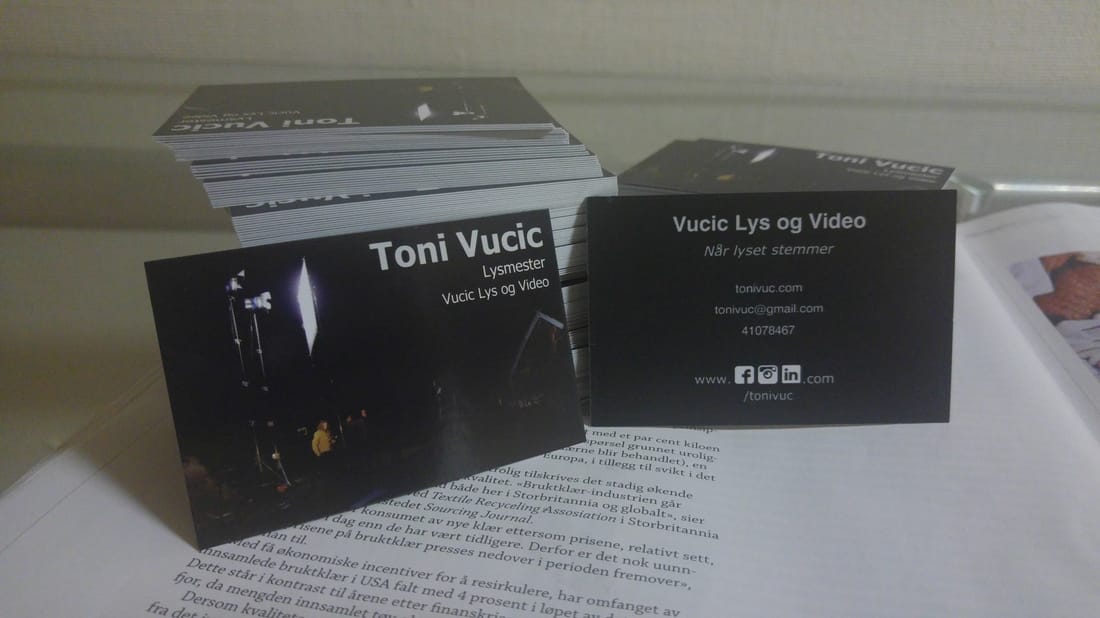
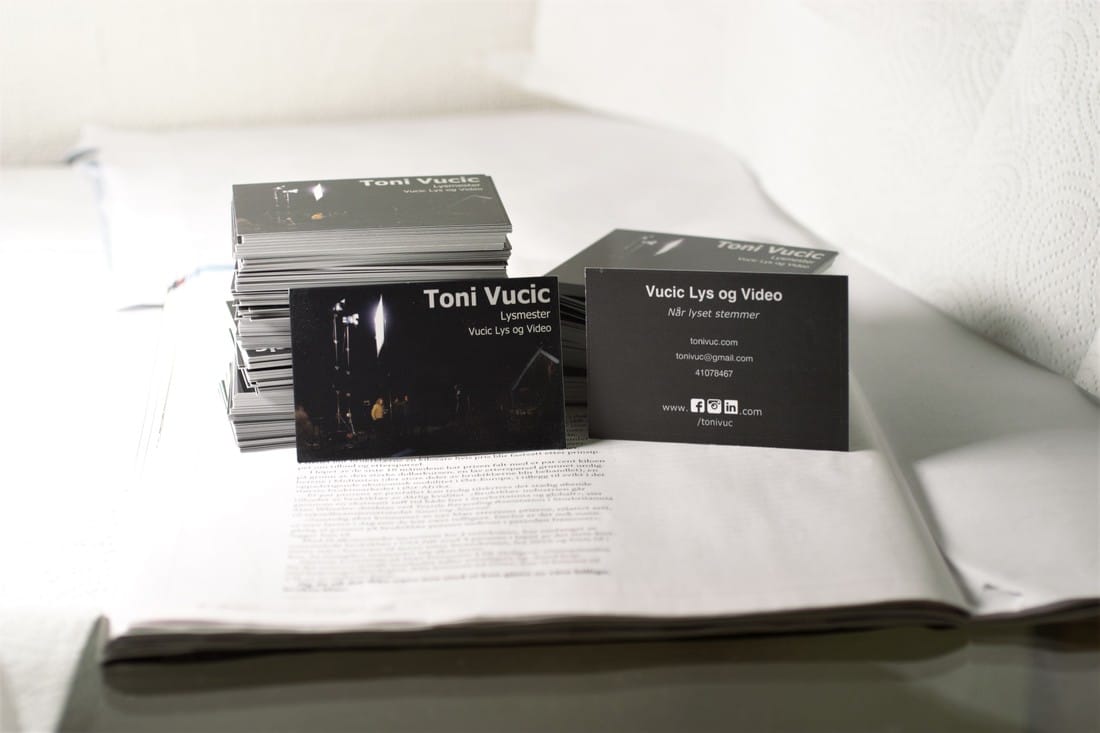
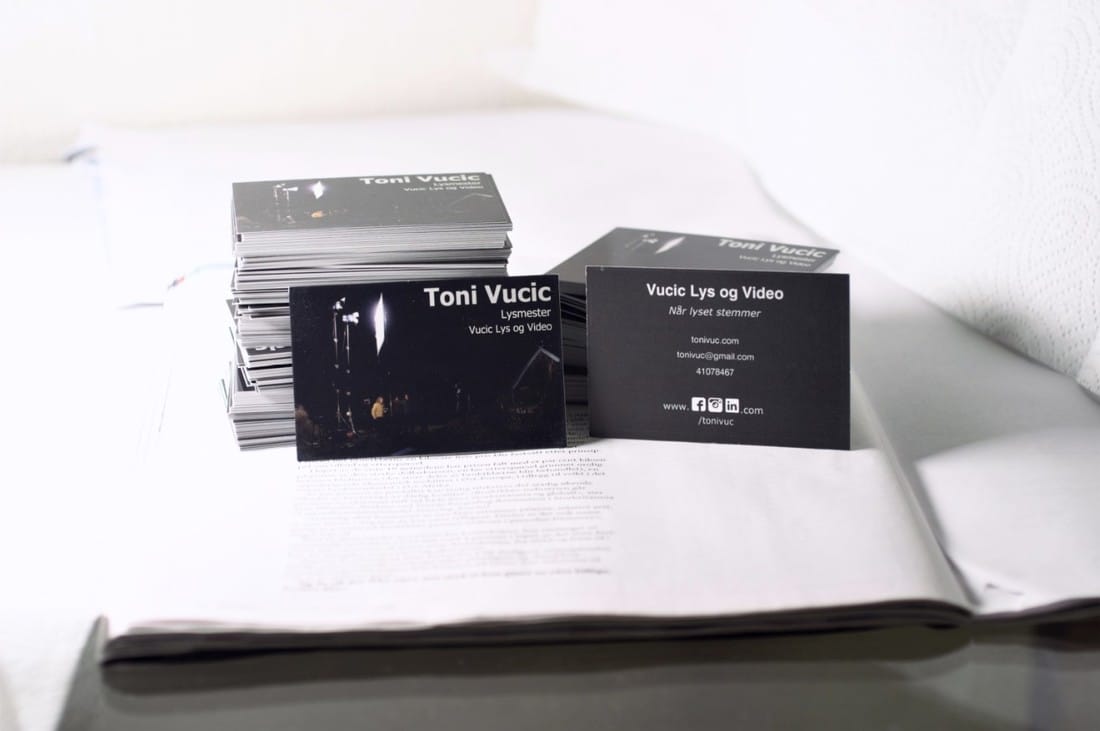
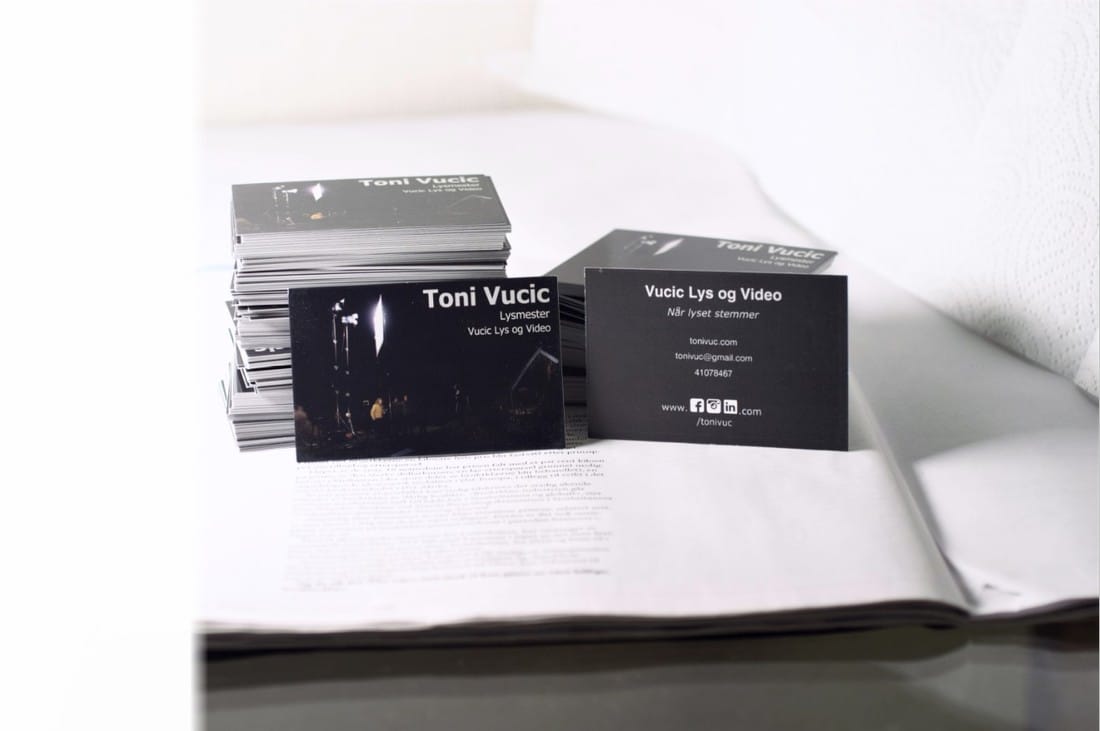
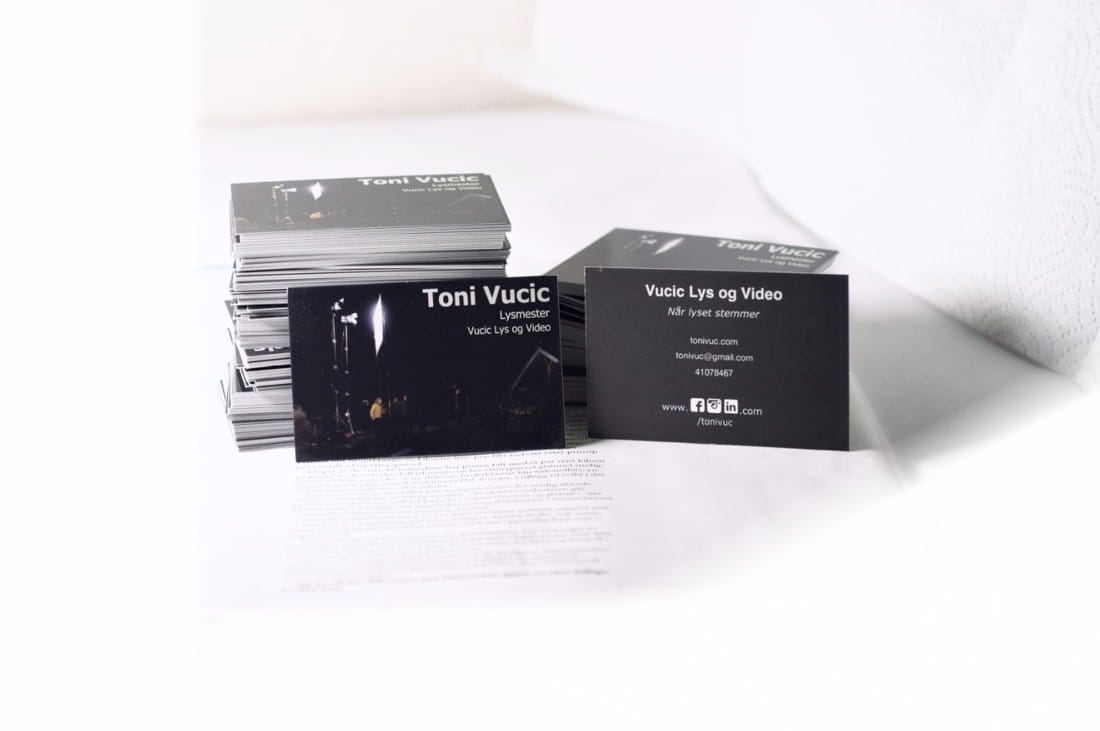
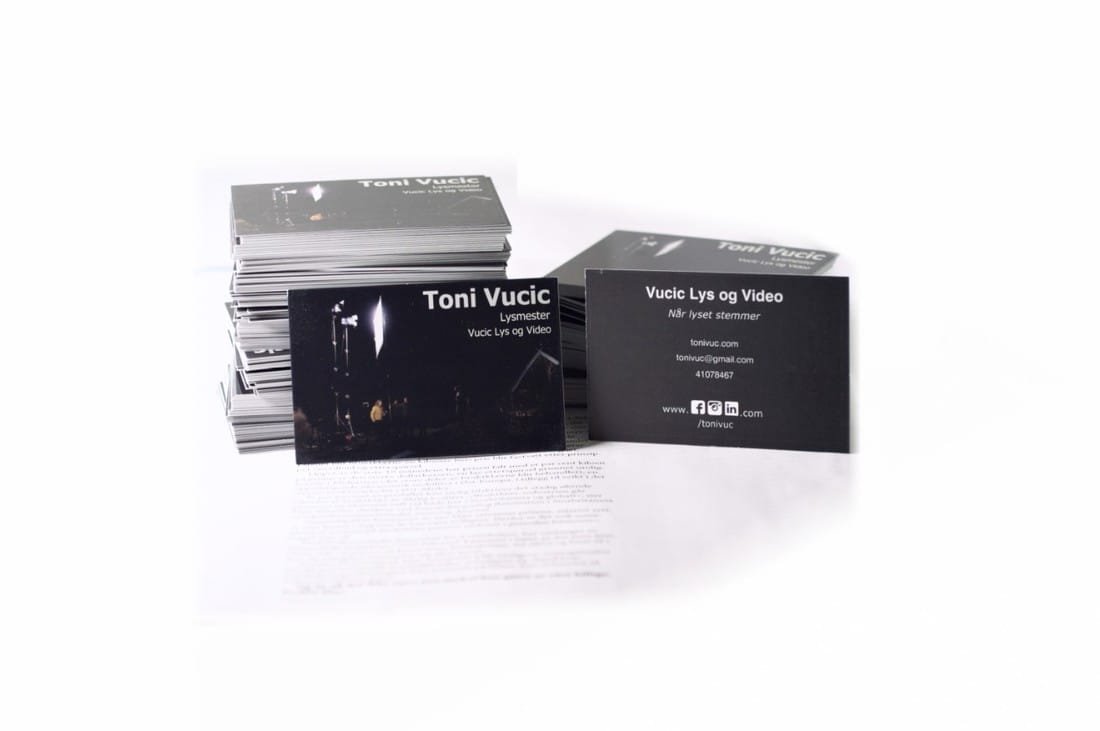
Other than that I would sometimes lay on the ground with torch in hand to boost the light wherever needed. Hope you enjoyed! Fire any questions over at my twitter @tonivuc or in the comments! I finally got my business cards today! Here is a picture of them I put up on Instagram. I just thought I'd show you how I got this result in my living room. This was accomplished primarily using my little ebay LED Light (Viltrox L132T), which goes for about 50$ on Amazon, with shipping. With only one light it was pretty important where to place the key light. The position above is a compromise. Preferrably I would have angled it more towards the background, but I needed the exposure on the paper in front of the business cards to be bright as well. So this was where it ended up. Had I lit it frontally the background would hav been too dark. Maybe I could have lit it from above, but I noticed that the shiny cards facing up were prone to overexposing, and it could have ended up quite flat, so really this was the best choice in my opinion. Okay so why did I even bother with all thisSo I've been waiting for new business cards for over a month now. And I designed them myself so why not show em off now that they finally arrived eh? Well the above is what I ordered And the above is what I received, taken with my LG G4's cellphone camera. Now both you and I know that the picture above is just sad, so I had to do something. So out comes the new light. And I'm thinking, my shitty collective doesn't have any nice places to take a picture so I might as well block it all out. The first white thing I found was the magazine seen above. Then I found some kitchen rolls and finally I ripped an old A4 paper from an old exam to cover up the picture to the right. And out of the camera comes that. Now If I was making a movie obviously I'd need something else than kitchen rolls and a magazine, but static pictures gives some liberty to do stuff in post. I turn to my trusty friend paint.NET, a free image editing software for Windows. So I start by blowing out the highlights. I guess this is as far as you could go with a moving image without fancy after effects work. Step 1, 2, 3 is adding gradients that go from white to transparent around the image. Then in Step 4 I cloned the main layer, made it more contrastry, and made two gradients from that to transparent. Then I overlaid that on the main layer to make it all look white. Finally crop it in, and Tada!Getting a good image without all this editing?I think that if you overexpose more than I did, you could get a pretty white background. My problem was that the cards had white edges and risked burning out. So maybe if the entire object was very dark. Otherwise I think you would need more lights to light foreground and background seperately, and have a stronger fill light to ensure there are no dark areas.
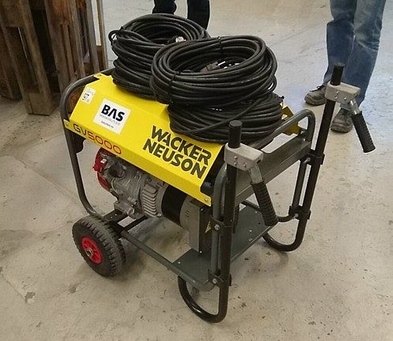
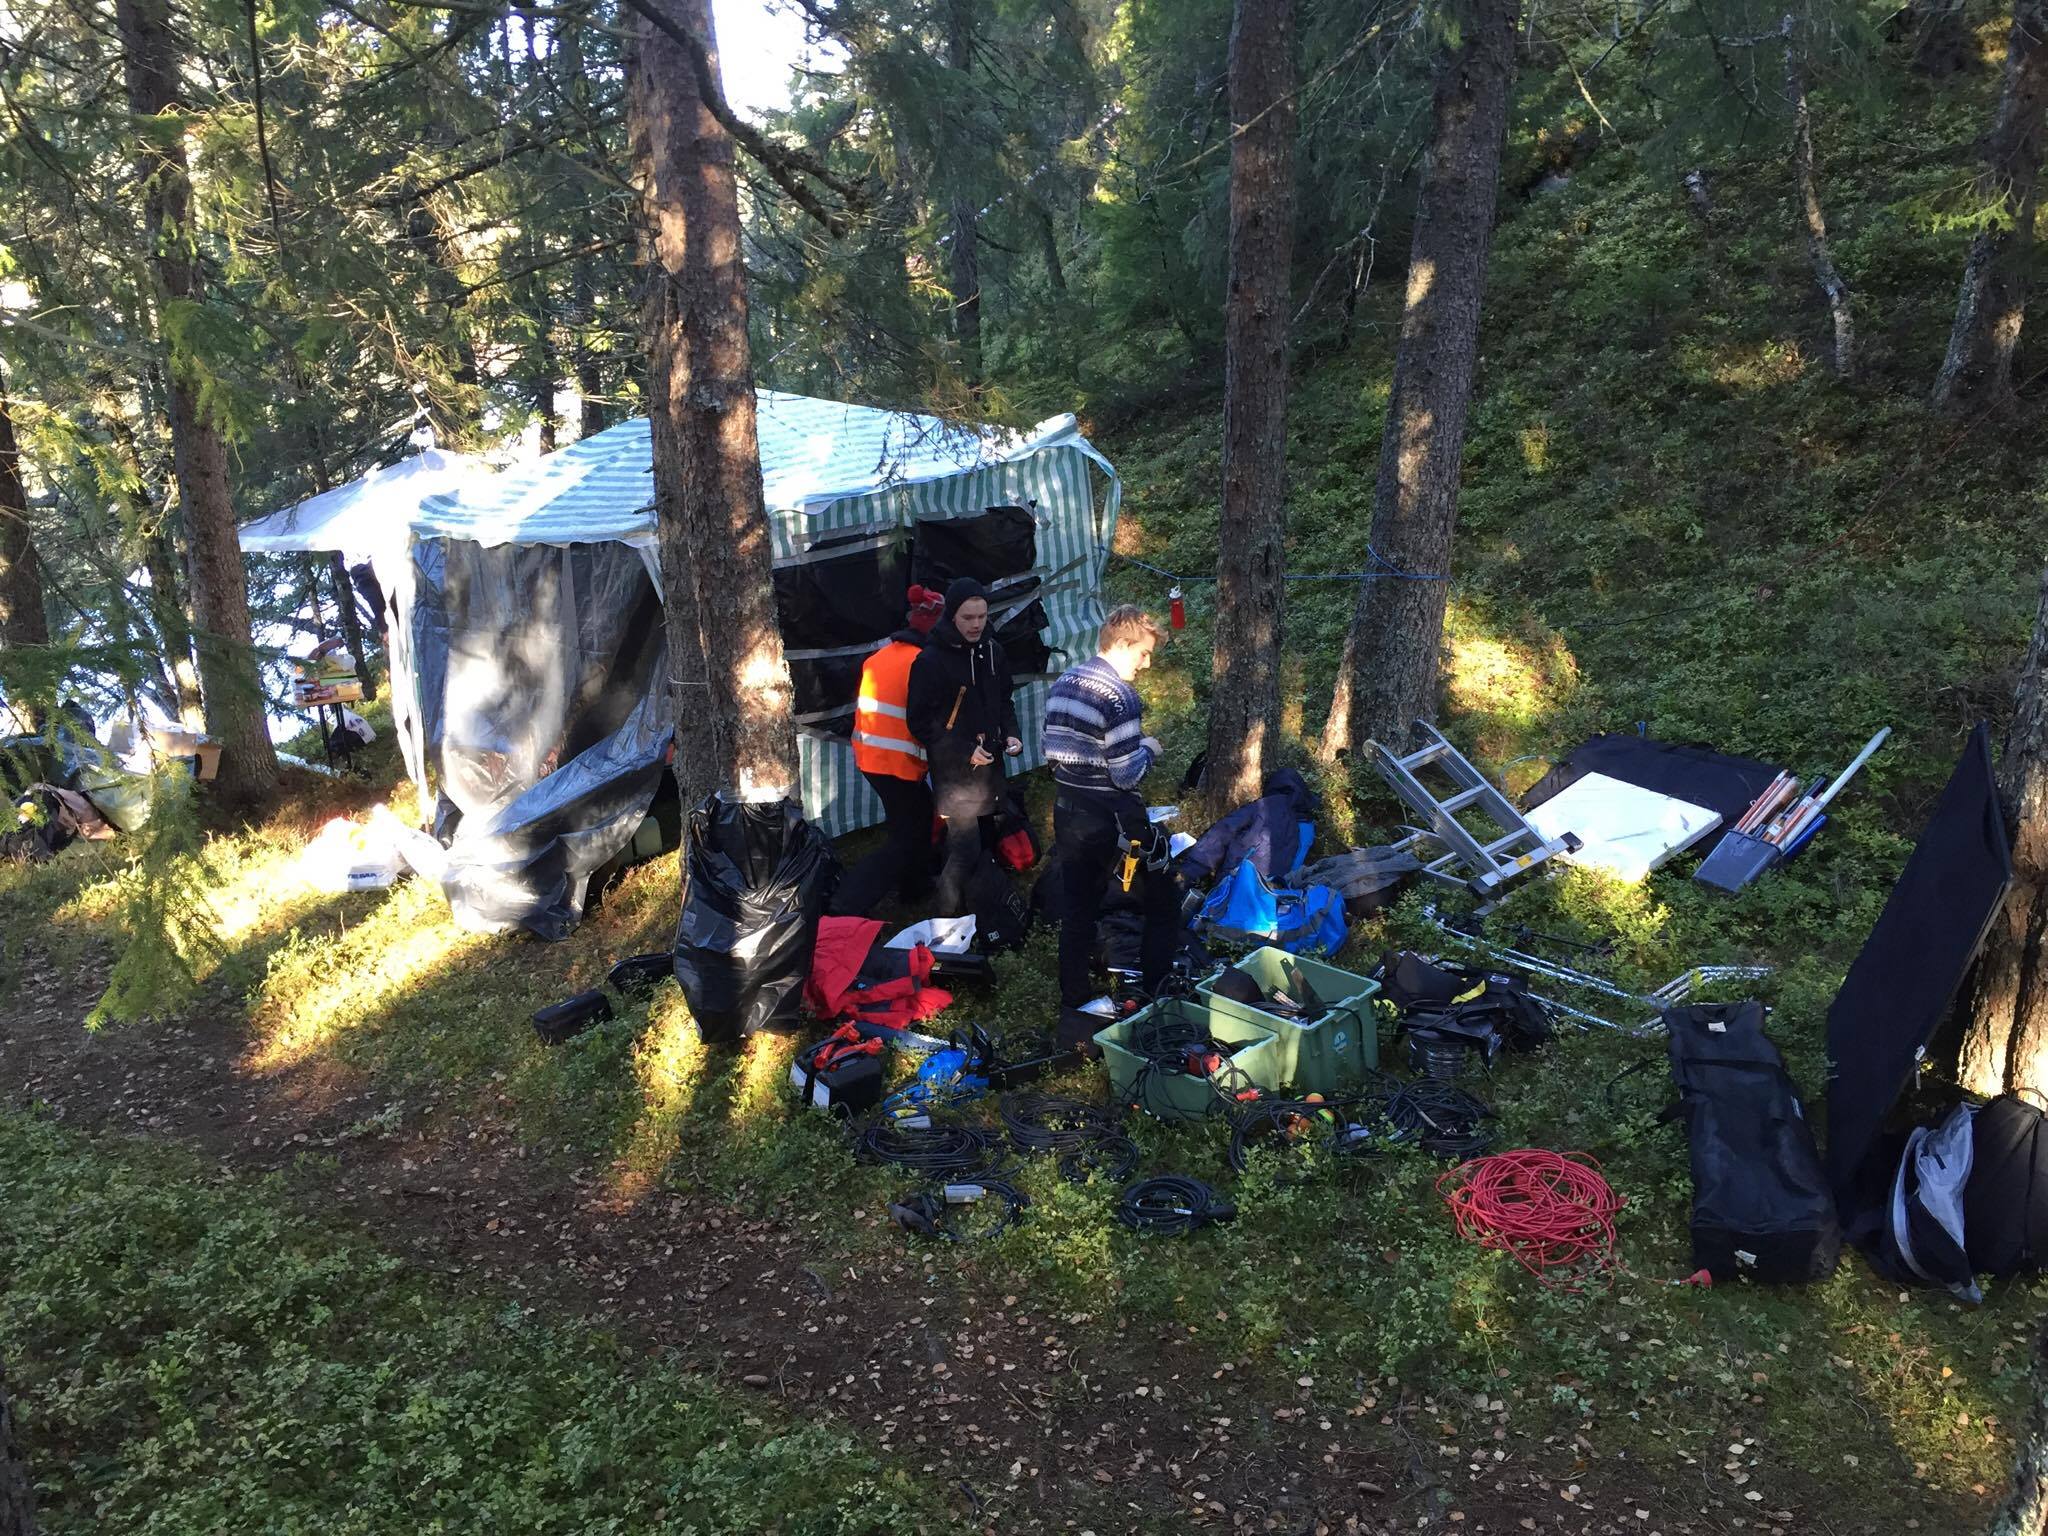
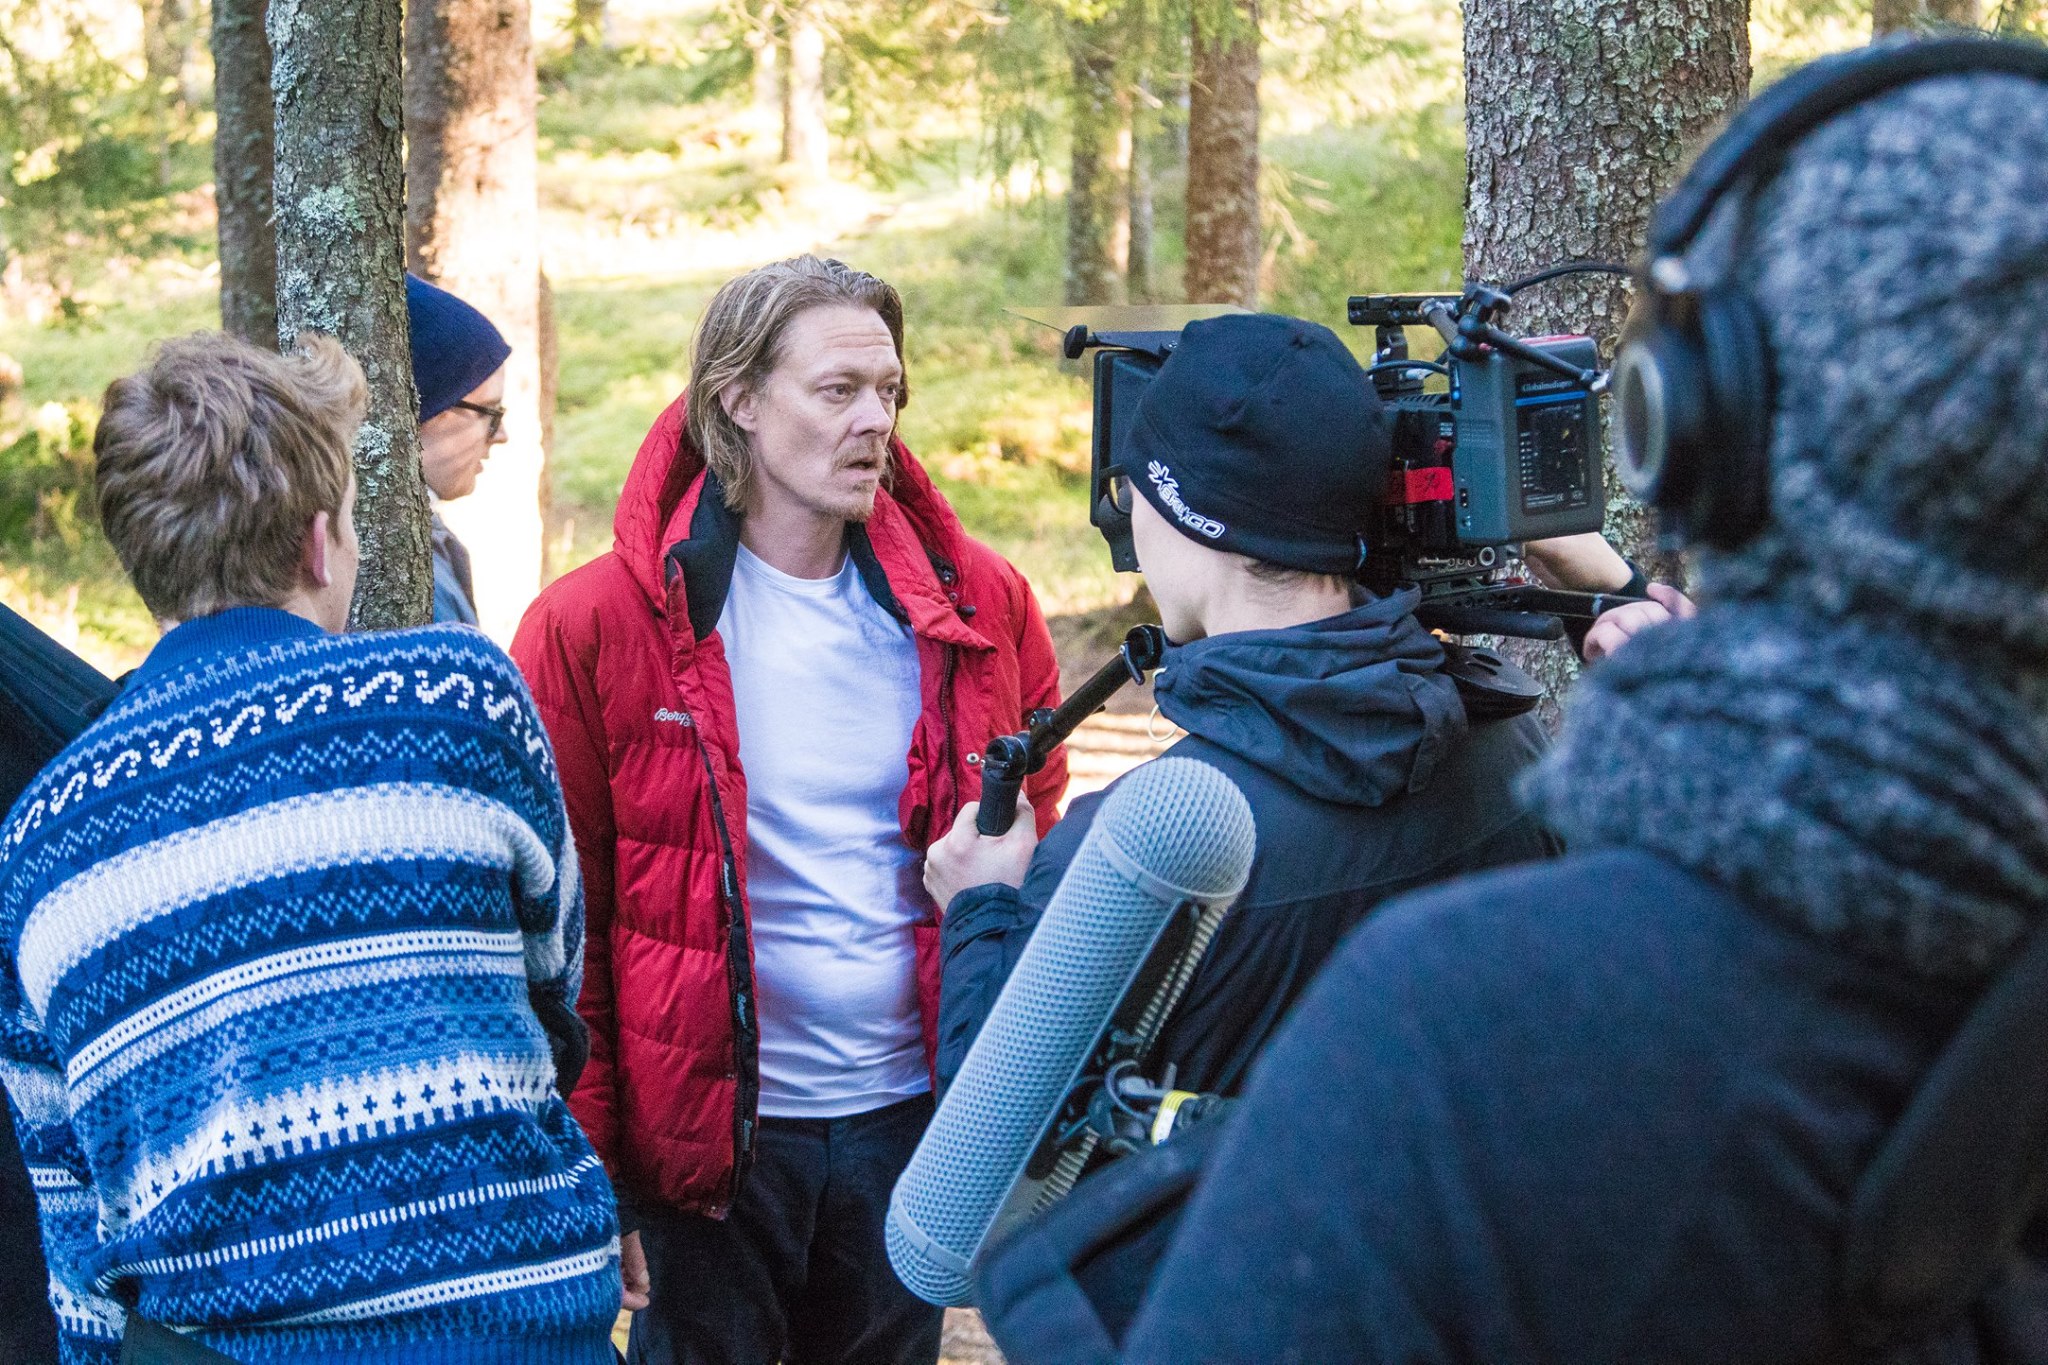
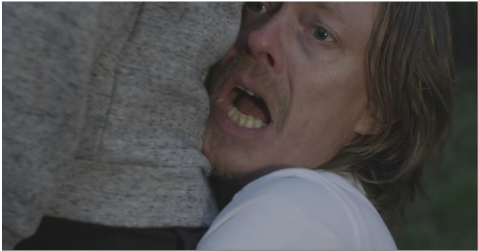
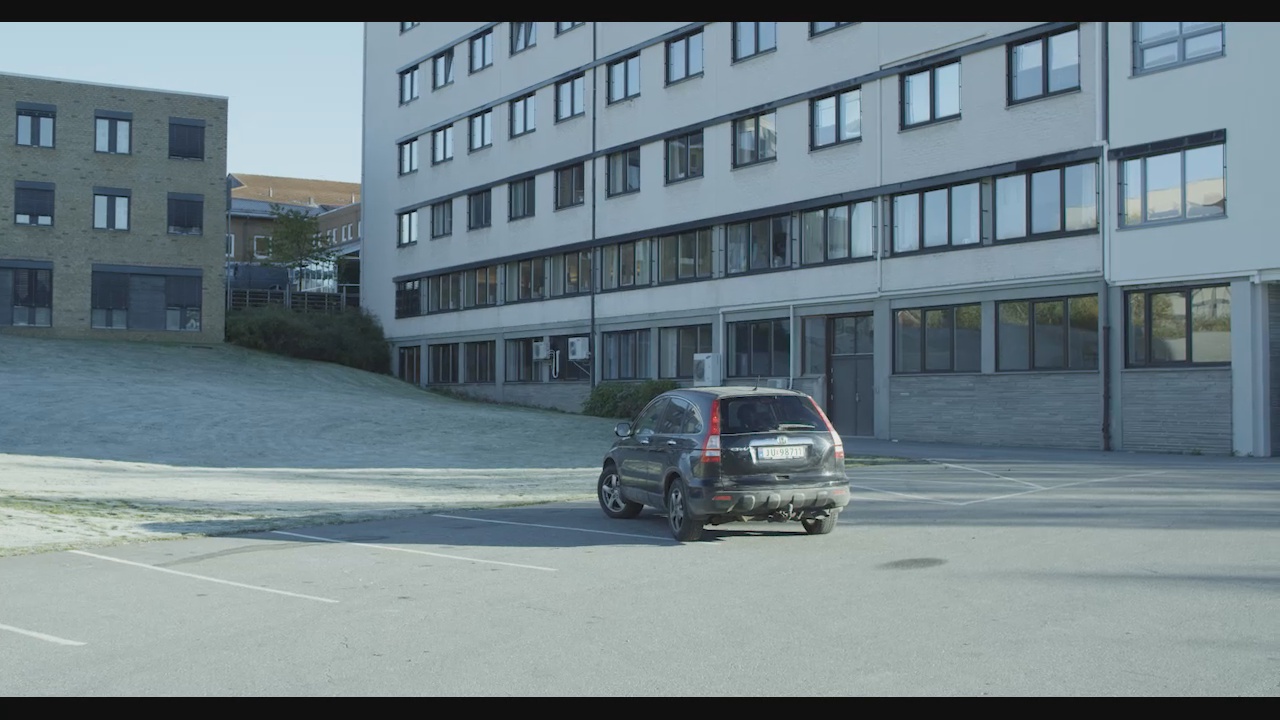
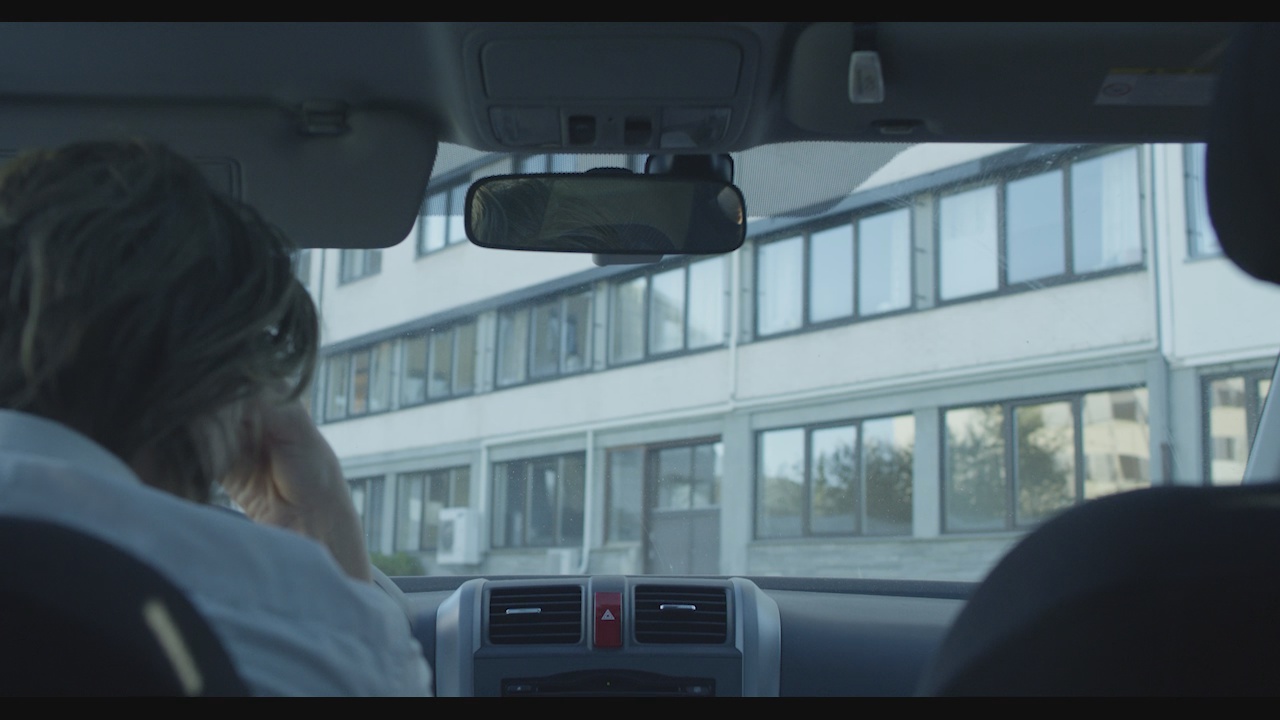
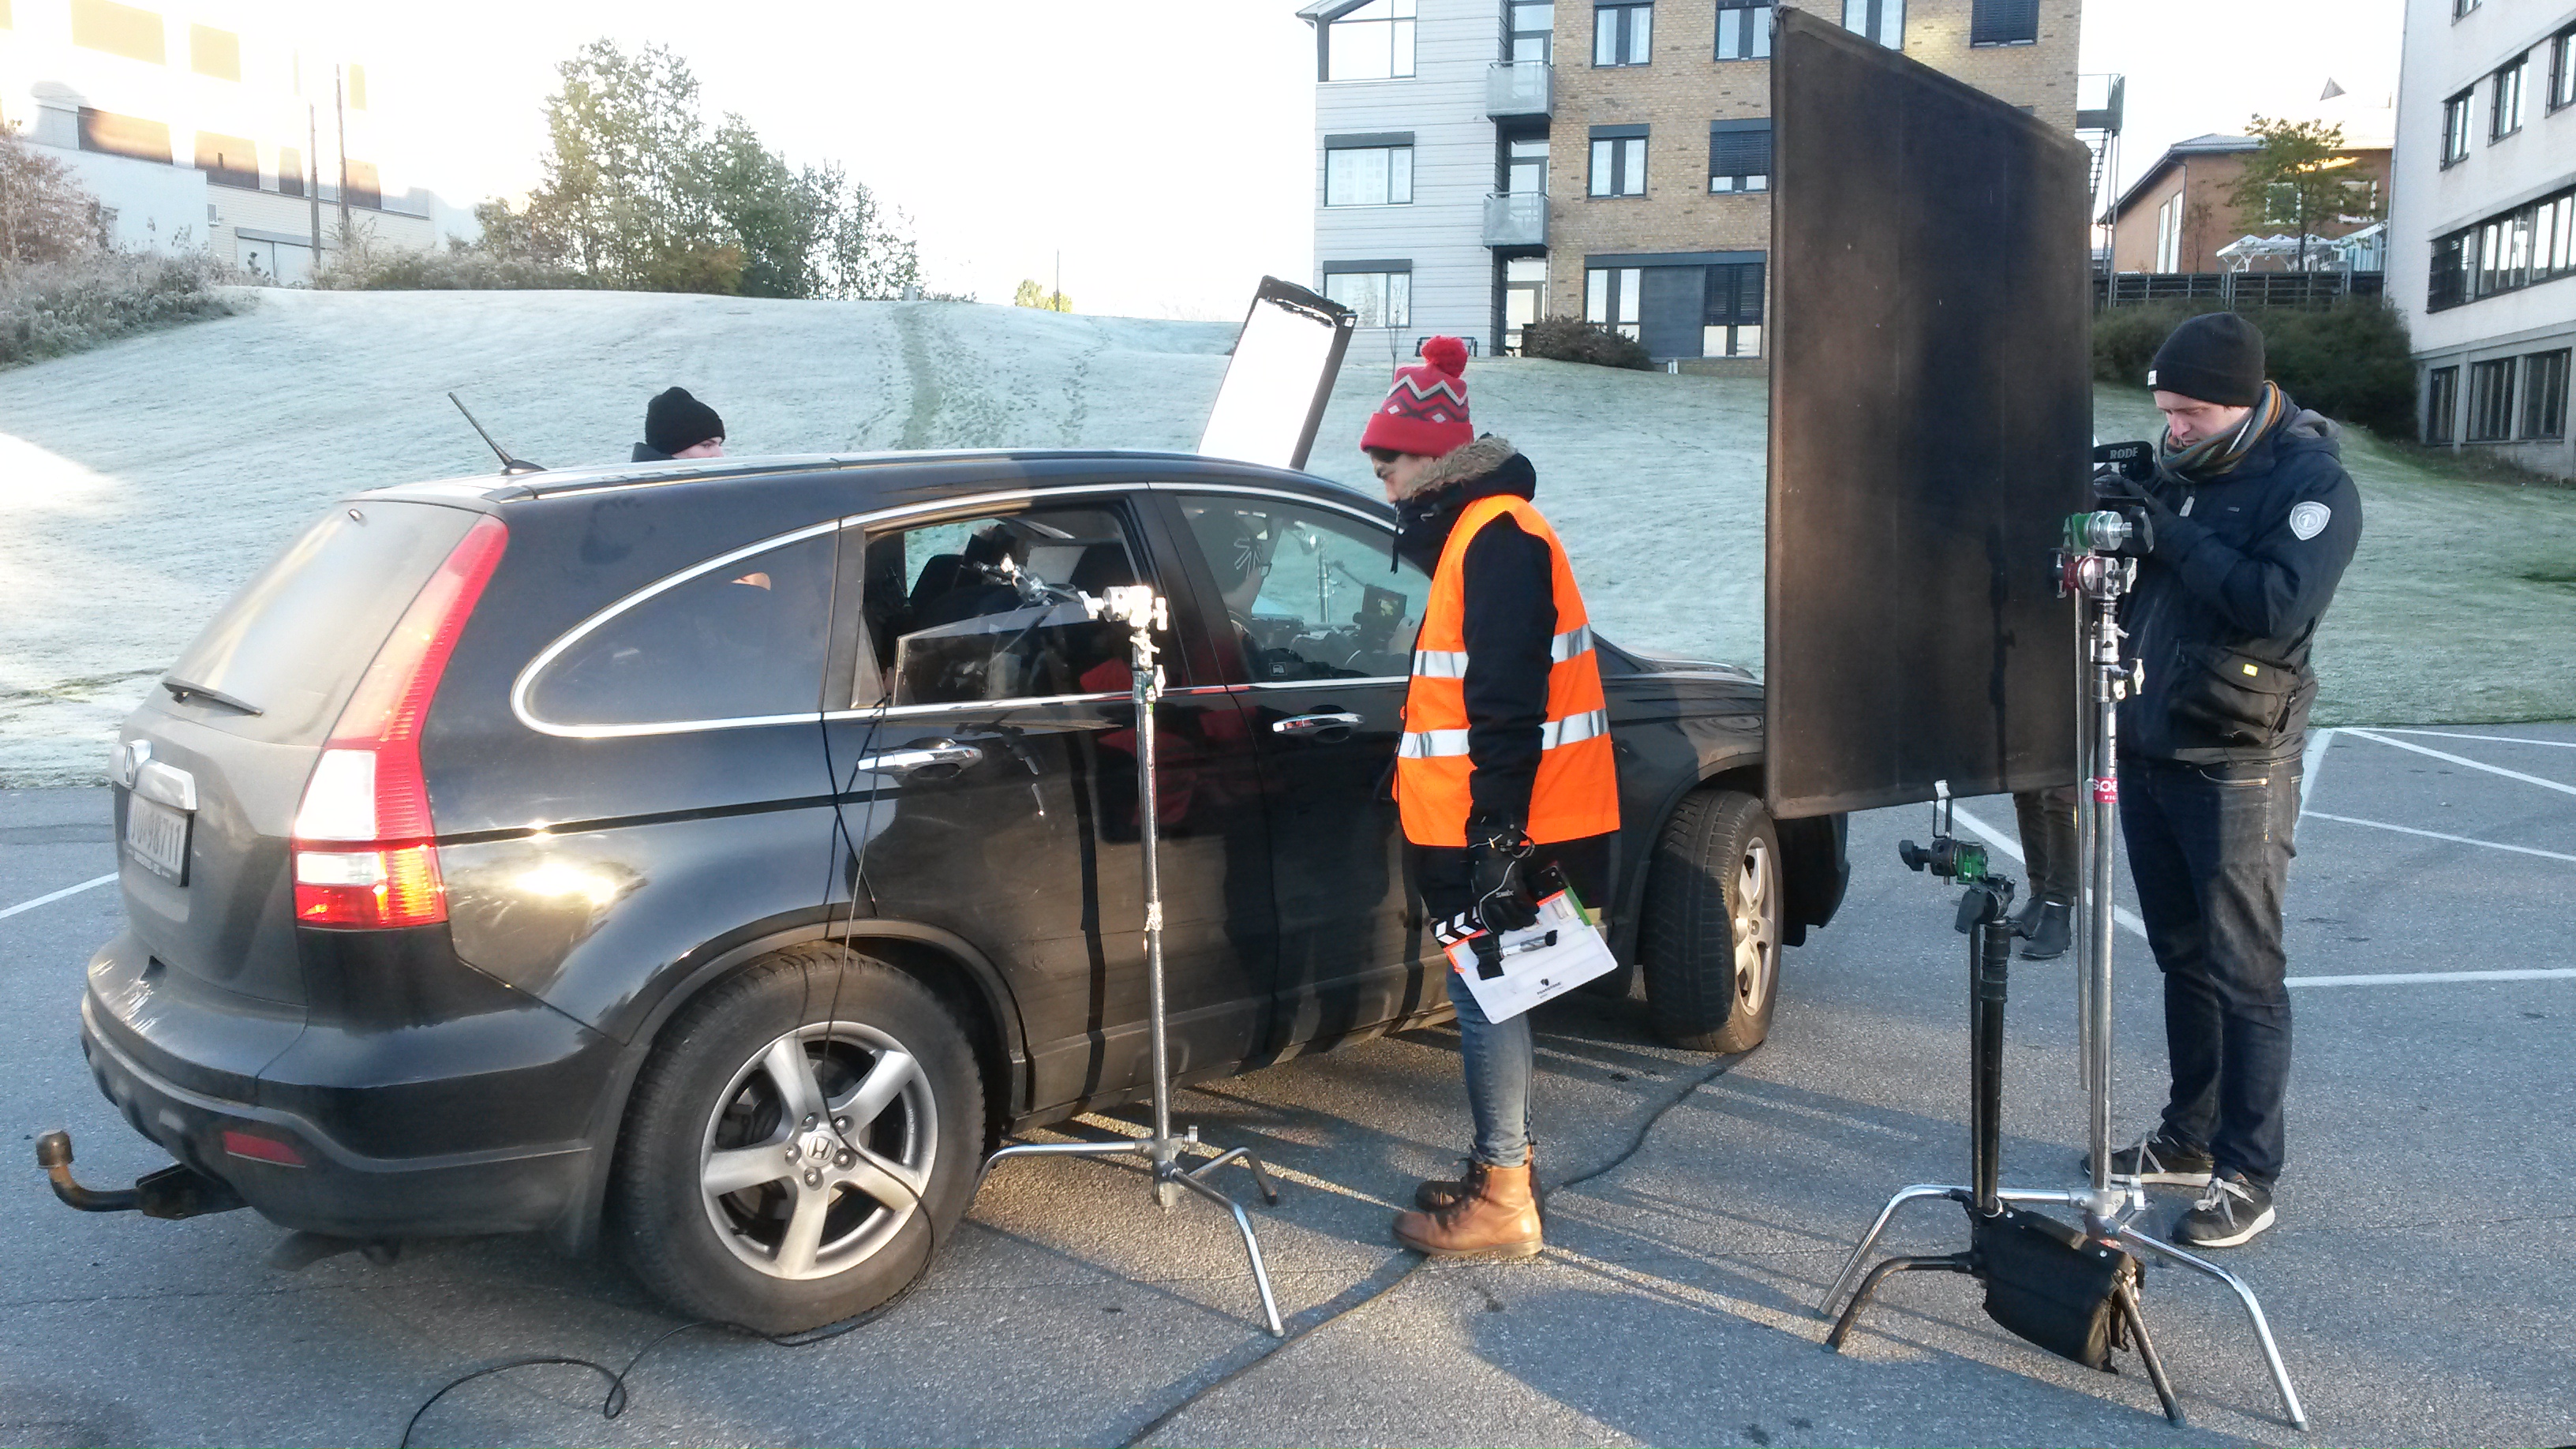
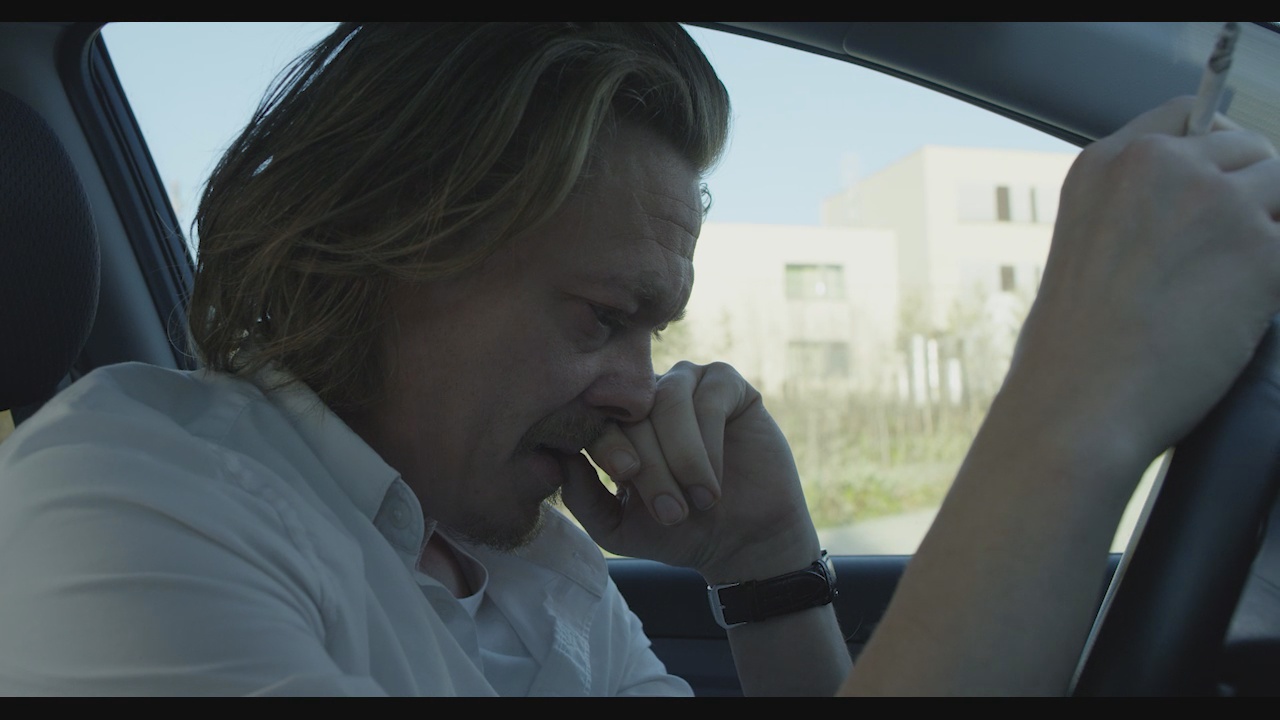
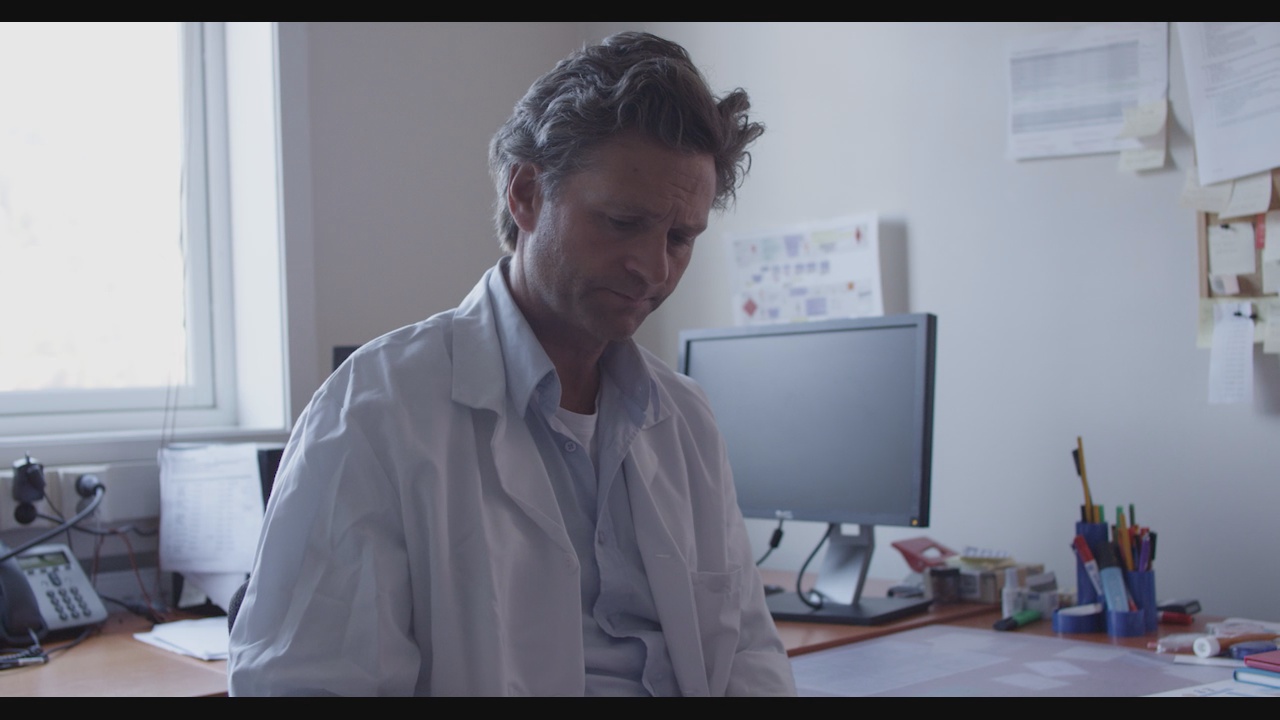
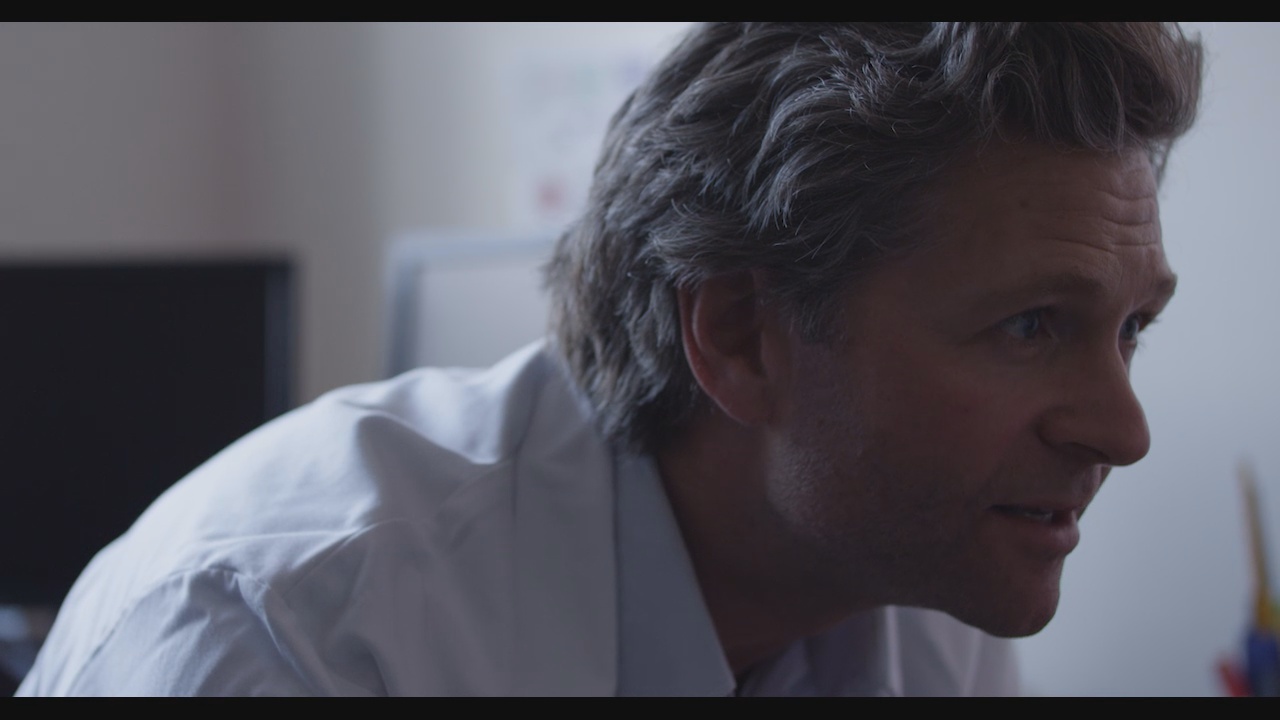
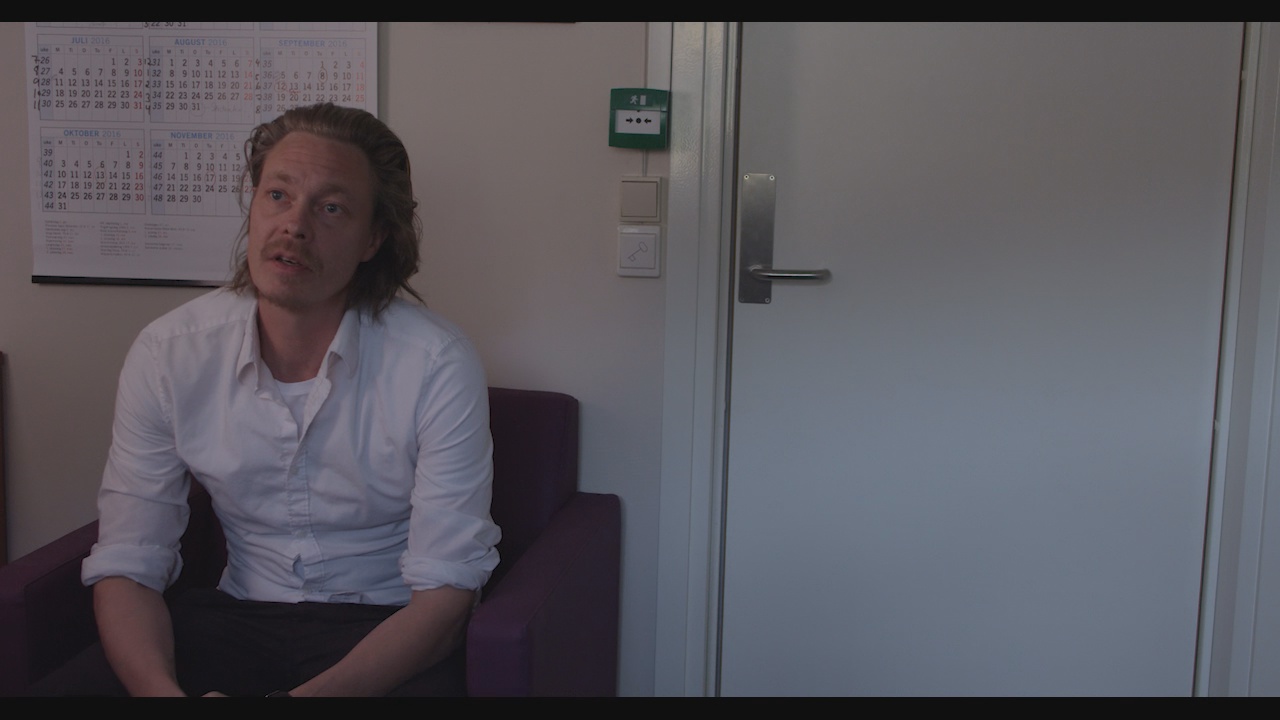
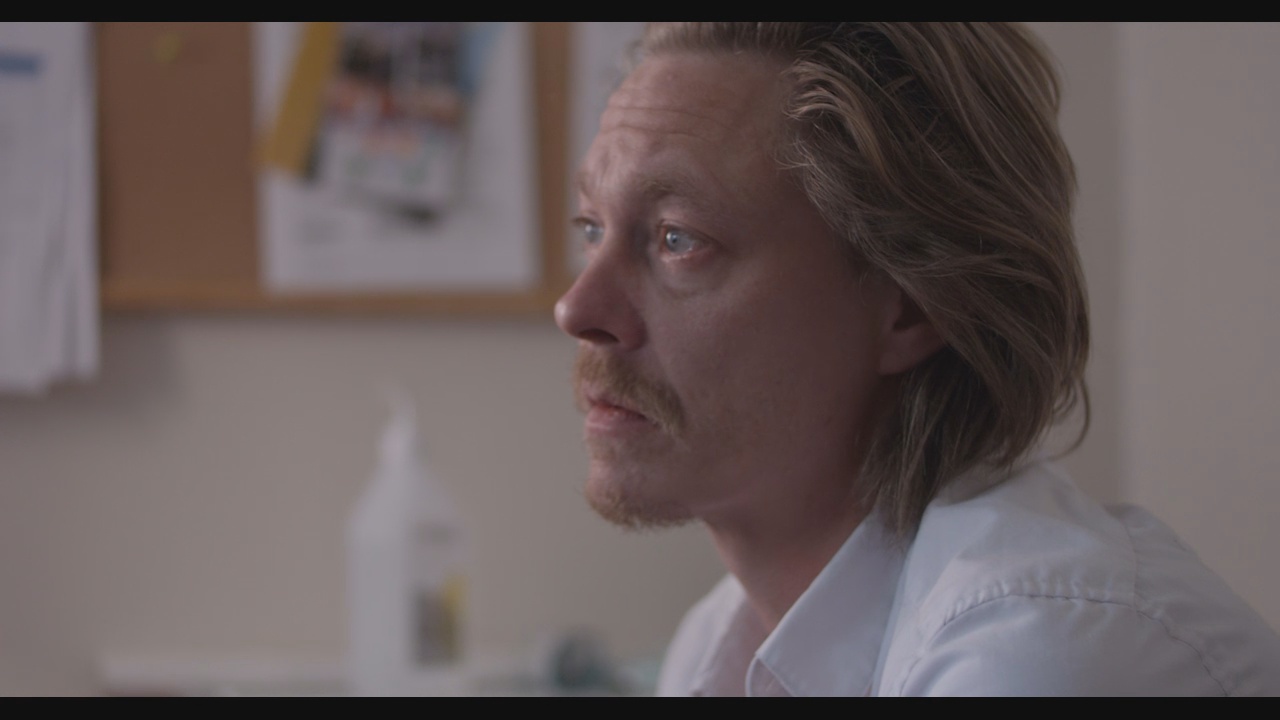
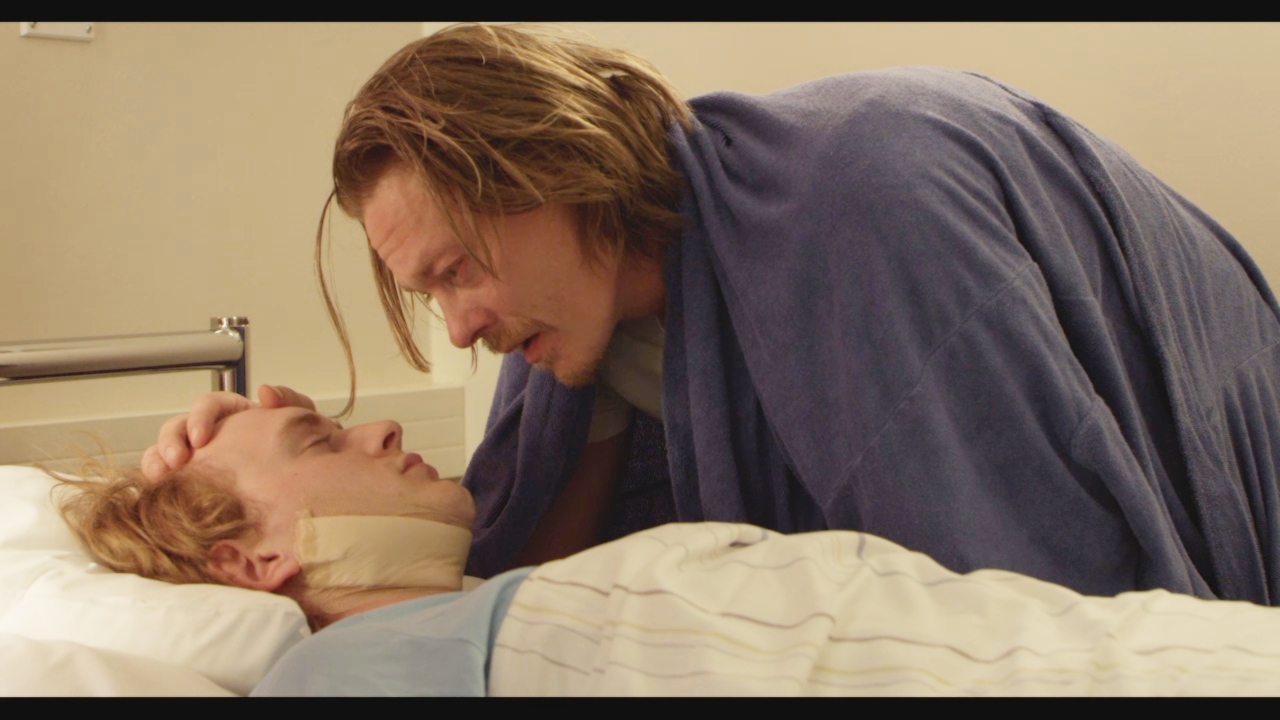
I hope you enjoyed the post! Cheers! This short film rivals the viking short epic Ulfberht in budget. But a lot of that money was spent paying our pretty famous norwegian actors Krisoffer Joner and Vebjørn Enger so I had a loss less lighting equipment. It's also the first film I've made with the studet run production company "Prosjektor Filmproduksjon". I was gaffer on 3 out of 4 days of the production. The day I wasn't there I was gaffing for Helmet on a music video. DoP: Ole Kollstrøm Heilevang, Director: Martin Adam, Producers: Arild Loar Glemminge & Vidar T. Aune, Makeup: Cathrine Aaser A few thoughts on working with professional actorsI must say I was a bit intimidated before the shoot. What if Joner, who has been acting for most of his life, saw my rookie mistakes and called me out on it? Did he have a particular way he liked to be lit? I've heard some actresses have certain camera filters bound in their contracts. Well turns out there wasn't any problem at all! Once my initial starstruckness faded away after an hour on set, it became like any other shoot. I kept my distance from the actors like a gaffer should do and just did my job. Didn't ask if he had a favorite light as we were going for a realistic look anyway. Oh and one big difference, professional actors can get into a really intense mindset in less than 15 seconds, and it's amazingly impressive. Day 1: The houseThe film was shot on a Red Epic and some pretty beefy Zeiss Primes. The concept was for it to look very realistic and unlit, using mostly natural light, like many scandinavian dramas. The framing is also pretty off sometimes, but those are deliberate choices. We borrowed a crew member's house to shoot a flashbach sequence and some other shots for the film. Note: None of these screencaps are graded, unless stated otherwise. What looks good now will look really good once that's done. But it's nice to see what you get straight out of the camera too. A big issue with this shot was that the sunlight was coming from the wrong direction. It came directly from camera right, and would move further towards the camera as the day progressed. I didn't have any HMI lights, but rather two 2Ks. So I put them to work. No use gelling them as they were too weak. But that was actually good as the indoor lights were very warm and setting the camera white balance between tungsten and daylight produced a pretty nice colour contrast between indoor light and morning sunlight. To solve the sunlight problem I covered the windows with the one big flag I had and a big piece of molton held up by two C-stands. Then I set up my two diffusion frames and blasted the 2Ks through them. It was important to make sure that no sunlight got around the flags as it would make really weird light streaks inside. The diff frames also cought the natural ambient skylight and the mix of skylight and tungsten worked well. The lights were raised higher and titled downwards for the actual shot. Setting up all this stuff quickly was only possible with the help from my two light assistants Kjetil Sole and Eivind Bjørnø. It's the first time I've used hand signals on set so I made some up and it worked great when we had to communicate through windows. Eivind also had a walkie talkie which helped a great deal. Eivind spotting a 300W we used for the mother's hairlight. Since we wanted it to be subtle I think I ended up putting a piece of ND filter over it to bring it down. (Didn't have scrims) Also put some 1/2 diffusion on it (no idea what type). But didn't want it spilling over to anything else than her hair. Kristoffer Joner got natural hairlight from the practicals in the roof. Day 2: The forest, Part oneThis day started out quite boringly for a gaffer. Just actors running around the forest in natural light. Tried to sneak in a bounce or flag from time to time, but it didn't look consistent with the moving shots. In stead I enlisted myself as Kristoffer Joner's professional chair carrier, and spent the day laying cables all around the forest and testing the generator. Our 5000W generator. Thanks to BAS Utleie for loaning it to us for free! Trying to figure out what line loss and power factor correction was, turned out to be quite the timesink in pre-production. It did however make me understand why our 2nd HMI wouldn't spark on "The One". Our staging area was pretty compact! I'm sure there are better ways to organise it, but at least I got to have the lighting equipment closest to set, and ready for use. Below is my favorite shot from the entire film. Vebjørn Enger is a great actor and I think that ads a lot. When I was scrolling through the ungraded movie I noticed this and asked the DoP if we had just had natural light for this one? I was busy setting up the HMI moonlight or something when the shot was taken, although we had talked about adding an artificial rim or kick to him. Turns out the kicker isn't a weak sun, but rather a handheld Aputure 3200K-5600K battery powered LED-light set pretty warm back to the left. It's a very simple setup but I think it works really well. Now I think it's important to show the bad shots as well as the good shots, because it's those I personally learn the most from. You know, mistakes. At one point we were losing sun, and I was thinking, maybe I can quickly add some sunset-sunlight to Joner's face with one of the LED-lights. Well I really don't like the result. The pic on the left is from a bit earlier in the day, but we did the same thing here. As you can see below I am holding a 1/2 diffusion frame to soften it out and make the light less obvious. But it still doesn't look good. It's flat, and it's boring, and it doesn't look like sunset through a forest. Now if it was the real sun it would have been flat from this angle too, but at least we would have had some more interesting shapes. If I were to do it again, I would have had a stand with some branches clamped on, to break up the light and give it more of a pattern. That way it would have looked more like the natural sunlight in the forest. But alas, as you can see from the background getting really dark, we were behind schedule. The yellow can be graded away easily if they decide they don't want it. We had a pretty big problem at one point. We wanted Kristoffer Joner to look into the sunrise (actually sunset) for an emotional moment. Well with the camera in front of him, the lower the sun got, the bigger the camera-shadow on his body and eventually face! We should have anticipated this... But I got an idea. While DoP Ole switched lenses to be able to stand further away, I built a sun-blocker out of small branches we had cut earlier and gaffa-taped it together. Then I held this over DoP Ole's head, blocking his shadow and replacing it with a tree-branch-and-leaves shadow. Where there previously would have been a hard camera-shaped shadow, there was now a smooth transition from branch/leaves to full sunlight, covering the camera shadow. Sadly by the time the actors were brought in and we were ready to shoot the sun had already set behind the mountain. Now from this point on it's impossible for me to show screenshots and setups without spoiling the movie. So the night shoot will have to wait until another post down the line. Day 3: The HospitalWe started the day outside. There is limited sunlight in the norwegian fall so as soon as the sun rose we were getting ready to shoot. Now a big mistake was not deciding EXACTLY where the car would be in pre-prod. In the shot our lead actor is sitting in the car preparing himself before going to visit his son in the hospital. The car got moved around for like an hour at the start of the day before we started shooting. This made it pretty difficult to rig lighting. When the DoP and director had set the frame, the sun rose, and hit the actor right in the side of the face facing the camera in the flattest most amateur way possible. And just totally the wrong mood. This was one of the first shots in the film, it couldn't look like that! In pre-prod we had decided to use the sunlight as the far side key on his face, possibly helping with a light if needed. Now obviously that wasn't going to work any more. I had power laid out beforehand just in case, but I didn't know if the circuit could could handle adding the 2kW tungsten fresnel. So I plugged in the 4-bay daylight balanced kino-flo to be sure I didn't trip a breaker inside the hospital that we didn't have access to. Well as you can see the amount of light it gave is minimal. The kino is just out of frame to the right, on an arm behind the car, as close as I could get it. The sun is blasting the background. I put up a floppy flag behind the camera to block the sunlight hitting our actor. I don't know if it's the sun or the camera that moved, but you can see some sunlight sneaking in top right. The DoP thought it looked too dark inside, so I snuck in a LED-panel on a C-stand arm through the side window to lift the exposure on the side of his face facing us. Dimmed down a lot. You can see it in the hair.  For the scene below the framing really tells a lot of the story and I applaud DoP Ole here. I suggested we turn off the roof lights and let the doctor get a bit underexposed. We aren't supposed to be sympathising with him, but rather with the father. Now I really like lighting far side key, it just makes things look cinematic. So I jammed a double-diffused 300w fresnel to the right between them. It's a really small space but it worked out. It's supposed to be mimicing a wall light like the one I put on the right here: I just turned the lamp depending on which way we were shooting. It's not perfectly consistent colour wise, but easy fix in grade. If there is one thing I would have done different it would have been putting up a net to decrease the exposure on the doctor's shoulder when he leans forward. It takes too much attention. Sadly I wasn't in the room to see it happen, and now that I think about it, I didn't have any nets. I guess a flag some distance away would have done the same job. So for the last shot of this blog post I was allowed to add a bit of hairlight for a change! It's a dream sequence, so I've added a slight bloom effect in paint.NET for this one only. Aputure LED set to 3200K, and boomed from a C-stand with a C-stand arm over and behind Kristoffer Joner's back. For the key light the DoP and I just worked with what was in the room. I suggested Vebjørn Enger in the bed be lit brighter than Joner, almost angel-like. The sunlight coming in was hitting them both very harsly, so I put up the 1/2 diffusion frame. It was still harsh and burning out the pillow. So I did something I've never done before. I took a piece of diffusion gel, folded it in two, and taped it with paper-tape to the diffusion frame, right where the sun hitting Vebjørn was passing through. Then I added the flag to lower the exposure on Kristoffer Joner, and then black wrap on the LED-light to keep the spill off the back wall. This is probably my 2nd favorite shot in this film.
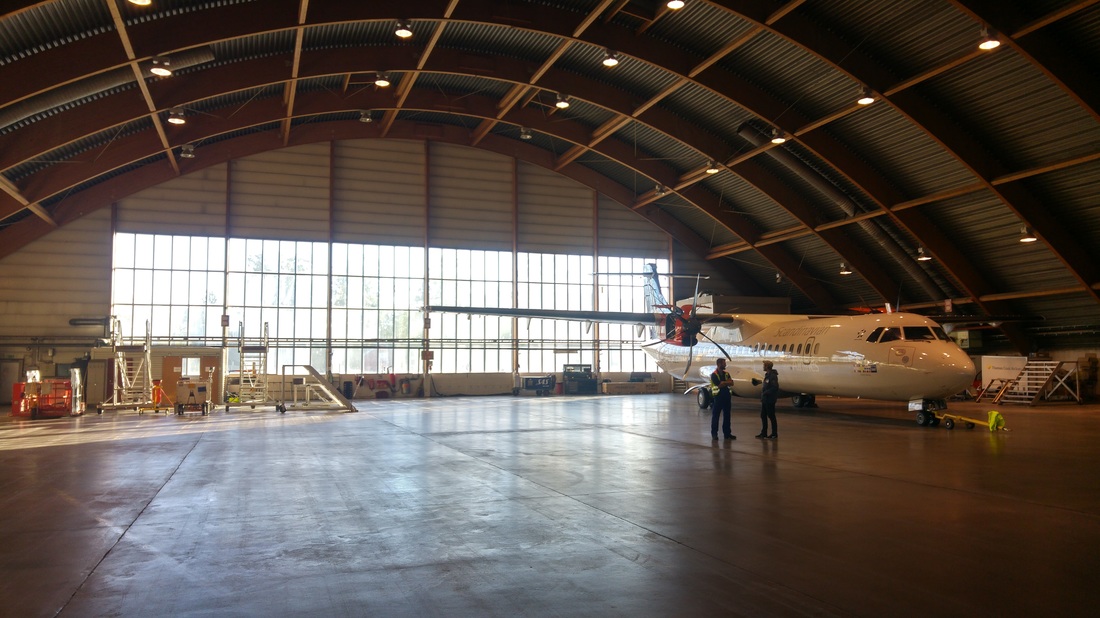
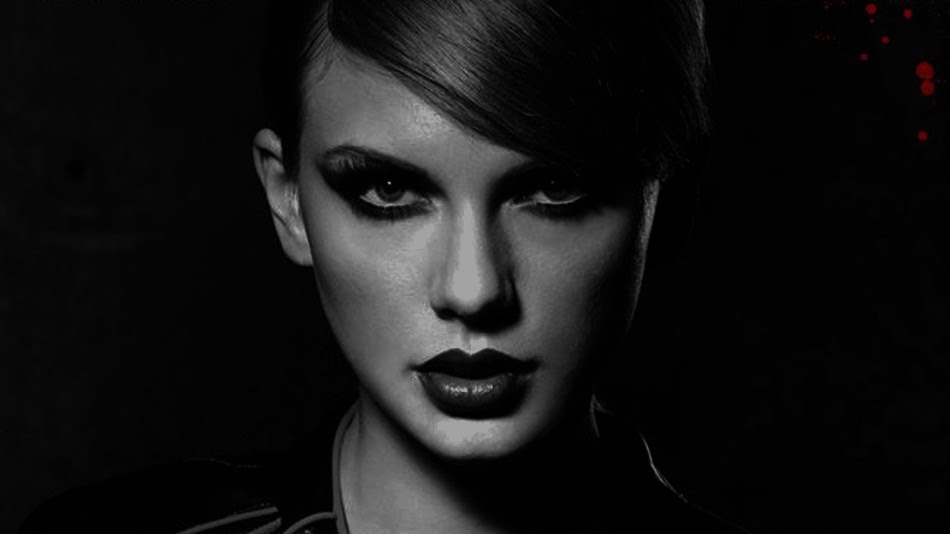
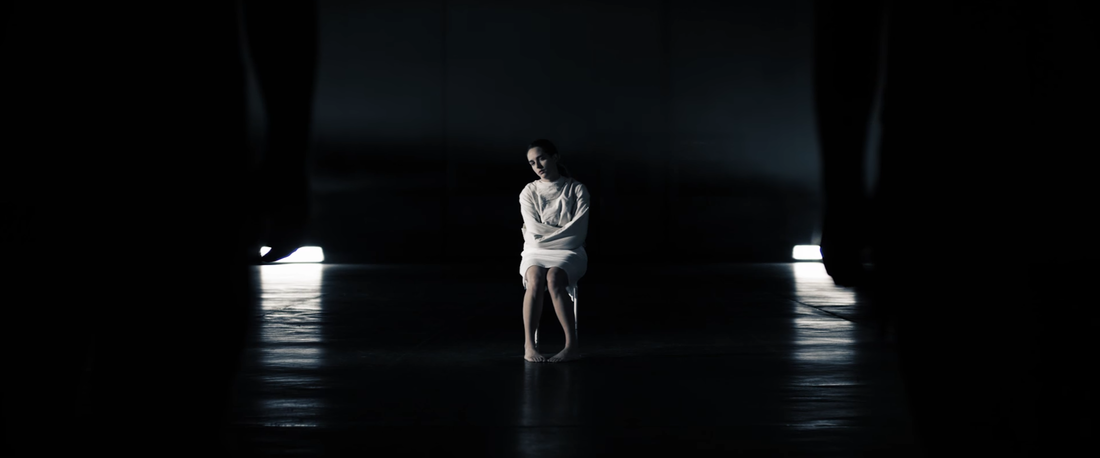
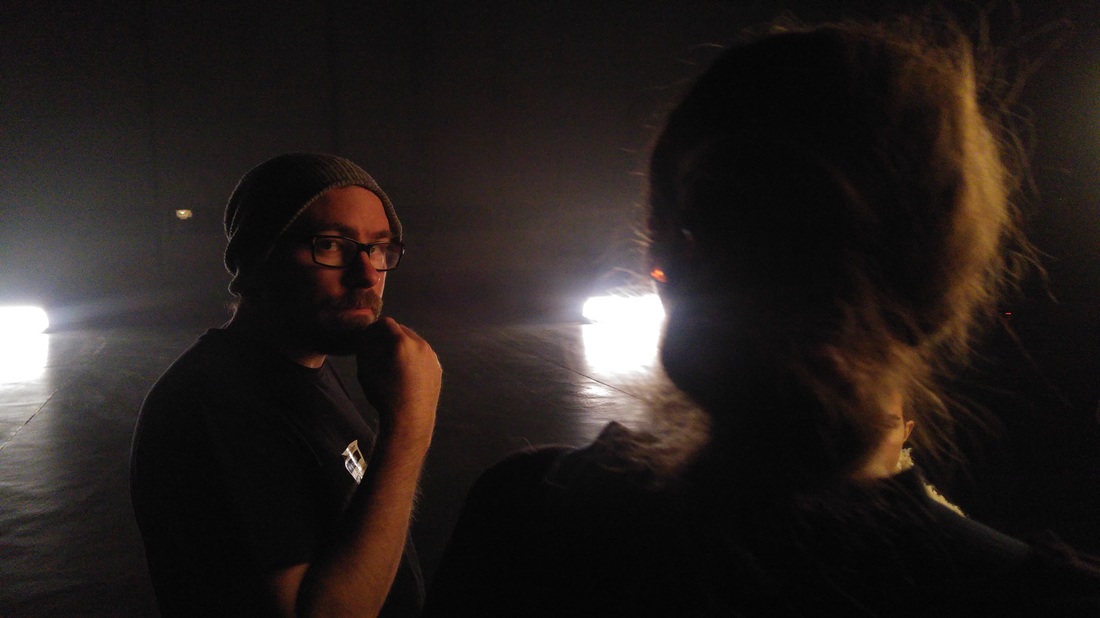
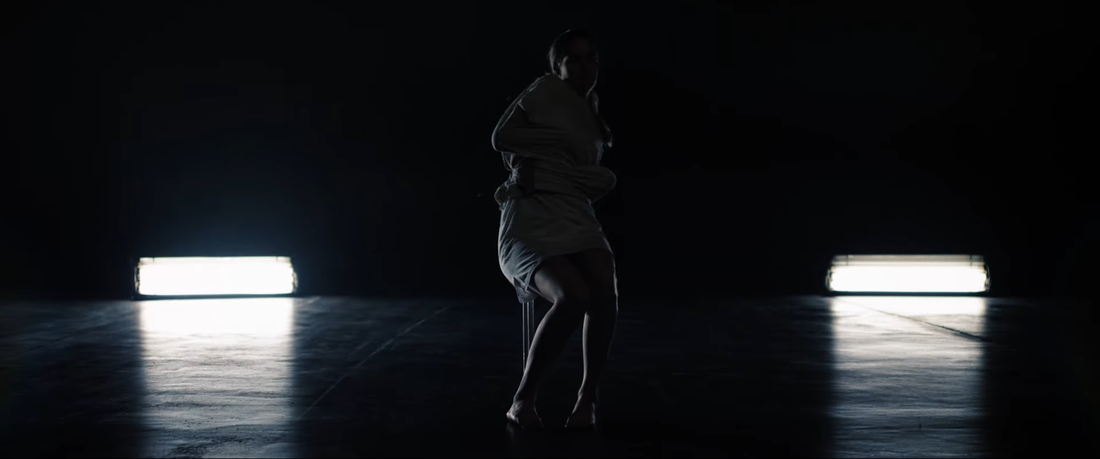
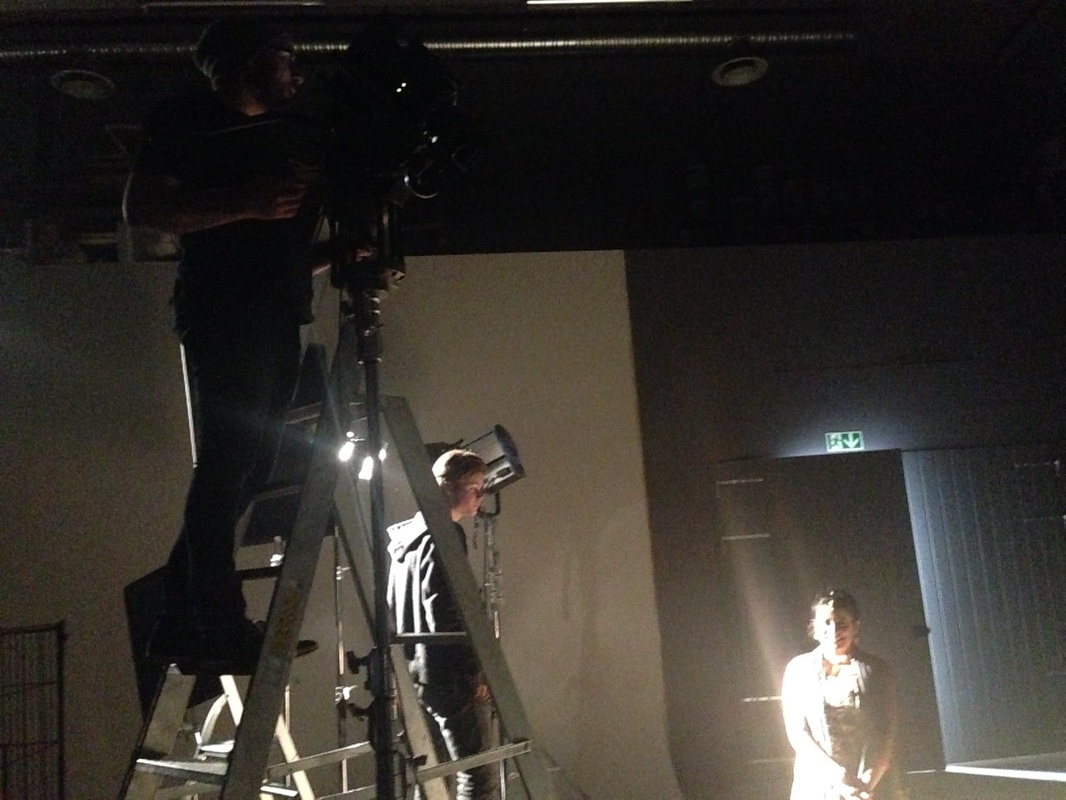
This one you can already see finished! My first music video shoot. Super-low budget, produced by Helmet Films & Visual effects for Ine Hoem's single Moonbird. My function here would most closely resemble Best Boy. The shoot was in the middle of the shoot of "Dear dad", that I was gaffer on. But I got someone else to take that shoot as this was my first job as gaffer for a "professional" production. We filmed in a huge hangar, not because we needed a hangar, but because we needed a big-ass studio with a lot of space. Problem was, we wanted her in darkness, while the hangar had huuuuge windows. So, it became a night shoot. Aaand I couldn't be the gaffer on a night shoot as I was going on set for "Dear dad" the next morning. But you know, still was gaffer the first couple of hours. We moved a little bit away from the initial plan in the final product. The DoP Stian Eriksen wanted low key lighting, her in complete darkness, lit by few sources. We had little time so the lighting was to be simple. Also he proposed we use a china-ball for her face, to make her look beautiful. We didn't really have a proper light plan as I was busy on the other set, and was doing this for free, with very little time for pre-prod. With some help I rigged up the china-ball on a rolling stand with a telescopic arm, as key a bit to the side and up, and hit her dark side with a spotted 650w kicker out of frame. Also rigged two kino-flos pointing downwards as a sort of hallway light, that would hit her and the guards as she was being dragged across the floor to the chair. My inspiration: (it's graded a lot where I pushed the blacks down) Well, while that worked alright in a close and medium shot, it turns out our first shot was REALLY wide. He had changed it from the initial idea of a medium shot. China-ball isn't that great when it's 10 meters away... Also the DoP wasn't quite happy with the lighting without being able to tell me quite why. It was probably too dark, empty and boring. "Try something else" At this point we were supposed to start shooting which made those words a bit stressfull. I was to think up a new lighting setup. This was the master shot, so the lighting would have to work for the rest too. He didn't want lights in frame and wanted completely black suroundings. While I'm thinking about how the lighting should be (basically a new visual style for the music video then and there) another much more experienced DoP/gaffer (Øystein Moe) walks on set. He is supposed to take over for me because I'm going on set early the next day. He agrees the light isn't working, and proposes we put kinos behind her and light her front with a 2kW fresnel through some diffusion. Well I guess the new visual style thing solved itself! I didn't have to go to sleep just yet so I stuck around as a best boy, helping him execute his ideas, and delegating to the 3 light/camera-assistants. The china-ball got some use in the shot above. The pulsating light on a manual dimmer was Øystein's idea, and I think it was really smart as it kept the shots from looking static and boring. Really gotta applaud Øystein for thinking up all of this in 5 minutes. He did break the initial lighting restraints we had style wise, but since it looked good I guess it doesn't matter. He actually didn't know about them and lit the scene how he thought it should be. I'm so used to working in narrative films where lighting continuity is key, it was REALLY hard for me to not worry about continuity despite this being a music video. Like. I have a gut reaction to bad continuity haha. Totally engrained in my brain. But yeah, not so important here. Next time I have to push that thought away. Yet, sometimes you need continuity in a music video as well, so turning that thought process on and off I think will always be difficult. Having the kino-flos flash was an idea Øystein came up with during the shoot. That too really helped make the video more engaging visually. It's me and a light assistant playing piano on the ballast switches. Øystein and Stian have done it for years and the ballasts and bulbs still work so I guess it's totally fine thing to do! After this I had to go.
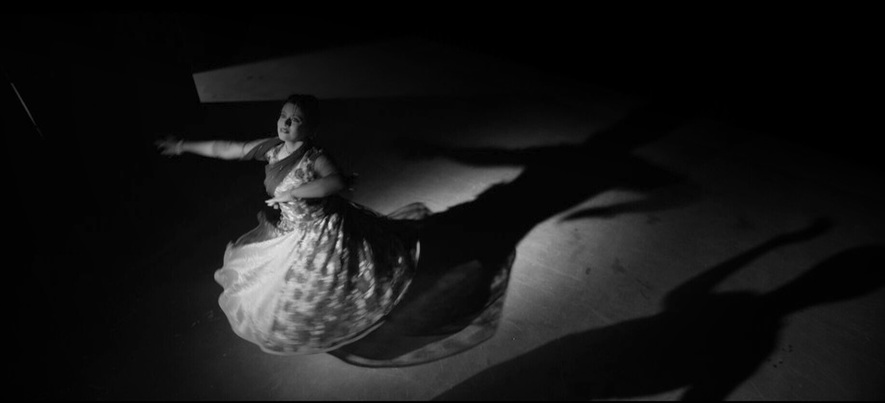
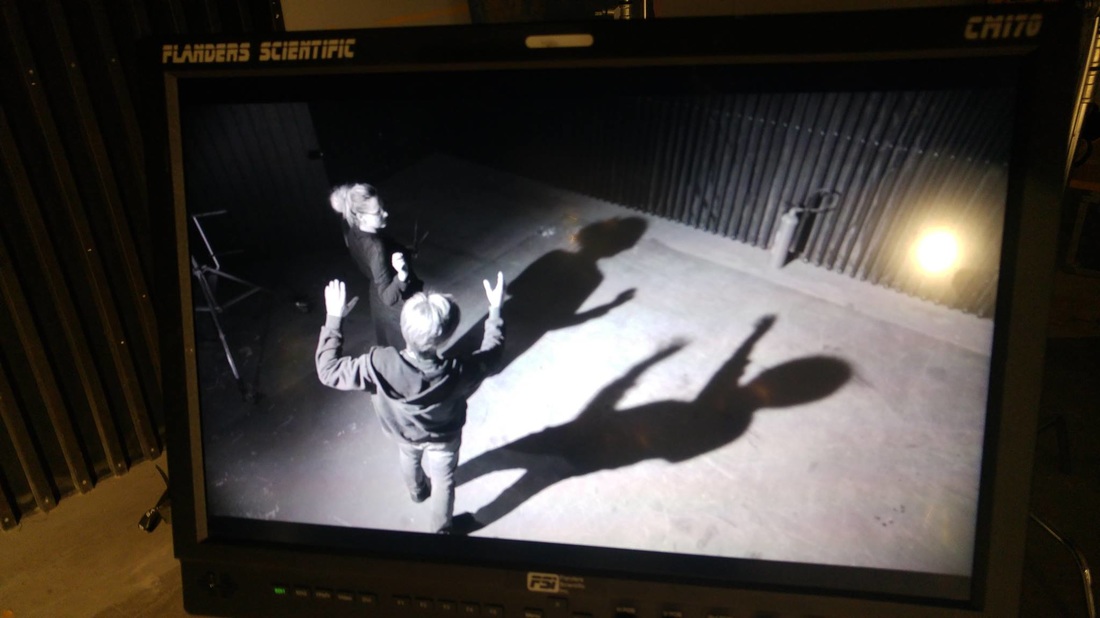
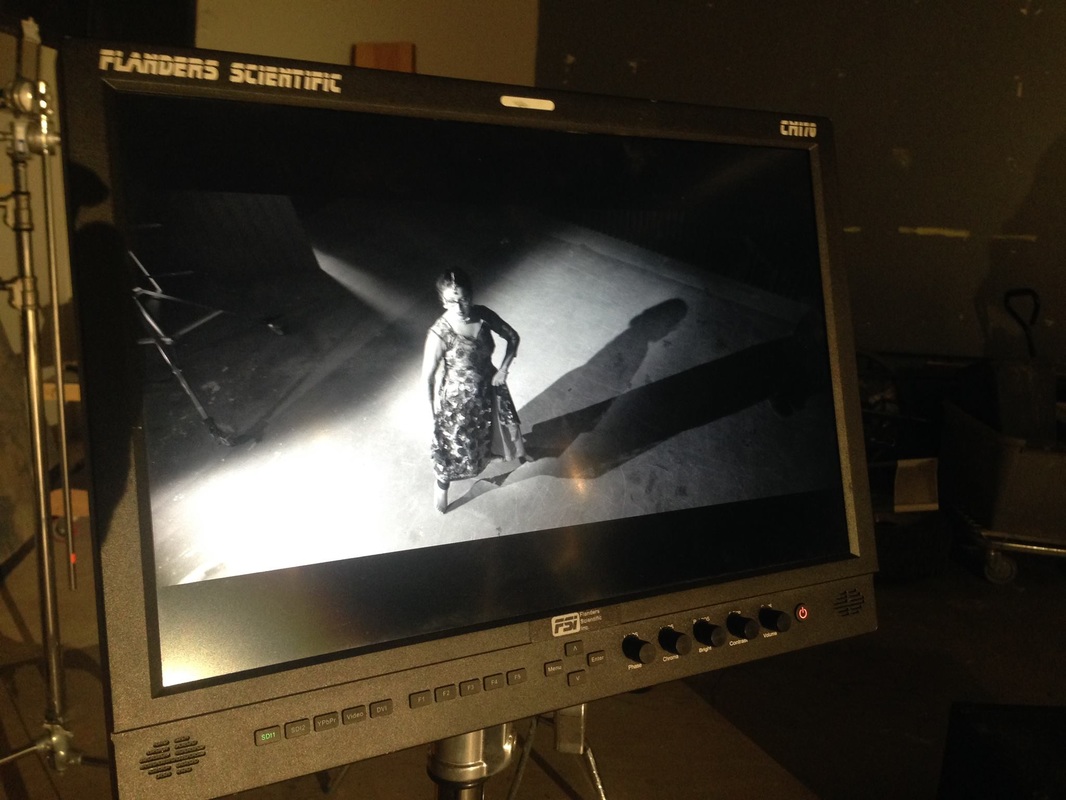
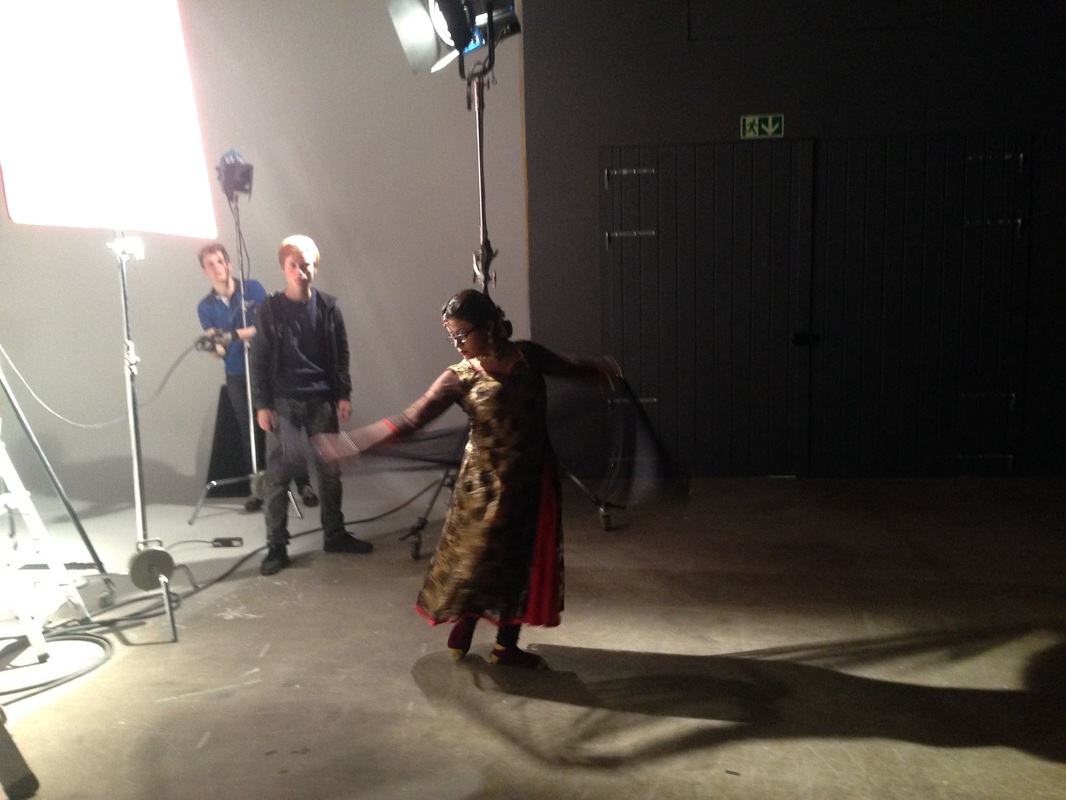
Task: Make a good B&W still frame This project was a chance to just practice like I did back in film school light class. The local film centre rented out Helmet Studio and their cinematographer Øystein Moe. They also got Åsa Nilsson to talk about black and white scenography. We were divided into two randomly selected groups. One could say that without a director, coming to agreement on what we should actually make was not the easiest task. In the end we settled for a compromise. For me it was very important not just to make a pretty frame, but to tell a story too. This was however very limited as we didn't have any props and only a day to get what we needed. We decided to use one of the participant's beautiful dresses. Final shot: After this I kind of just got a dump of 16 GB 6K R3D files I didn't know what to do with. Turns out the only codec I got to work was MJPEG, and then screenshotting out of that, and grading the screenshot. Enjoy the 138 Kb result haha. We agreed on having one of the participants dance, shaking off a dark power inside her. Her internal state of mind was to be shown through the shadows. We started out with a 1k about two meters off the ground, to get an idea of how the final shot would be. No diffusion as we wanted hard shadows. To get the boy out of frame, and still keep a shadow in frame with the same size as her shadow, we had to add another light. This produced double shadows. The streak of light from the door is just there to make the shot a bit more interesting to look at. But I also thought of it as kind of a "light at the end of the tunnel" as the evil shadow was supposed to be camera right, and the bright escape camera left. Me plugging in the 1k in the background. The 2k and diff frame frame was used by the other group who were making a different setup. See the 650w behind the boy? My plan was to try to get the shadows to look like they were both created by her. To show that both the shadows were a projection of her internal state of mind. Problem was, double shadow hellworld, and the 650W washing out her shadow. In the end I had to give up on the idea and have his shadow come from next to her. Øystein wasn't to keen on letting anyone else touch his expensive RED camera, so he did the operating. I moved the 1k up on the studio balcony. It's a messy place and no way to attach it to a stand, so I just had to hold it there. The 650W light took over the 1k's role. I flagged the 1k to keep it from hitting the girl, and thus producing double shadows. Final frame again. What do you think? I wish I was able to rim light her a bit. And tilt the light a bit up. Sadly the other group occupied 70% of the studio so that wasn't an option. Oh well!
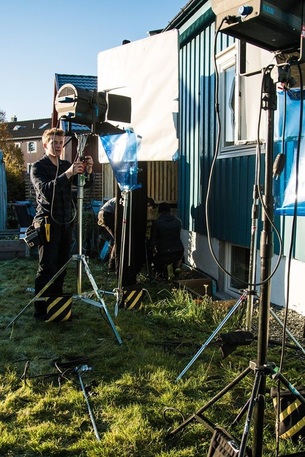
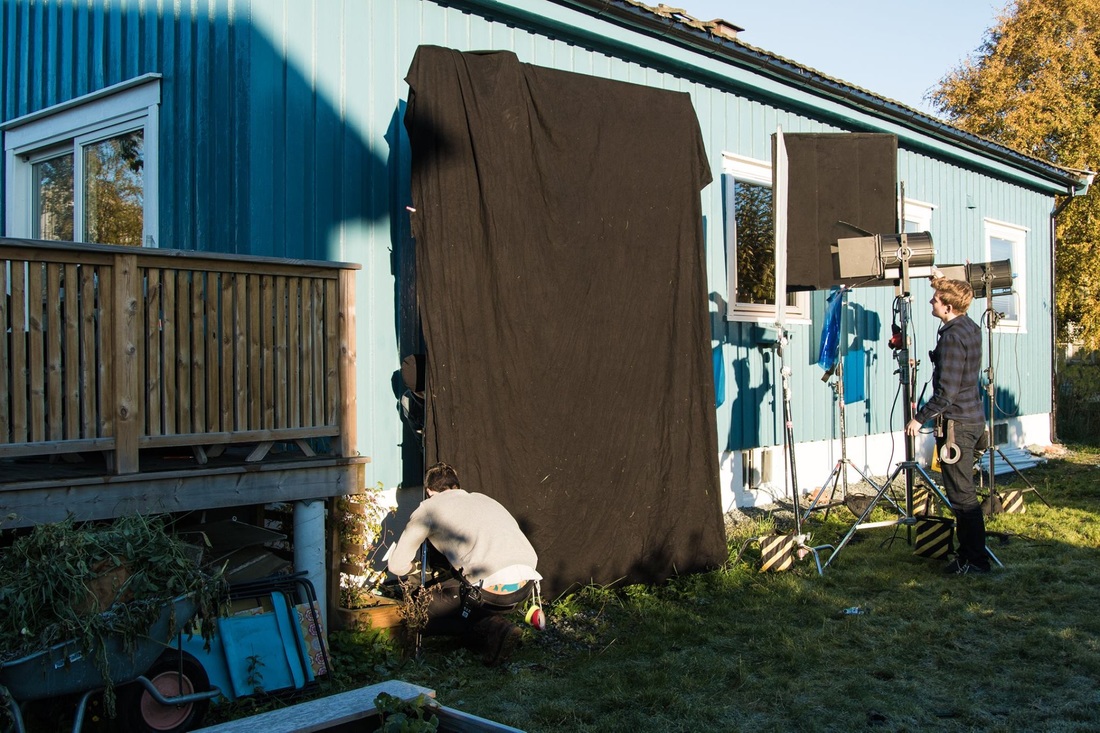
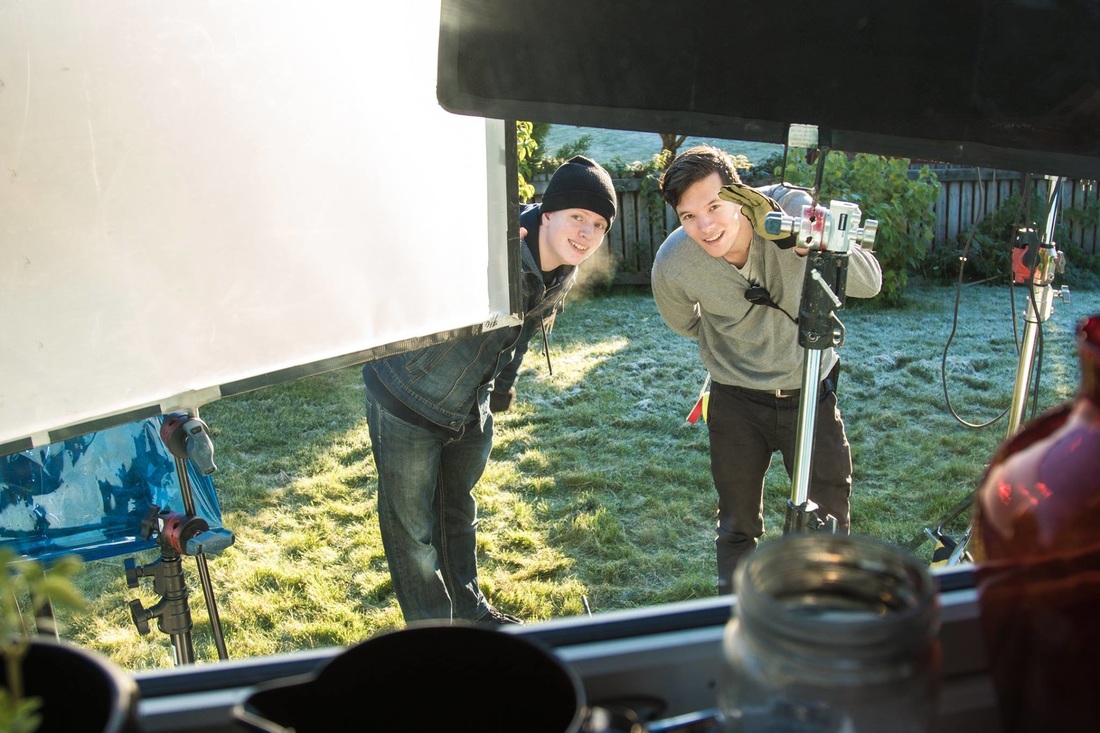
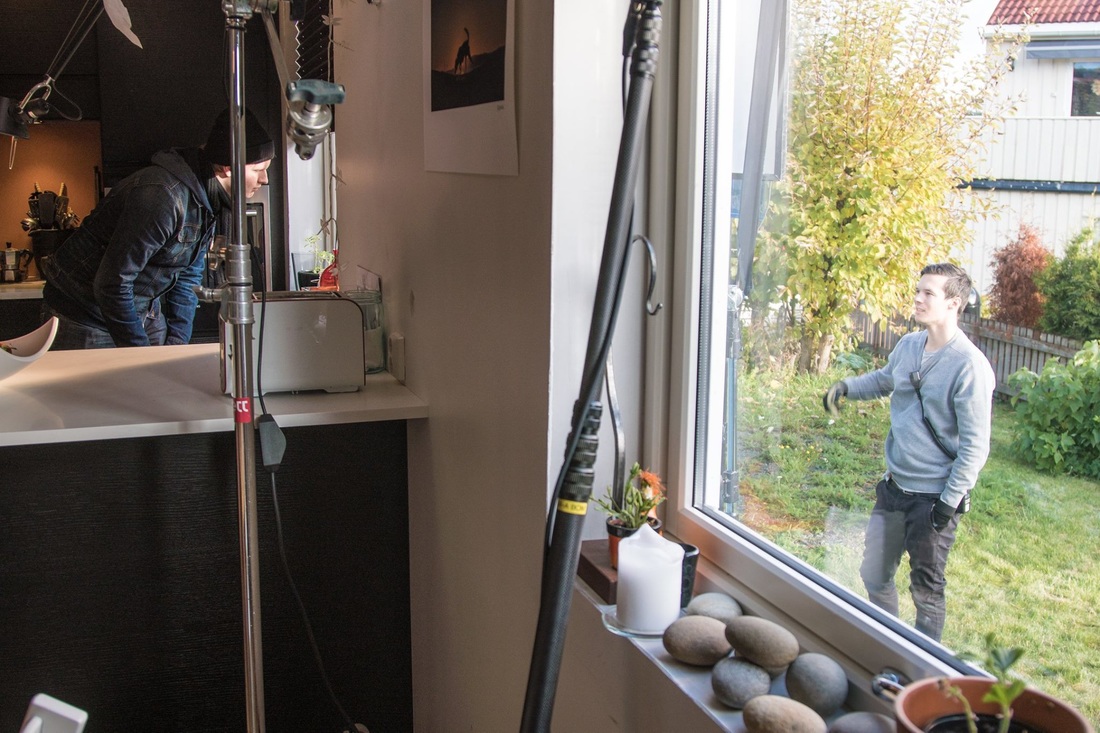
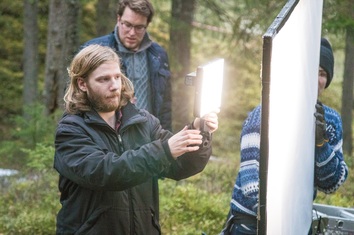
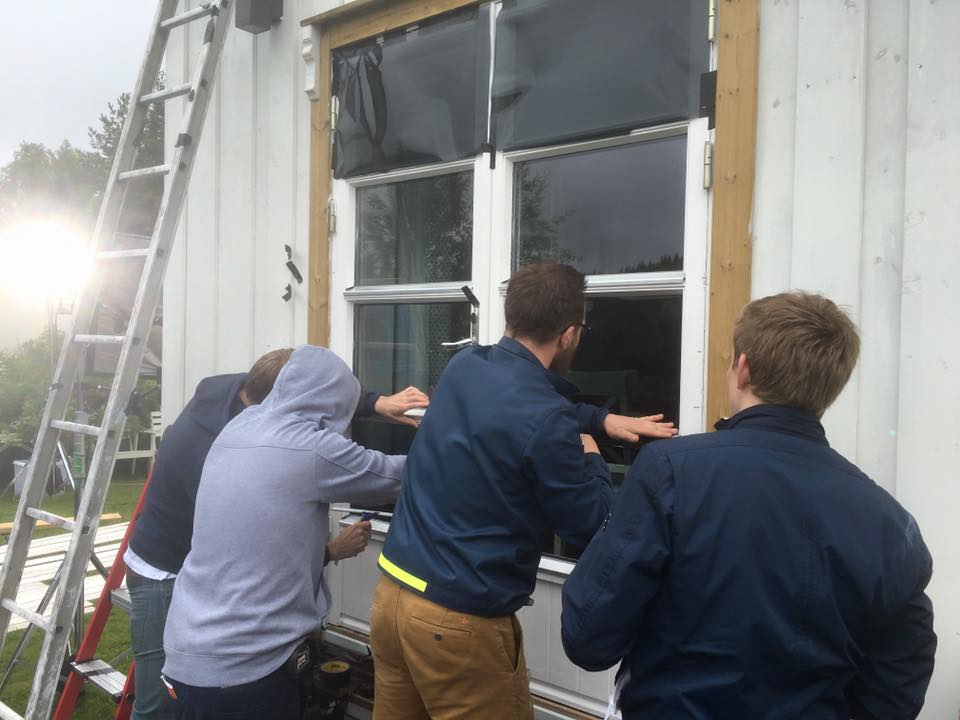
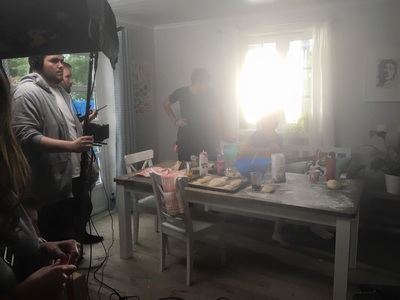
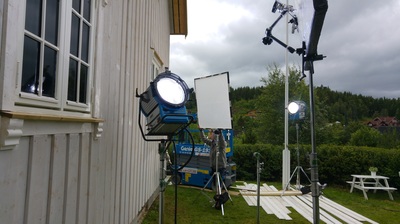
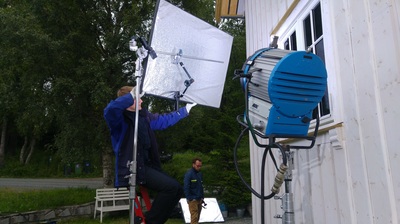
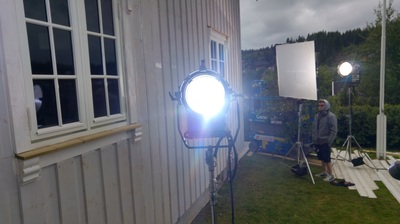
This is the biggest production I've been on yet, with a budget of 1 million norwegian kroner. For part one of this production I got to work together with Trondheim's most experienced gaffer, Pål Aarnseth. Together we emulated sunlight into a house and covered all the windows with ND filters. We also had one of the grips, Eilif (guy in gray hoodie) as well as some runnners help us out with holding lights as it was windy and we didn't have enough sandbags.
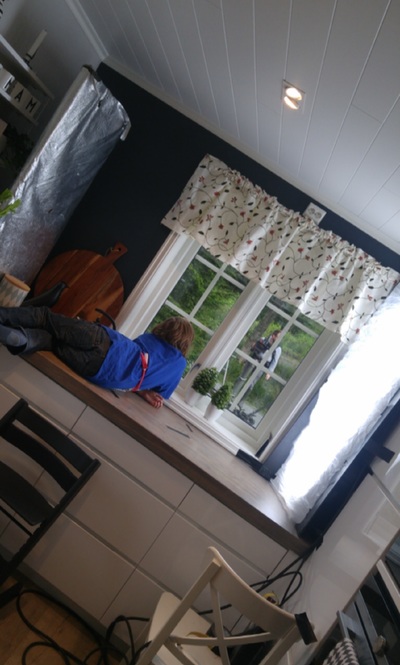
The cinematographer wanted sunlight in, but being able to shoot out the windows. First we cut big pieces of ND covering the windows, but it wasn't perfect so we had to take them down again and cut smaller pieces fitting into the window frames. They were held there by vaccum created by spraying water under them, then pushing the water out.
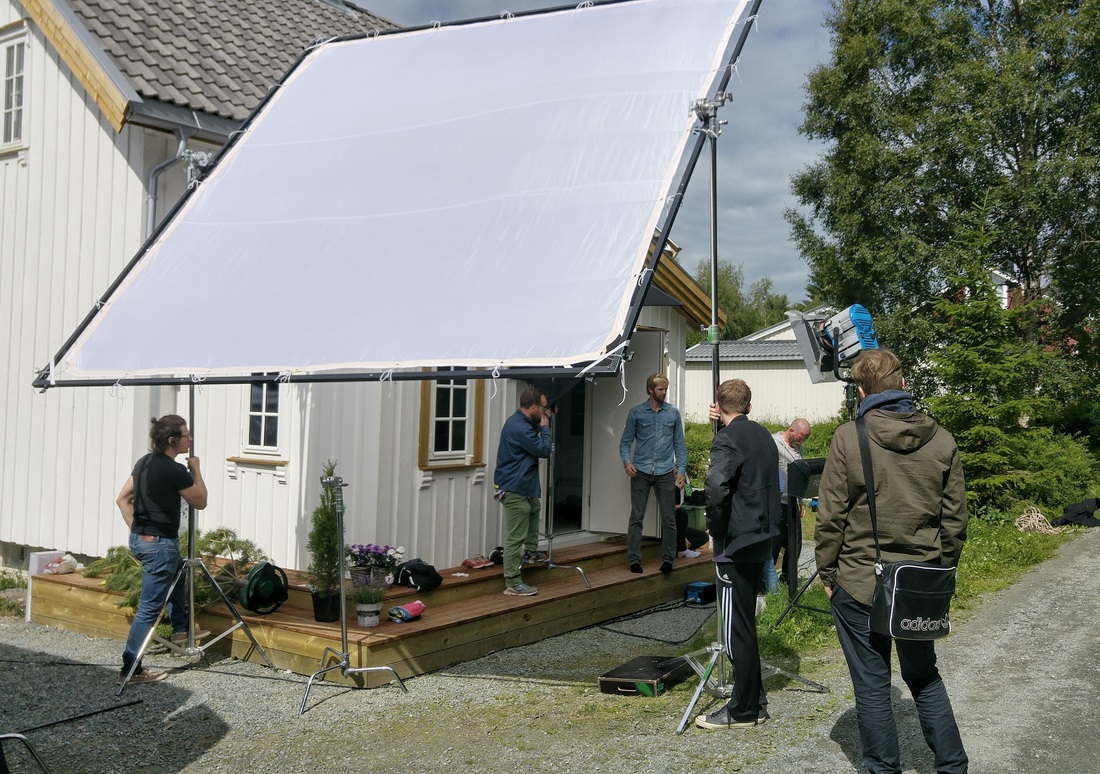
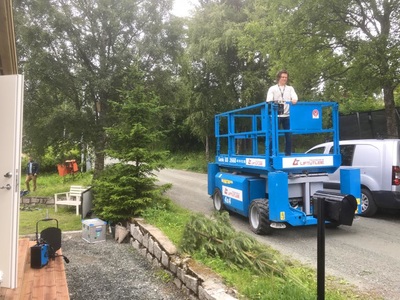
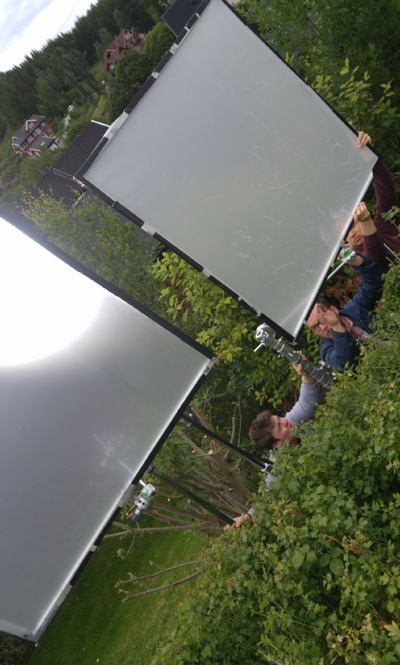
It was overcast for most of the two days, but when the sun decided to show up, we had to throw up a huge silk frame to soften it out.
A lot of the time on set was spent just holding bounce boards and lights in place. Inside, the cinematogrpaher set up a kino-flo to lift the exposure.
PART TWO: Forest shoot
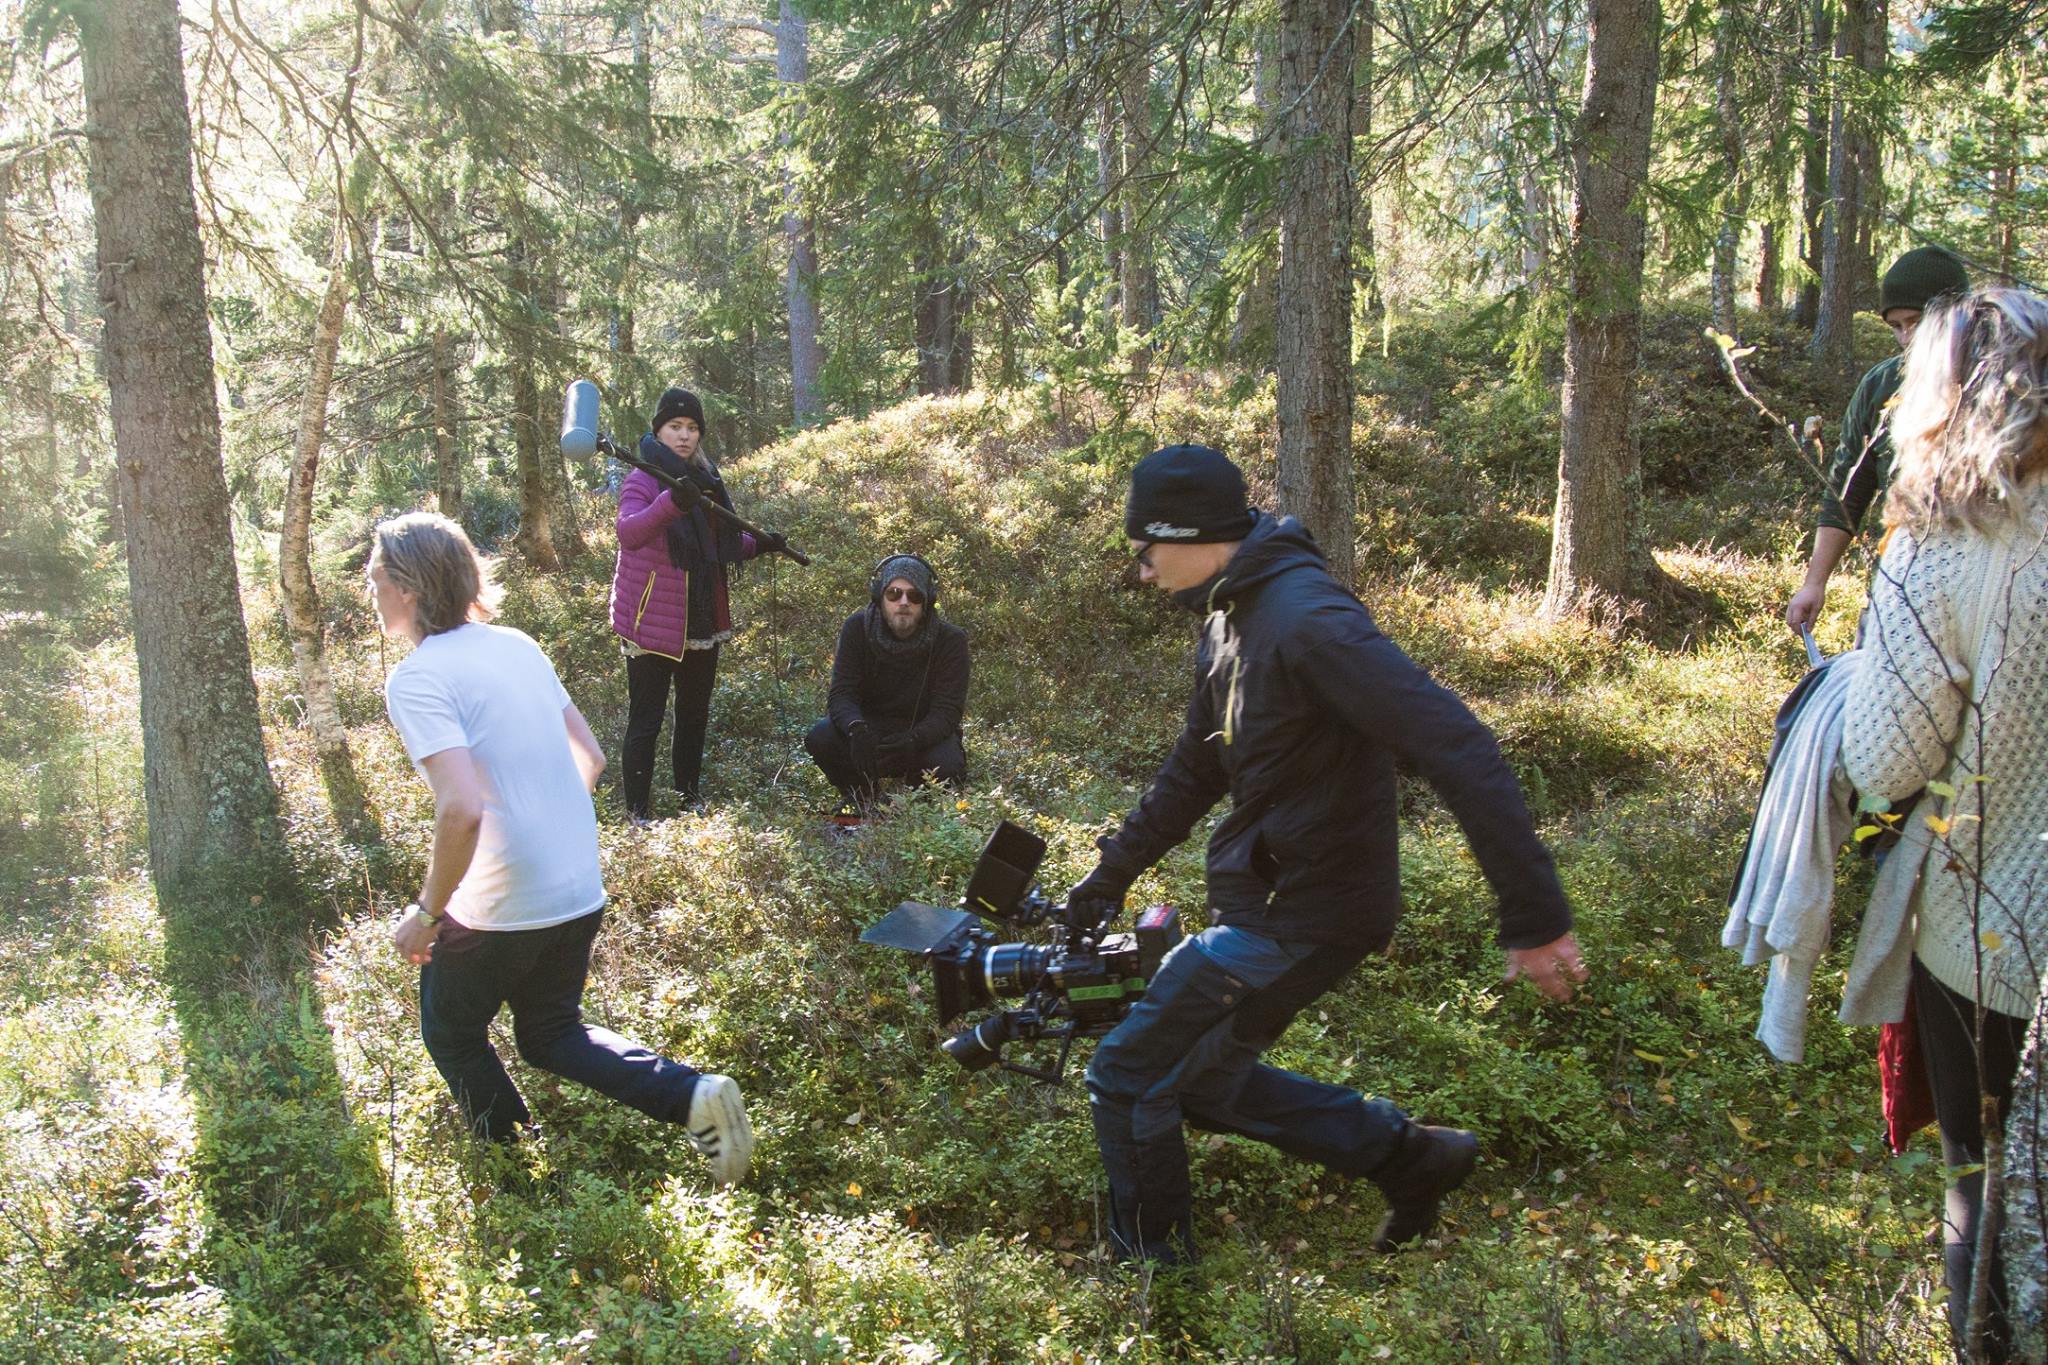
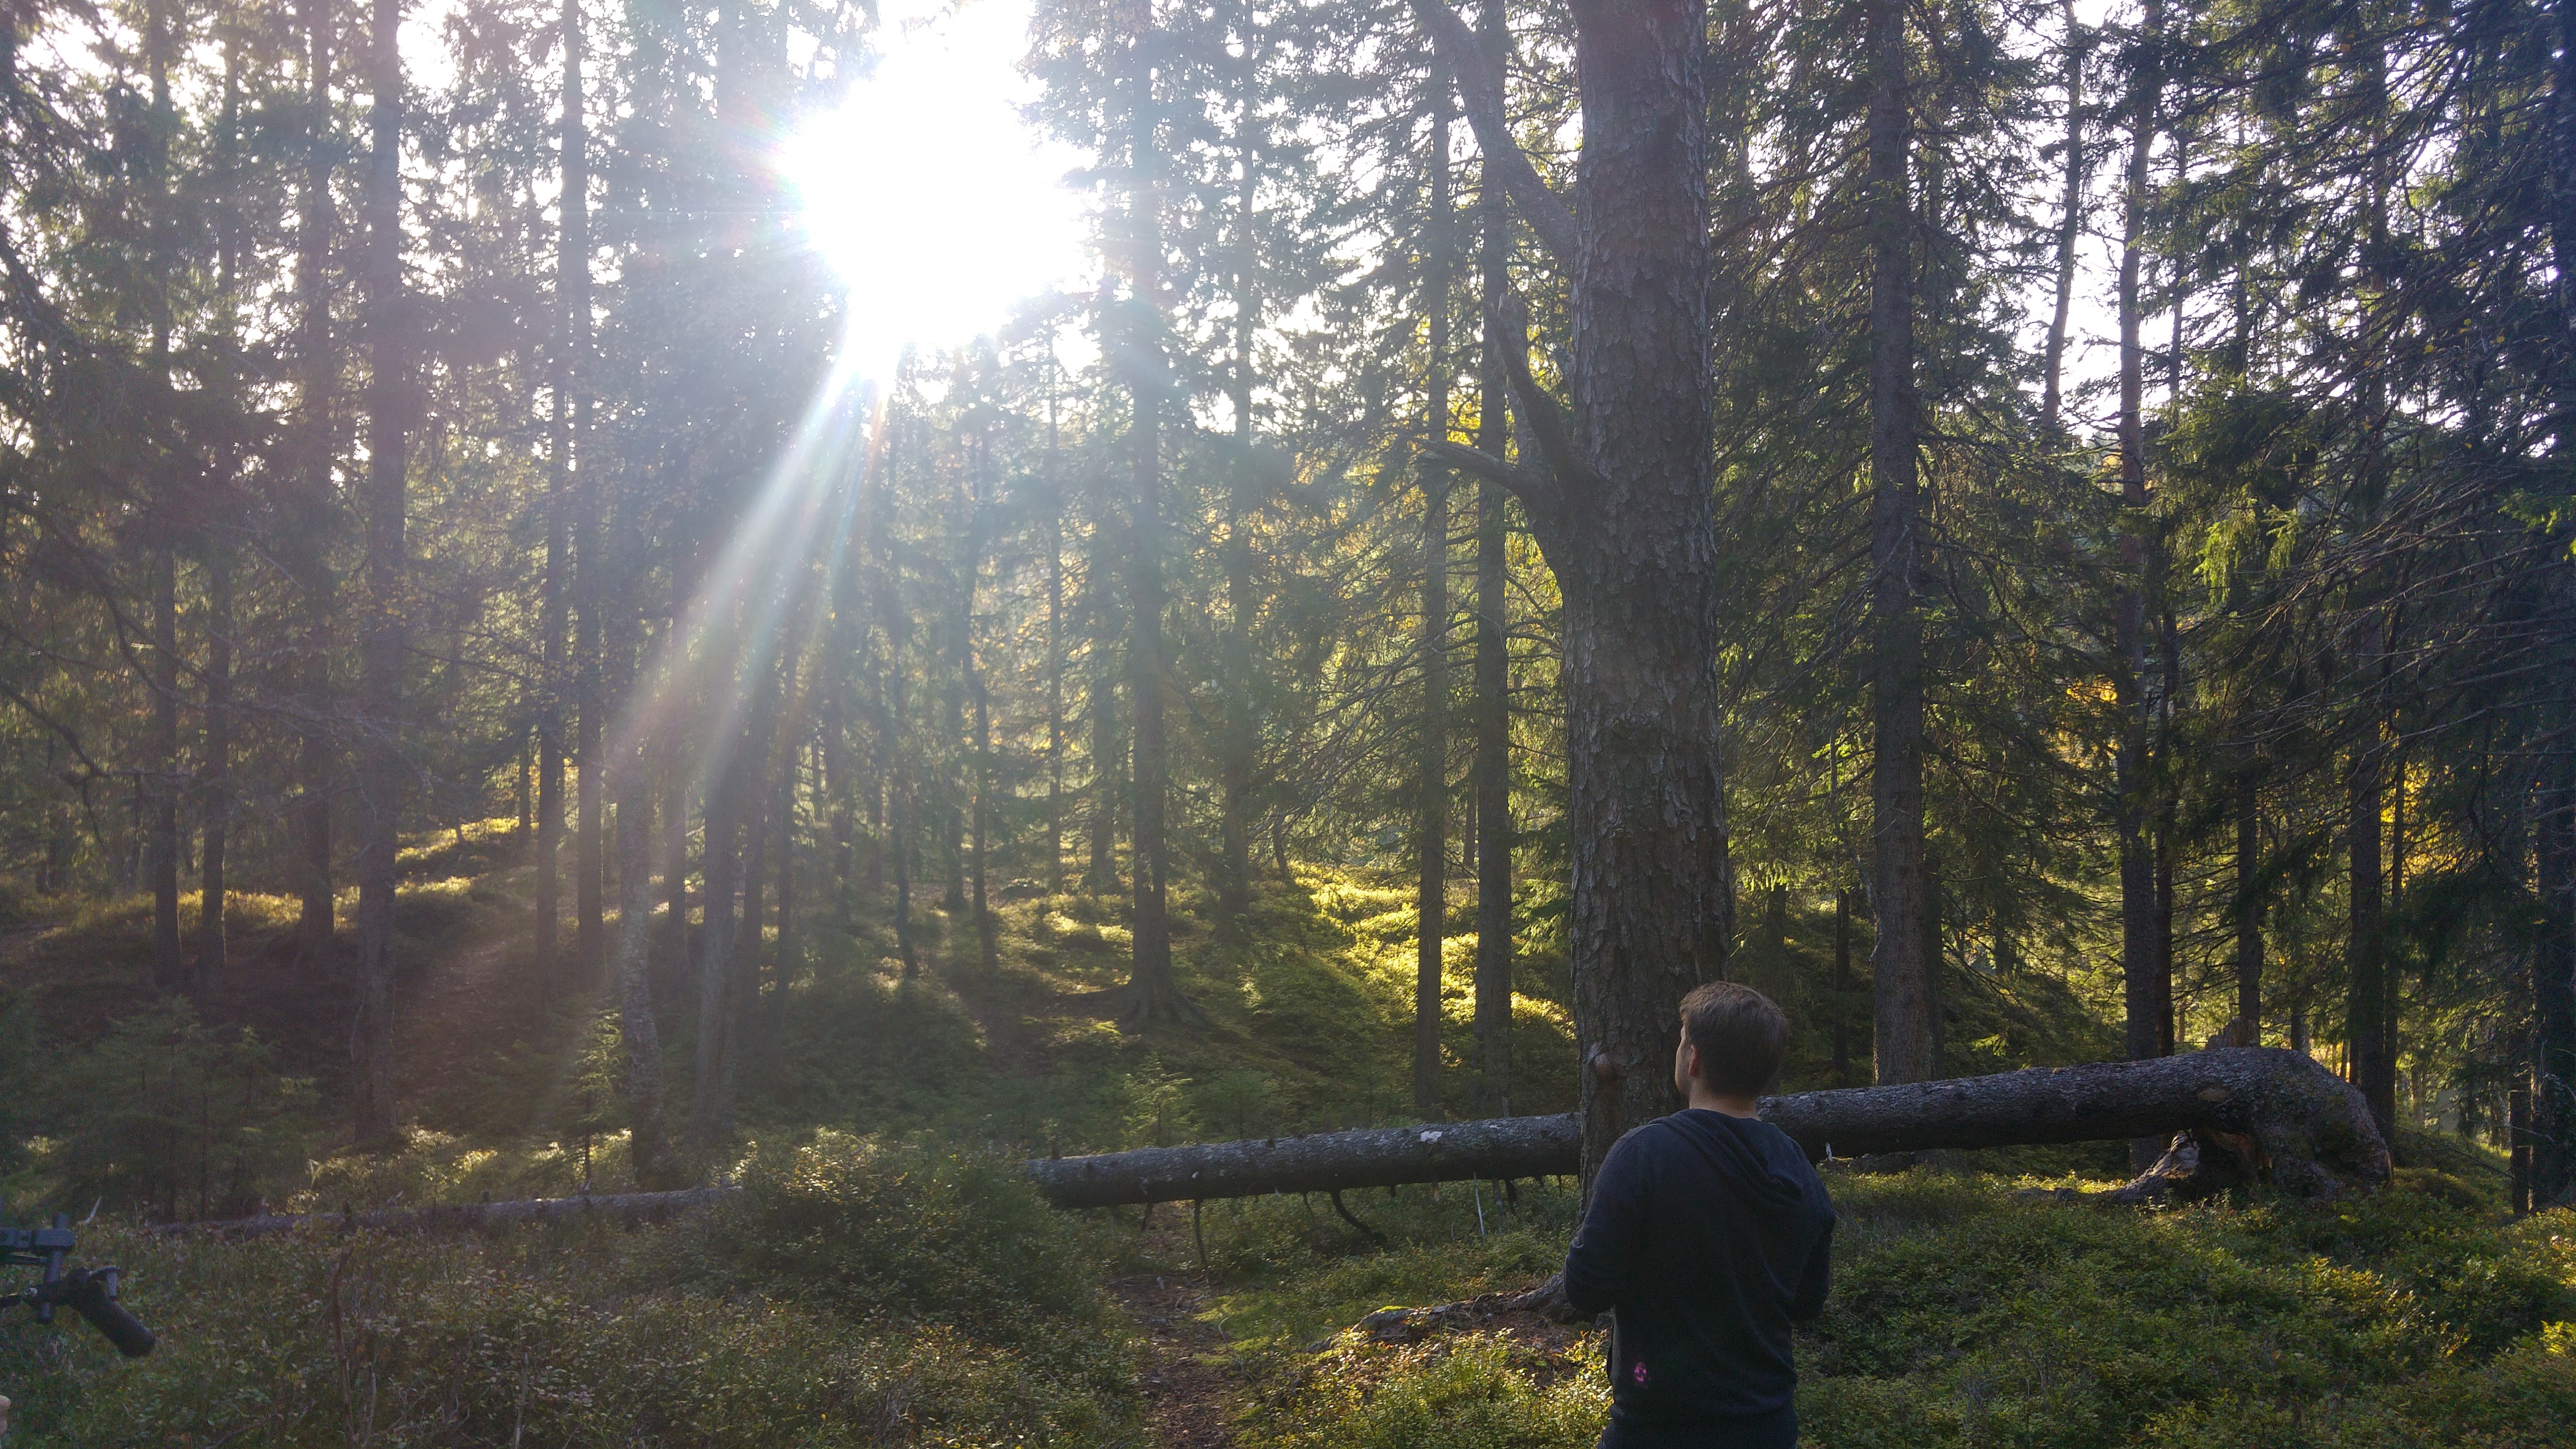
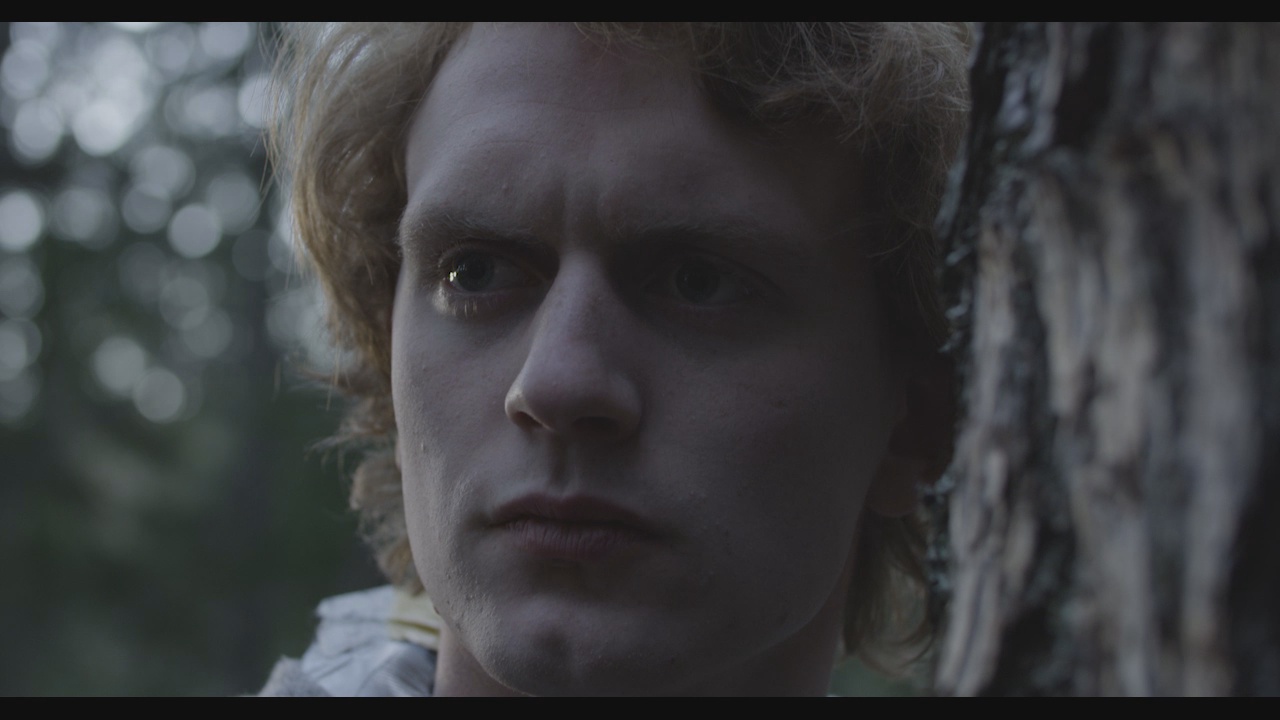
The 2nd part of the production was shot in August, around a small lake not too far from my house. Here they didn't have Eilif or Pål on set, and there were almost no light setups, so I worked a lot more as a grip. Formally, I was also the gaffer here! But there was very little light work to be done.
Video password: toni
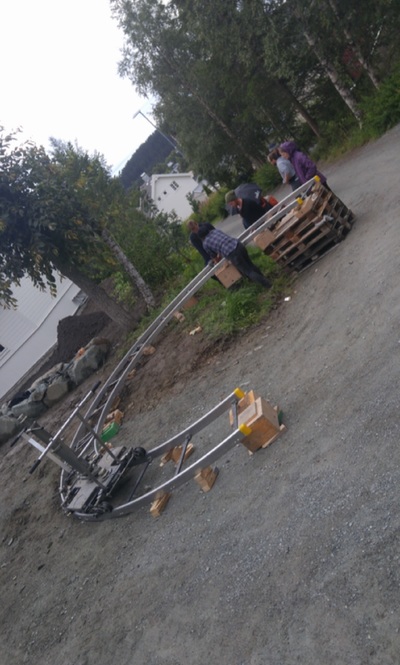
Did a bit of manual light bouncing and flagging. Below is the only lamp we used for part two, here working to emulate the outside light, lifting the exposure of the boy. I did a lot of dolly-pushing and pulling. The most advanced setup was probably the circular track seen above and below.
|
AuthorI'm a freelance gaffer. I also do basic grip work. Archives
February 2020
Categories |






 RSS Feed
