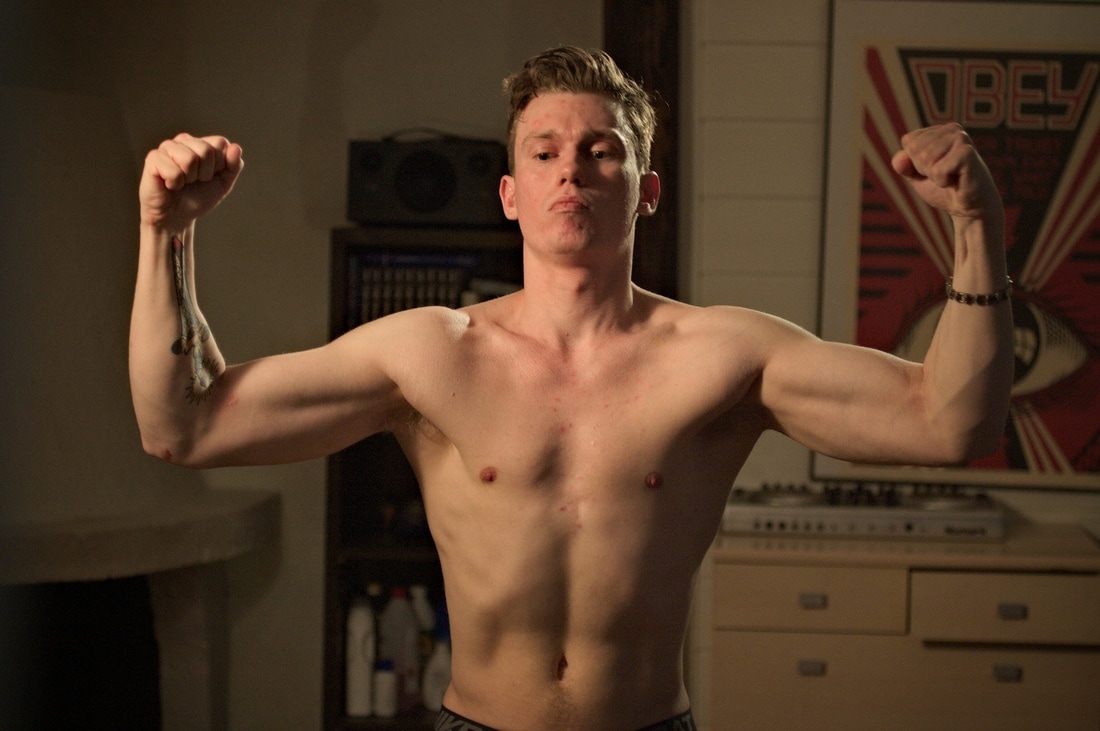
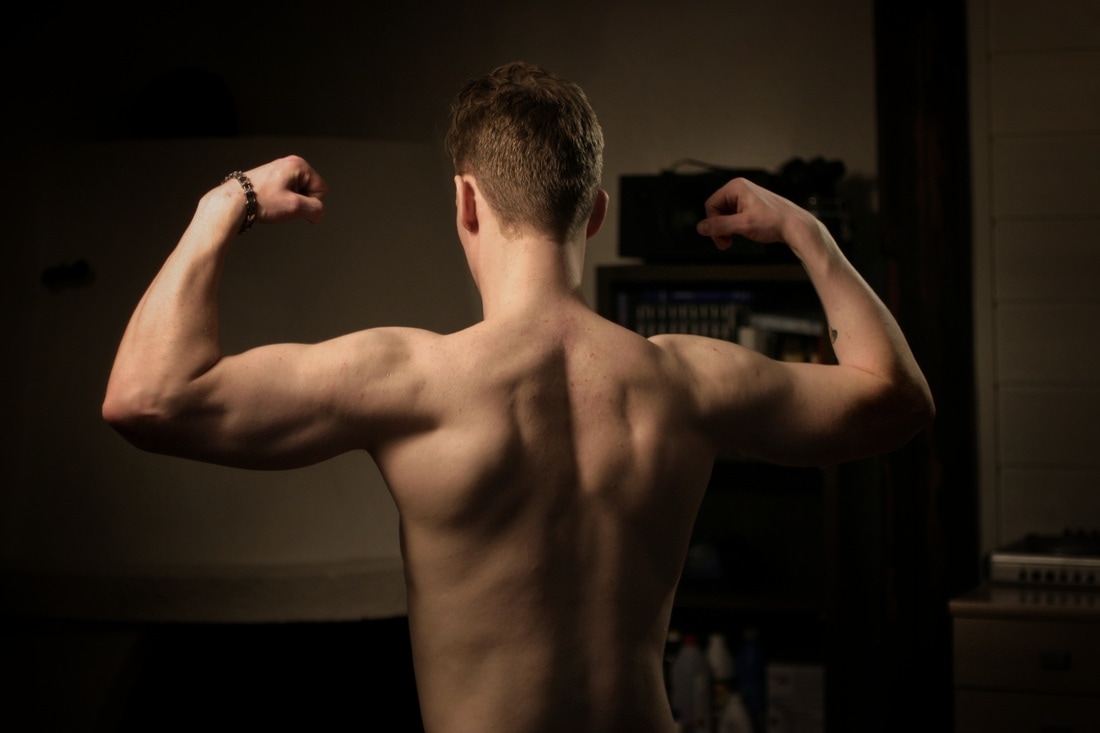
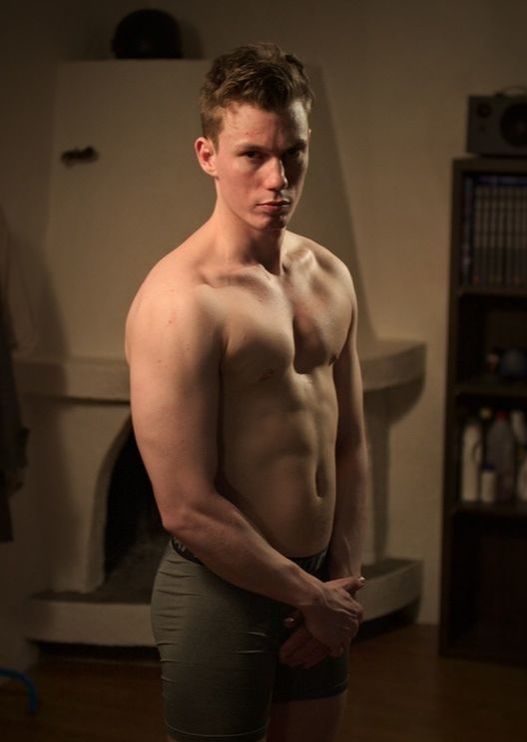
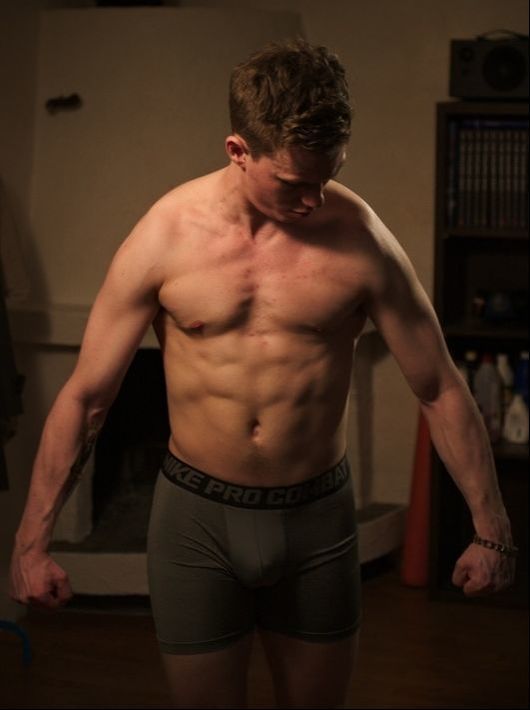
 One of my flatmates likes to stay in shape and wanted me to take some pictures of him in proper lighting to see what his muscles looked at at their best. I took it as a challenge and opportunity to learn something new so I agreed to help. These are some of the pictures! First I had a look at this great 2 minute tutorial to get me started. 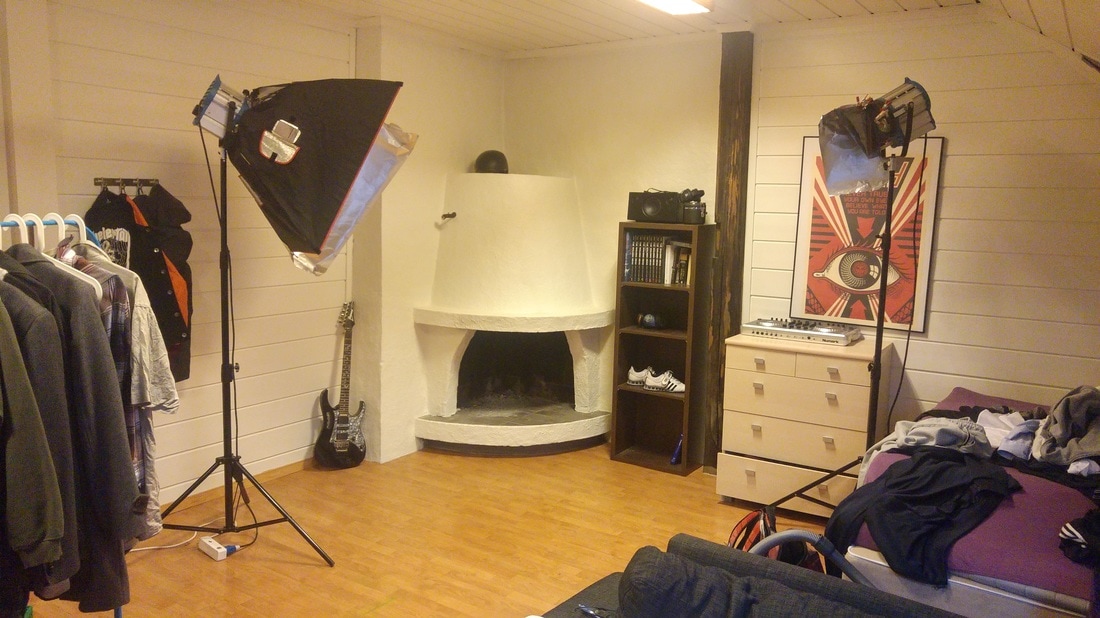 Setup in my flatmate's room. The softbox was usually a bit closer to the camera to avoid spilling light on the back. 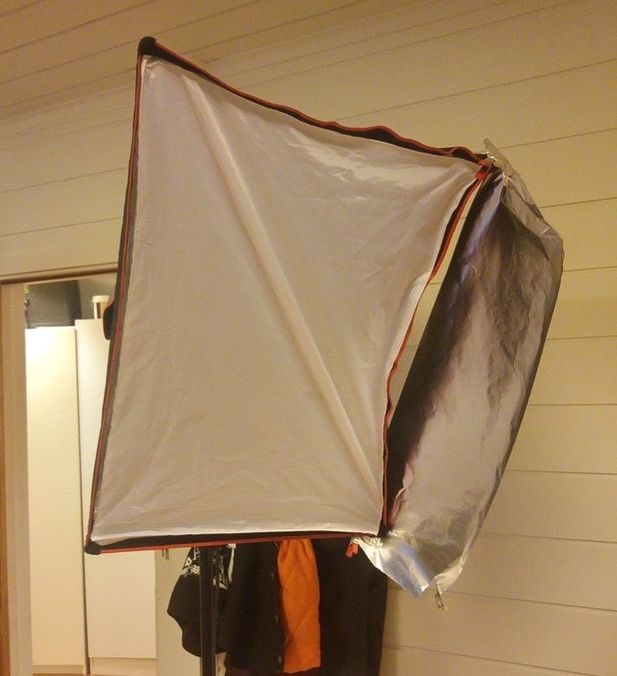 Key light was my 650W with one of the two diffusion screens removed and the lamp spotted. Don't have a grid for my softbox. So I used some aluminium foil clamped to the softbox to keep the spill off the back wall. 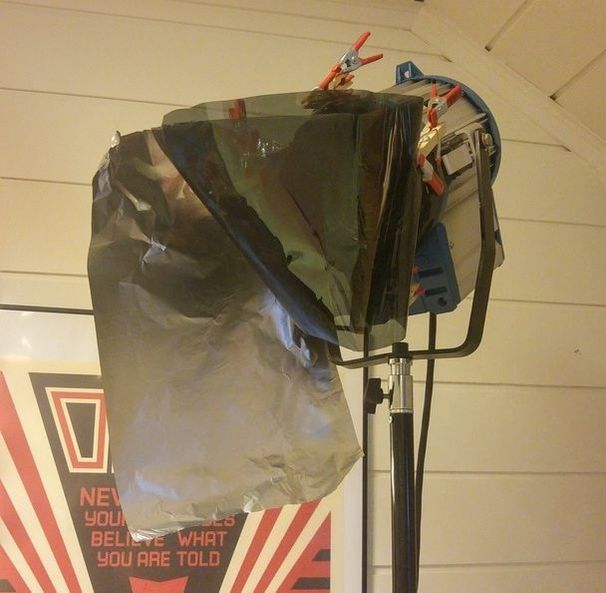 Used my 1000W for backlight. Softbox doesn't fit on it otherwise I would have used it as a key light. In stead I put double ND filter on it and flooded it. Some foil here as well standing in for barndoors which are in shipping. Sometimes I would put the softbox's inner diffusion over it when it needed some softening. Here are some more pictures. I only had my 50mm lens so when we switched to poses with wider arms he had to step further back into the room and that makde it very difficult to keep light off the back wall. But I'm still quite pleased with how the results turned out! 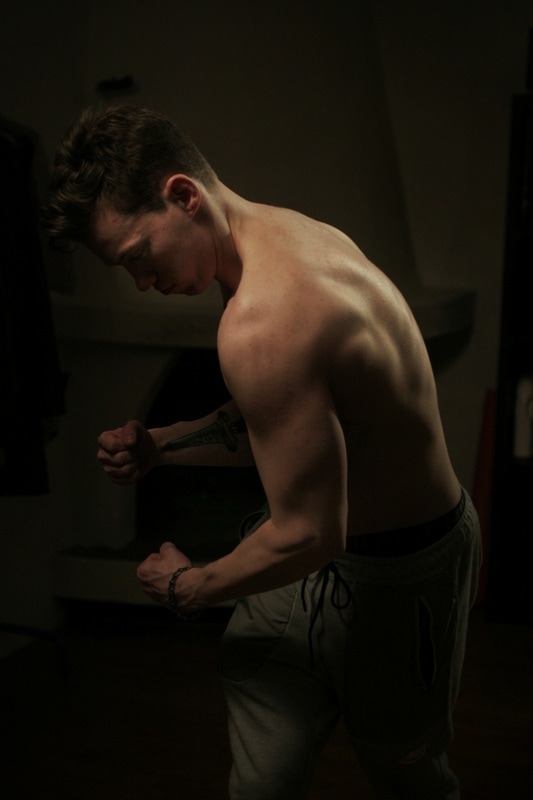
The softbox warmed up the 650W, and that produced a nice color contrast between the 1000W kicker. I actually love the shiny look his skin got when I lit it with the kicker. But I had to watch for nasty shadows from the hard light. Otherwise pretty much the only thing I did was moving him and the light around so that the light produced defined shadows from his muscles and that was it. I did some light editing afterwards by darkening the background and upping the contrast on him.
Hope you enjoyed! Leave questions or comments down below or @tonivuc on twitter.
1 Comment
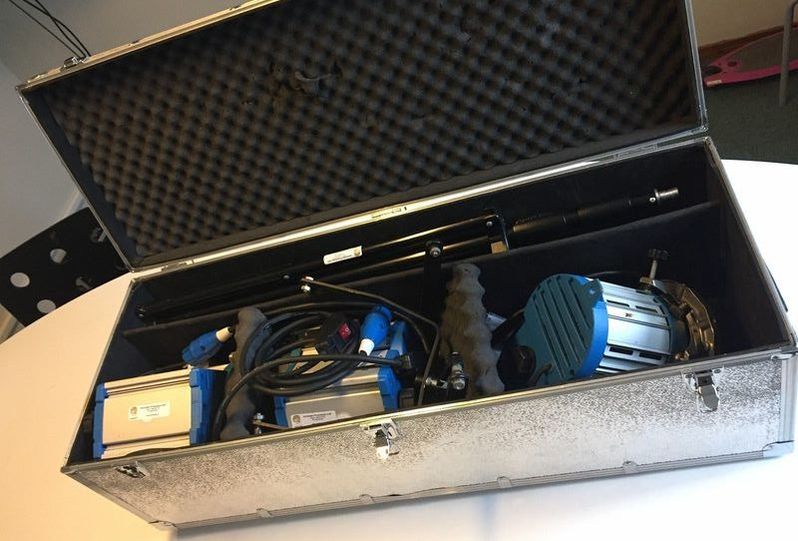
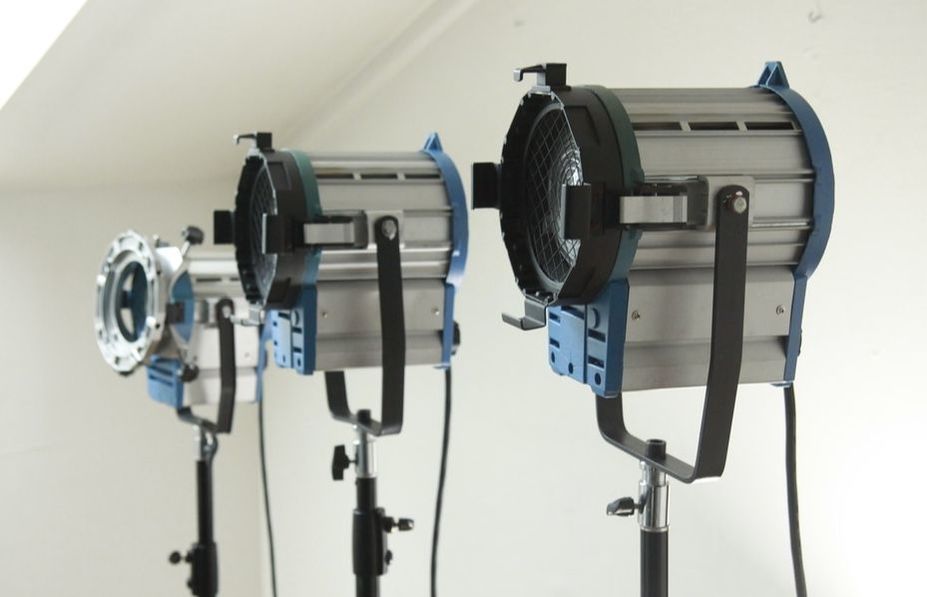
So I bought a kit of used Arri-like fresnel lights, stands and a softbox. I'm the third owner, and they had some wear, like a cracked lens on the 650w but nothing major, EXCEPT; I couldn't spot/focus two of the lights. I wasn't told this by the seller and was quite upset about it. But really what can you do? Shipping them back would have cost me so I'd rather try to sort it out. By the way, I barely know how to replace a bike tire. This is pretty much my first repair of anything ever, so if I could figure it out then anyone can! 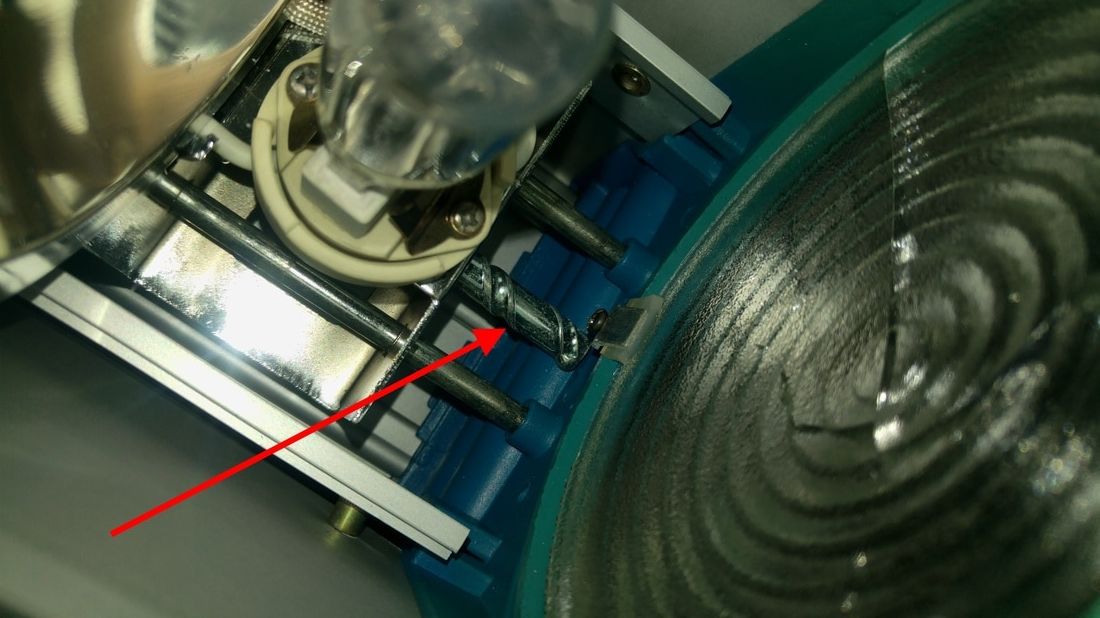 A look inside the 650w unit The culprit is the spot/focus system. As most of you are probably aware you spot/flood an arri fresnel with a knob on the back. In my case I couldn't really move the knob because it seemed the mechanism was stuck somewhere. I finally manged to move the element by pulling on it and turning the knob at the same time. Looking at some reviews of chinese copy-lights this seems to be an issue out of the box. Someone also mentioned somewhere a rod in theirs had bent. I really hoped that wasn't the case for me. I was betting on just having to grease it up a little. Greasing up the 1000W light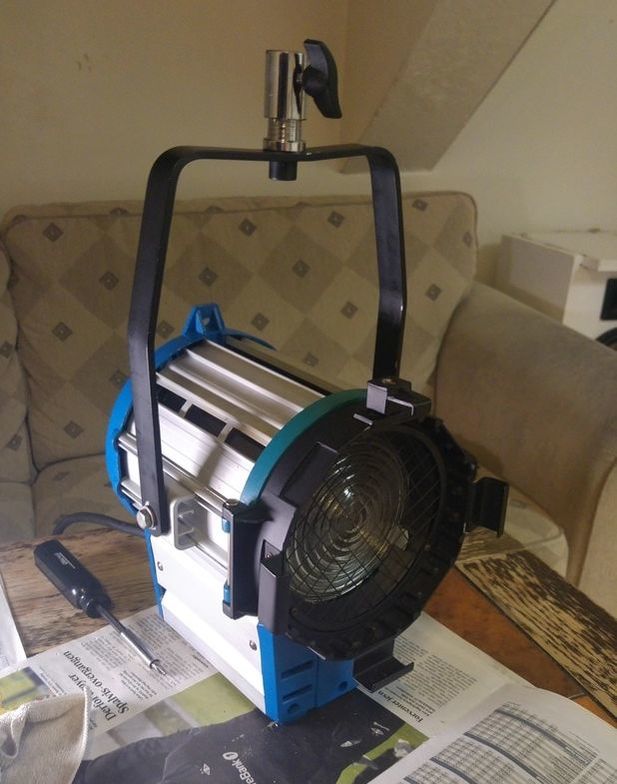 This was the light with the most jammed spot/flood mechanism of them all, so if it worked on this one it would work on all of them. I bought some speciality synthetic grease made to withstand high temperatures. It's also transparent which is nice. Step 1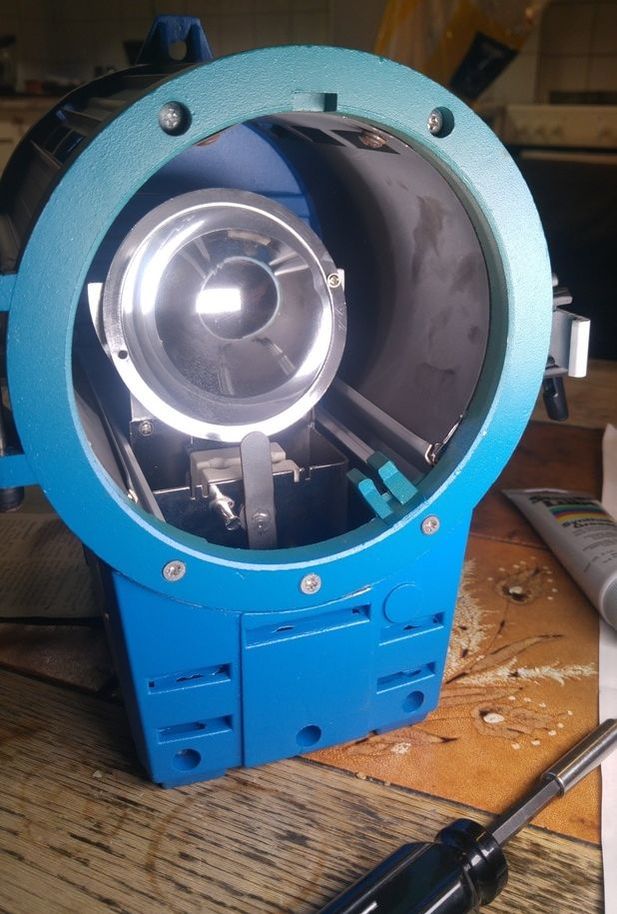 Open up the front door. Then take out the bulb and dismantle the reflector. It's held by a screw on each side and a nut on the back. It was pretty tough holding the nut while screwing as I had to stick my pinky finger in there to add some resistance. If there is some sort of tool that makes this easier, let me know... Step 2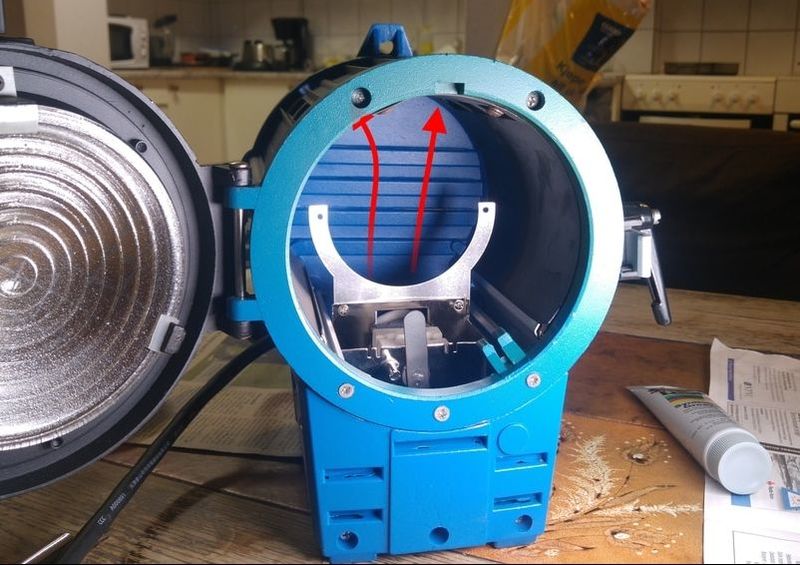 Loosen the two screws located in the back top of the fixture. These connect the innter tube to the outer casing and the back plate. They come with a washer each. Step 3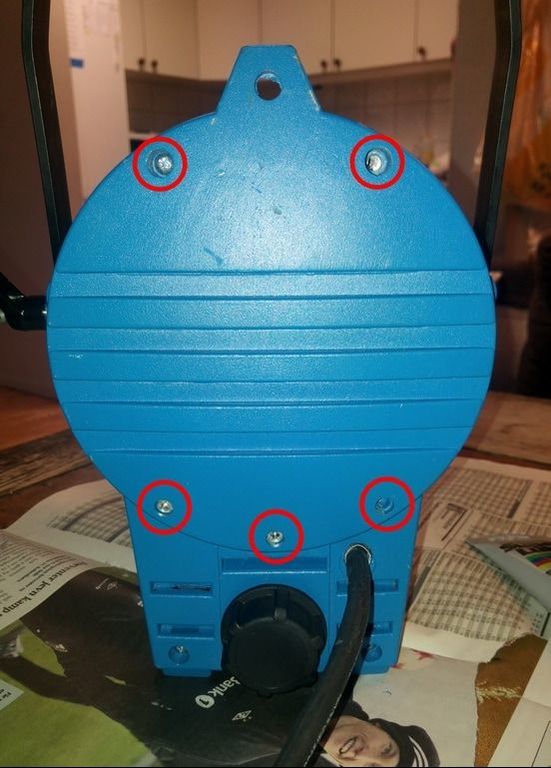 Remove the 5 screws connecting the large round backplate to the rest of the body. In this picture I had already removed two. Step 5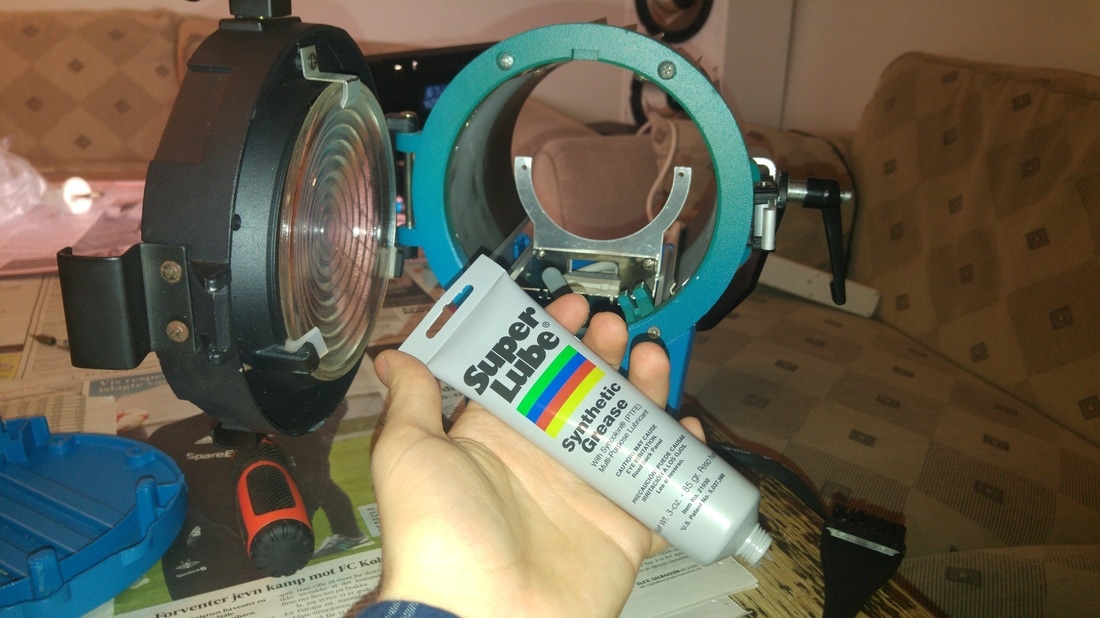 Whip out your grease of choice. I called a few shops in my area, and this is what they recommended. I mostly chose it because it claimed high resistance to heat and cold and little spill. Also it's supposed to stay there and not evaporate. Being transparent was a nice bonus. 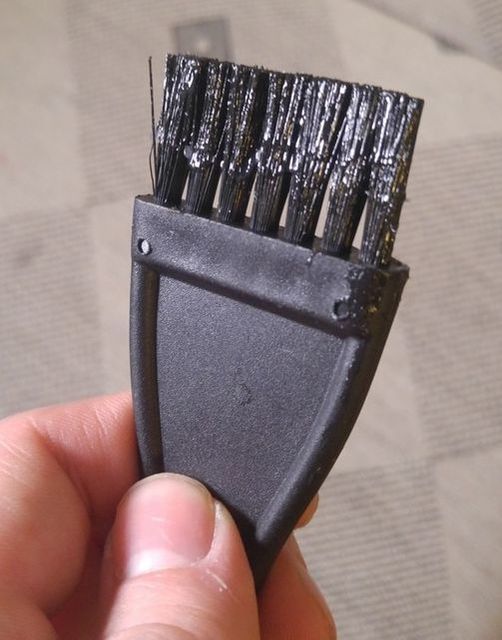 Now find anything to apply with. I mostly used this brush used for greasing pans. A smaller thinner brush would have been better. Step 6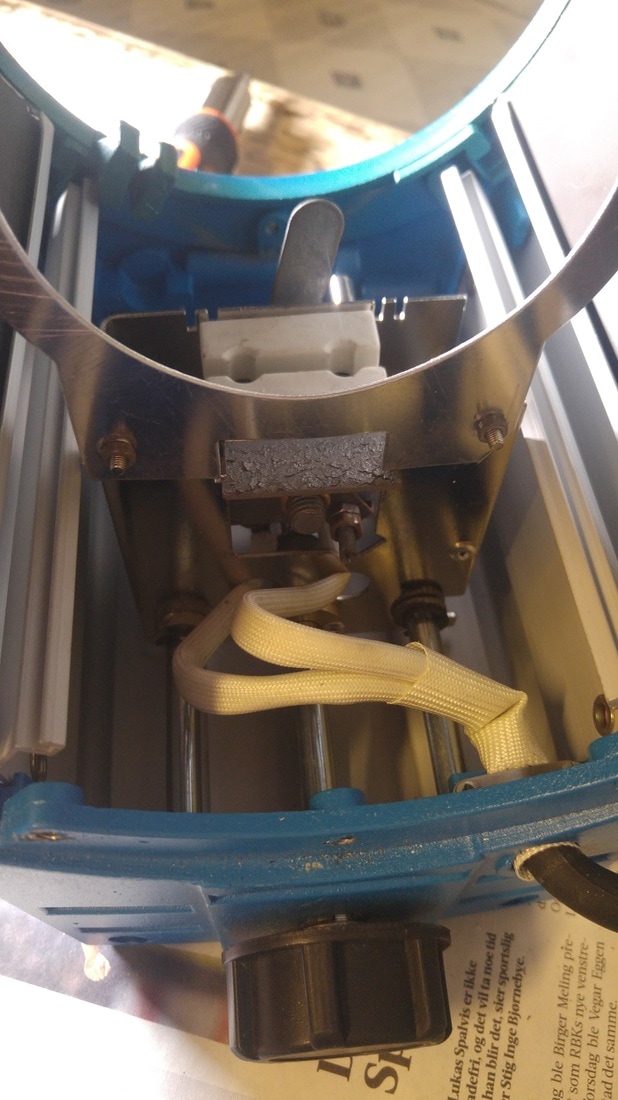 Inside of the fixture 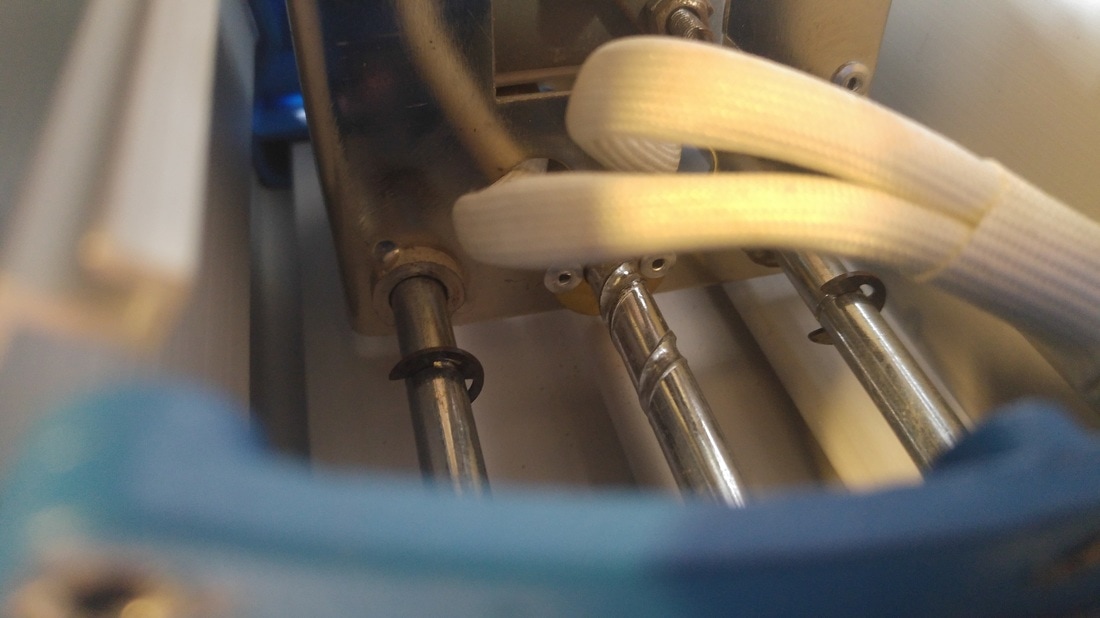 Rods inside fixture, without grease Apply the grease. I sat tit to full flood, applied grease to all 3 rods, then full flood and did the same on the other side. As for the amount, use just enough to make a thin layer on top of the metal. In the end I tried greasing up the part in the middle as well, with moderate succes. But alas, suddenly I could move the knob! Also greased up the parts between the knob and main rod just in case. Did full flood/spot a few times to spread the grease and felt my body fill itself with happiness as my plan had worked! Step 7Put it back together the same way you opened it. I had two issues: First I wasn't able to attach the top back screws inside the fixture with the back plate and reflector up at the same time. So I ended up not putting them back in place. If it turns out to be an issue I will try again. 2nd issue was putting the back plate on. I had to push the aluminuim inwards a little while pushing it on. But it wasn't much of a problem really. I also let the light stay on for a couple of hours to see how the grease reacted to that. Still as good as before. 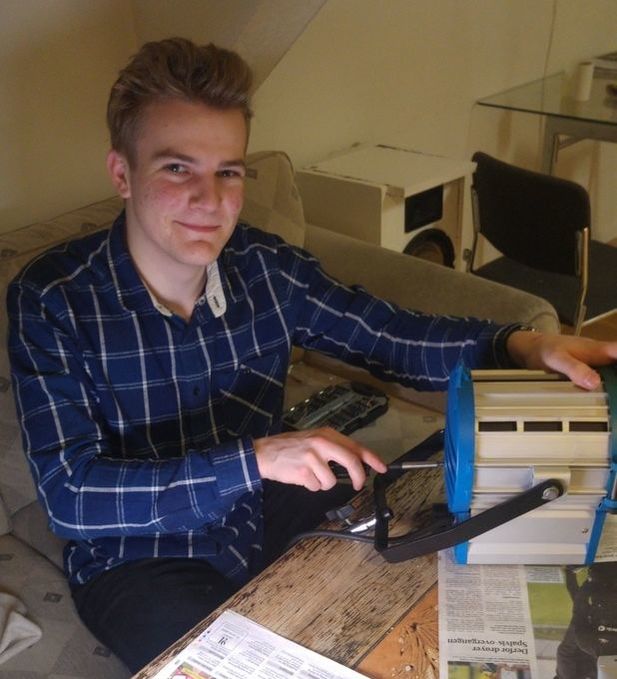 I hope you found this helpful! If you have any further question feel free to comment or tweet at me @tonivuc! Keep in mind that I am not an electrician and I actually have no idea what I am doing. But it seems to work! Cheers!
|
AuthorI'm a freelance gaffer. I also do basic grip work. 
Archives
February 2020
Categories |
 RSS Feed
